Chapter 8 ___________________________________________________________________Repair
VAISALA______________________________________________________________________ 115
0910-106
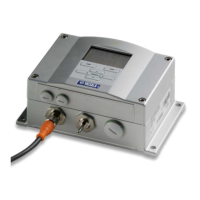
Figure 28 AC Power CLP311
To replace the AC power, you will need a 3 mm Allen-key. The Optics
unit and battery cage have to be removed before replacing CLP311.
Then proceed as follows:
1. Open the measurement unit door and confirm that there is an active
AC power unit failure. In case of an AC power unit failure, the
CLP ok LED will be off. Refer to Figure 26 on page 111.
2. Switch off the power with all three switches (F1, F2, and battery).
For the location of the switches, see Figure 15 on page 40 and
Figure 16 on page 41.
WARNING
Disconnect the power cable from connector J2 before continuing.
3. Disconnect the battery, transmitter, receiver, laser monitor board,
and data cables (refer to numbers 3, 4, 8, 10 and 16 in Figure 22 on
page 104) from the CLE321 board.
4.
To remove the Optics Unit (refer to number 9 in Figure 22), first
remove the holder plate by loosening the four Allen screws on its
front cover.
5.
Detach the internal heater connector and holding the cable aside,
carefully pull out the Optics Unit upper end first.
NOTE
Do not touch the lens of the Optics Unit.