USER'S GUIDE ____________________________________________________________________
90 __________________________________________________________________ M210543EN-F
Perform the re-assembly in the reverse order:
1. Slide the transmitter board (4) to the module (5) and tighten the
nylon screw (6).
2. Lightly grease the O-ring (5) surface on the optics module with
silicon grease.
3. Press the optics assembly into the transmitter. Be careful not to
touch the lens. Make sure that the module seats properly. If not,
lead it to the sink by pointed pliers.
4. Lock the module with an M4x4 set screw.
5. Connect control cable (1) and make sure the cable gasket seats tight
into its groove.
6. Check that all the optical surfaces, LED and lens, are clean.
7. Close the transmitter cover with the gasket by four counter sunk
screws.
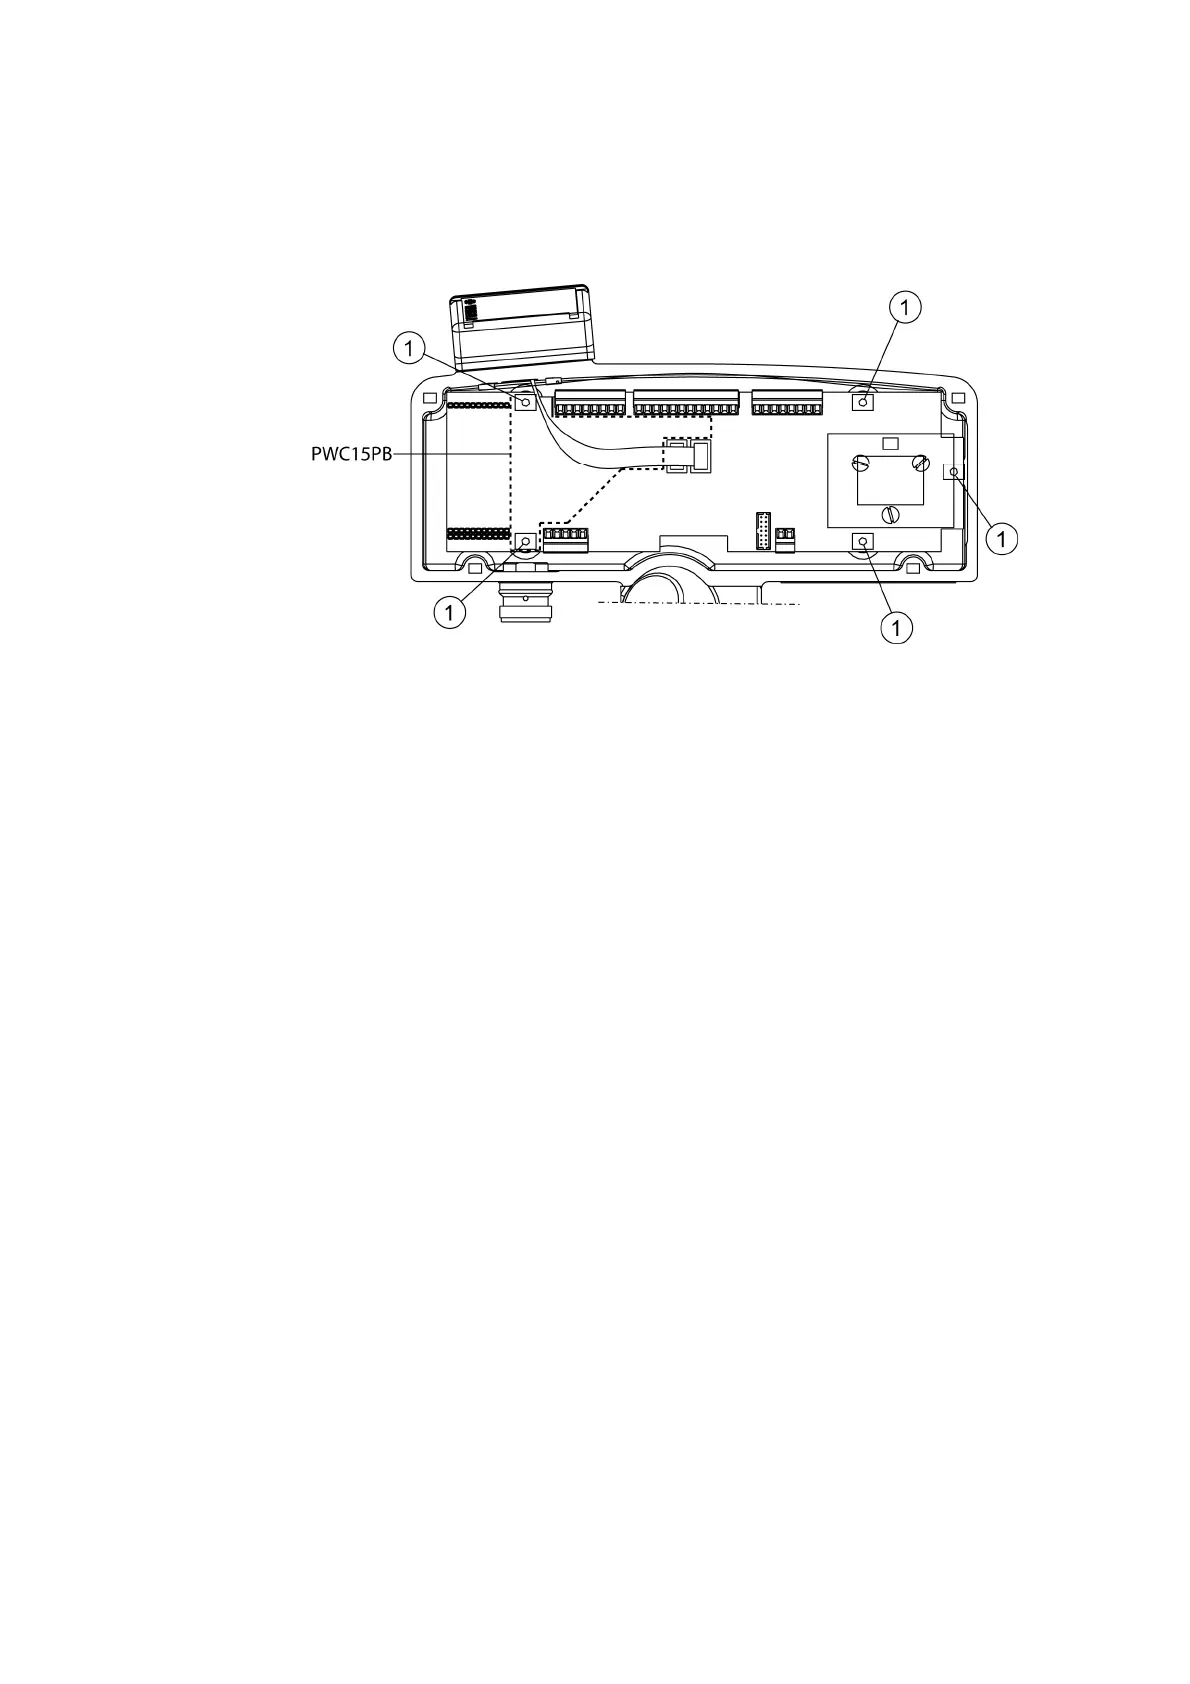
Removing PWC22/52
1. Open the four box screws in the corners of the controller box. See
(1) in Figure 21.
.
0308-008
Figure 21 Opening Box Screws
 Loading...