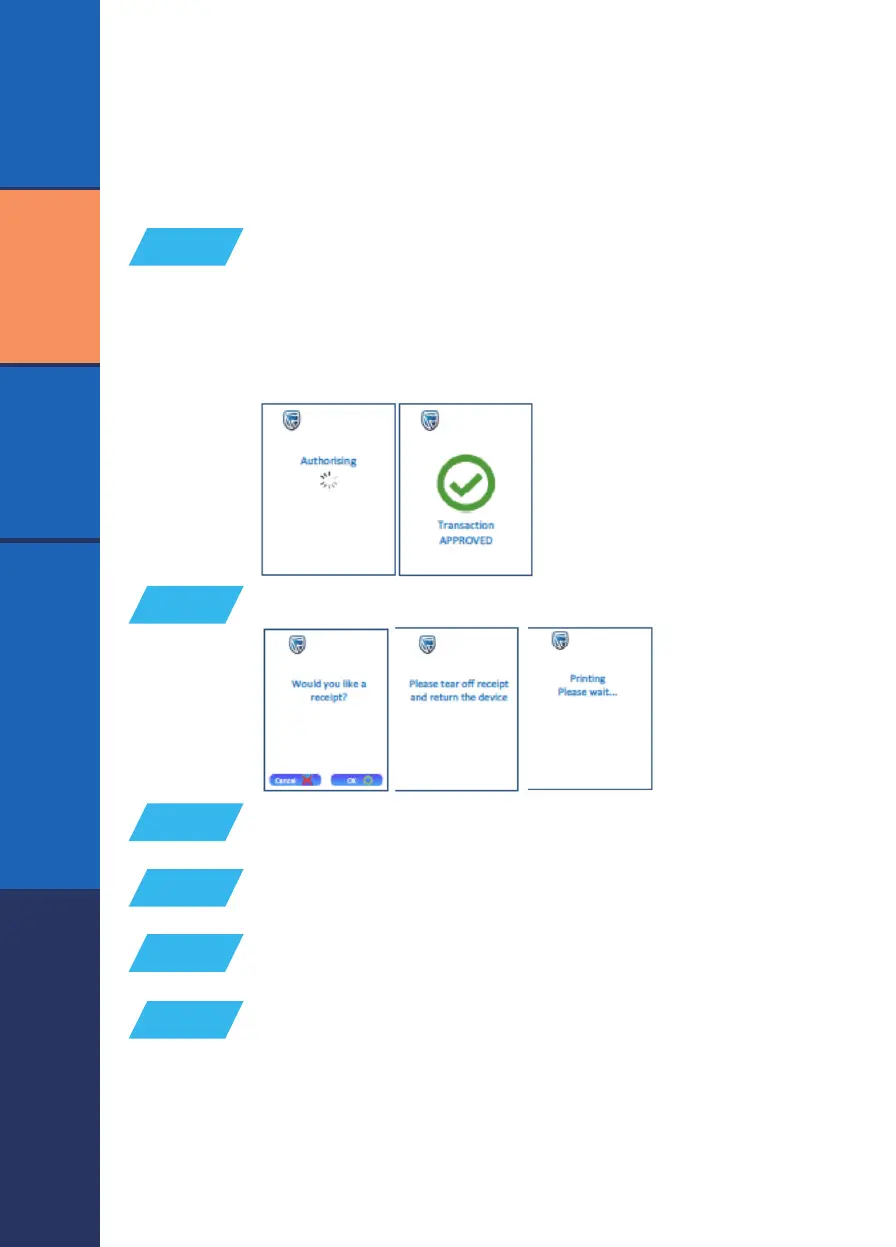
The POS device will display the following screen:
STEP 17
Connecting
Authorising
The POS device will show a turning dial while it waits for a response.
After communications with the host, the transaction is successfully
approved or declined.
6
RETAIL
VALUE ADDED SERVICES (VAS)RESTAURANT
The POS device will display ‘would you like a receipt?’
Press ‘OK’ (O) to print or ‘cancel’ to skip
An approved receipt is printed for the customer
STEP 18
STEP 19
STEP 20
The POS device will display ‘please tear o receipt
and return the device’
A merchant receipt copy is printed; tear it o and allow the customer to
sign (if a signature is required). If no customer signature is required, the
POS device will print ‘no customer signature required’ on the receipt. A
supervisor signature is required on the receipt for this override
STEP 21
STEP 22
If the transaction is declined, read the reason displayed on the receipt. If the problem
persists, contact our Help Desk immediately.

 Loading...