Chapter 1: Memory Array Hardware Installation
22
Violin 6000 Series Memory Array Installation Guide
535-0045-00 Rev 02
Note: The Violin 6000 Memory Array AC power cords are not a standard configuration. Use only
the AC power cords supplied with your system.
To connect the AC power cords to the Memory Array chassis:
1. Locate the AC power receptacles at the rear of the Memory Array chassis.
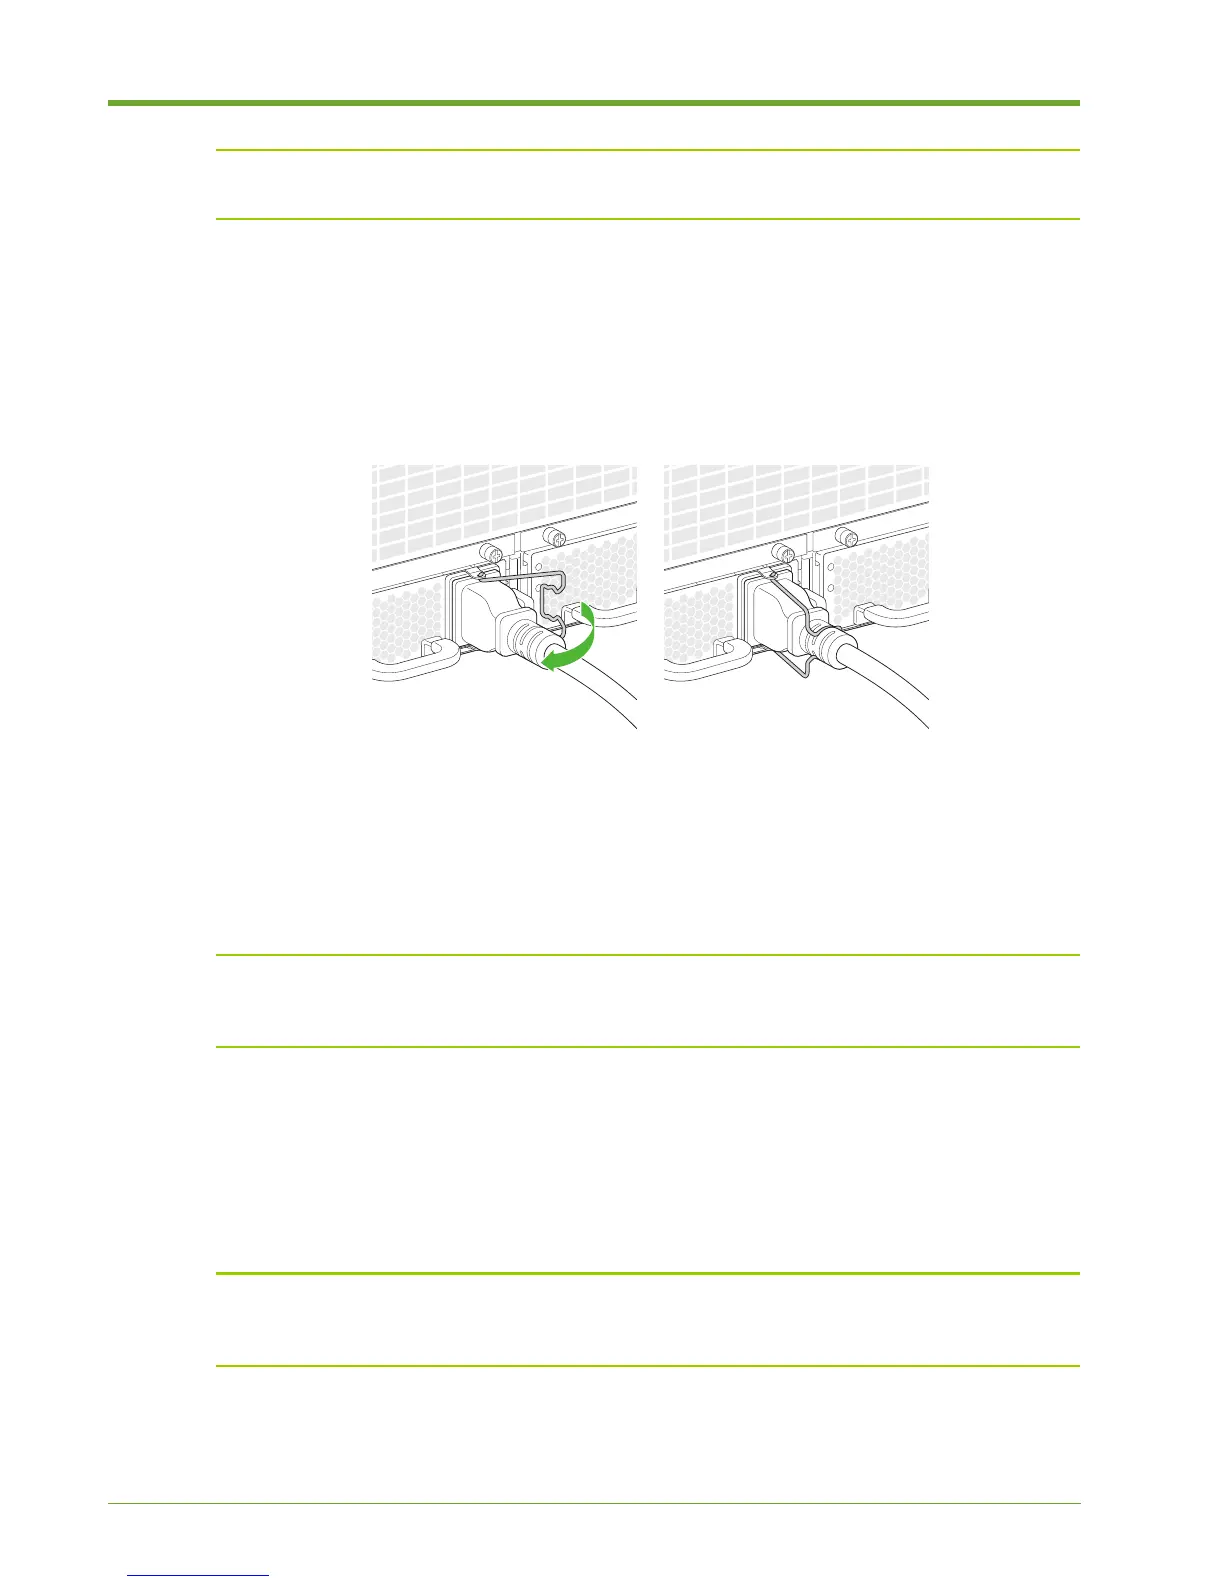
2. Insert the power connector into the mating power receptacle on the rear of the Memory Array.
3. Move the clip to the right and then secure it over the power cord.
4. Repeat steps 2-3 for the second AC power supply.
Powering up the Memory Array
Note: Always power on the Memory Array before the host computer to ensure PCIe
communication; PCIe hotplug is not supported. An alternate method is to reboot the host computer
after powering on the Memory Array to ensure that the host computer recognizes the system.
To complete the power on sequence:
1. Plug each AC power cord from the chassis into an AC outlet.
During the boot up process, the green Status LEDs will flash. The Memory Array is fully booted
when the Status LED is continuously lit.
Note: If the top LED on the power supply continues to blink green after the boot up process, the
power controller associated with the power supply is either missing, improperly seated or must be
replaced. Contact Violin Memory Customer Support for assistance.
2. If connected to a host computer, power on the host computer and log in as root on a Linux
system, or as an “administrator” on a Windows system to install the device driver. See “Violin
Drivers” in the Violin 6000 Series Memory Array User’s Guide for more information.
Figure 1.15 Securing the Power Cord Clips