Replacing 1525EF Plunger Seals and Plungers 68
4
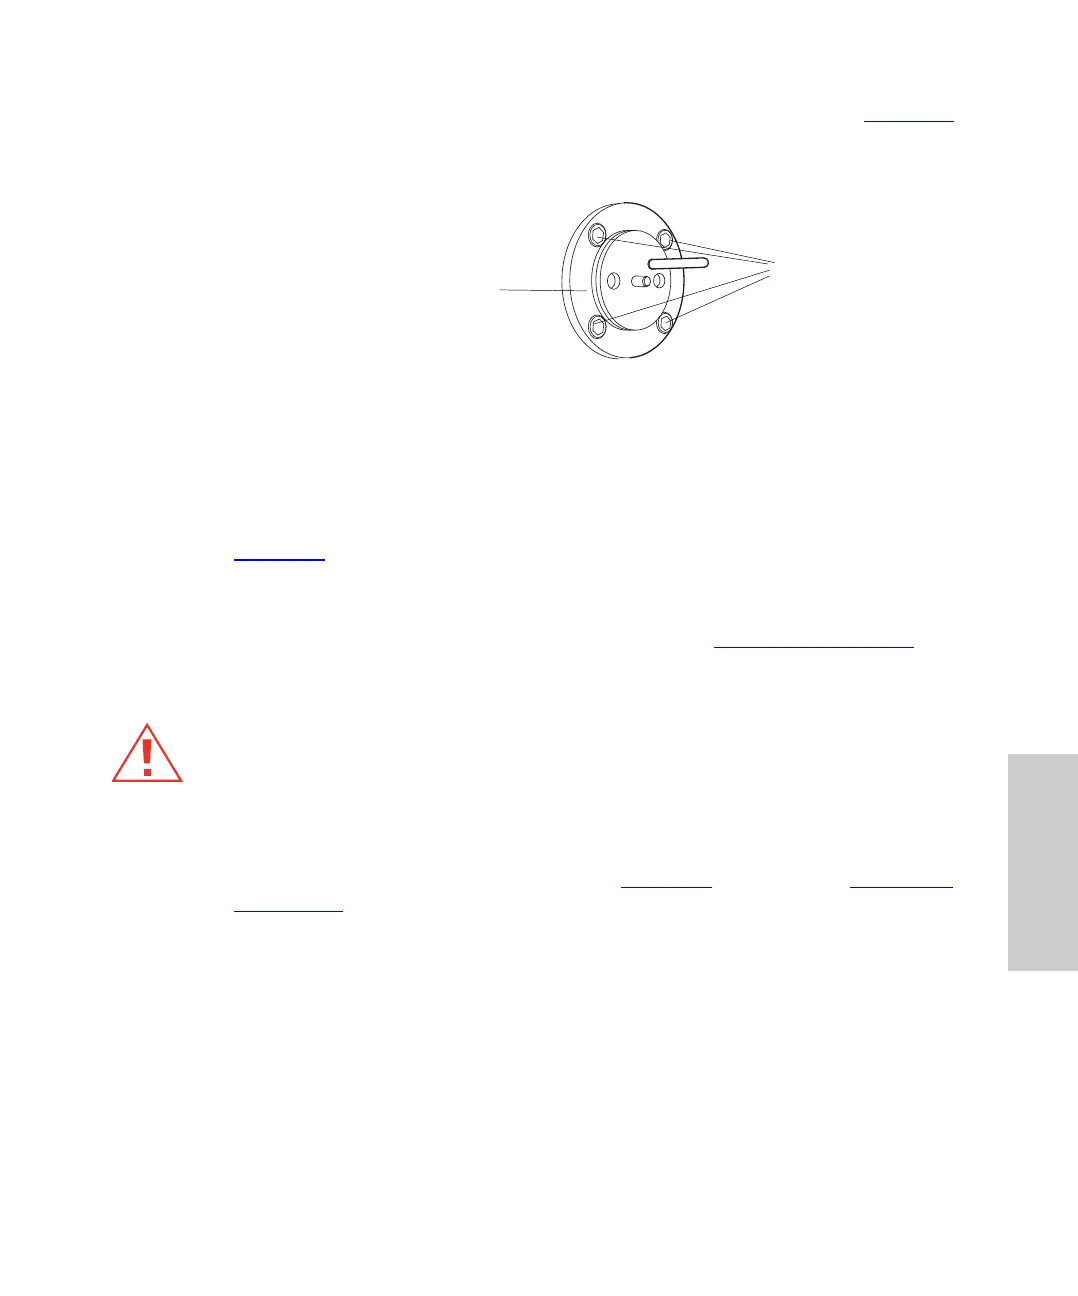
2. Remove the four head support screws with the 9/64-inch Allen wrench (Figure 4-6),
then carefully slide the head support assembly and the indicator rod off the pump.
Set the head support assembly on the benchtop.
Figure 4-6 Exposed Head Support Assembly (1525EF Pump)
3. Use the software to navigate to the Inlet Method window. Set the Flow parameter to
0.3 mL/min, click Save, then click Load Method to run the pump. When the piston is
fully extended, click the Stop Flow button to stop the pump.
4. Use the plunger insertion tool to compress the spring as far back as it will go (see
Figure 4-8
).
5. Keeping the spring compressed with the plunger insertion tool, use the snap-ring
pliers to remove the snap ring that holds the plunger in place.
6. Carefully remove the plunger assembly. Continue with “
Cleaning the Plunger”.
Cleaning the Plunger
1. Remove the plunger from the plunger assembly.
2. Clean the plunger by sonicating it in 50:50 methanol/water for a few minutes. The
parts of the plunger assembly are shown in Figure 4-7
. Continue with “Inspecting
the Plunger”.
Caution:
To avoid possible eye injury or cuts, handle the plunger with care. Wear safety
glasses. Pieces of a broken plunger are very sharp.
Head Support
Screws
Head Support
Assembly