4.2 TOOLS & INSTRUMENTS FOR COMBUSTION CALIBRATION
To properly perform combustion calibration, the proper instruments and tools must be used and
correctly attached to the unit. The following sections outline the necessary tools and
instrumentation as well as their installation.
4.2.1 Required Tools & Instrumentation
The following tools and instrumentation are necessary to perform combustion calibration:
• Digital Combustion Analyzer: Oxygen accuracy to ± 0.4%; Carbon Monoxide (CO) and
Nitrogen Oxide (NOx) resolution to 1 PPM
• 0 to 16 inch W.C. (0 to 4.0 kPa) manometer or equivalent gauge and plastic tubing
• 1/4 inch NPT-to-barbed fittings for use with gas supply manometer
• Small and large flat blade screwdrivers
• Tube of silicone adhesive
4.2.2 Installing Gas Supply Manometer
A 16” W.C. (4.0 kPa) gas supply manometer (or gauge) is used in the following ways:
• Mounted on the upstream side of the SSOV to verify that the gas supply pressure is
within the required range of 4” W.C. and 14” W.C.
• Mounted on the downstream side of the SSOV to monitor the gas pressure during the
Combustion Calibration procedure, described in Sections 4.4.1 (Natural Gas) and 4.4.2
(Propane).
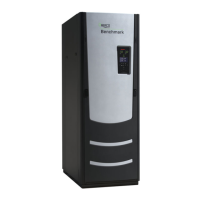
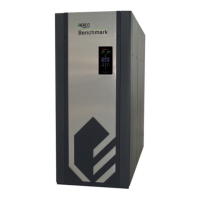
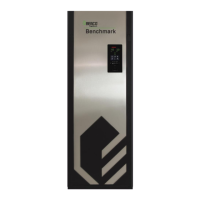
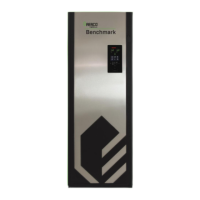
Figures 4-1a through 4-1e show where the gas supply manometer is installed on both the
upstream and downstream locations.
1. Turn off the main gas supply upstream of the unit.
2. Remove the top panel and/or front panel from the boiler to access the gas train.
3. Remove the 1/4” NPT plug from the leak detection ball valve on the upstream or
downstream side of the SSOV, as needed during testing, as shown in Figure 4-1a – 4-1d,
below.
4. Install an NPT-to-barbed fitting into the tapped plug port.
5. Attach one end of the plastic tubing to the barbed fitting and the other end to the 16” W.C.
(4.0 kPa) manometer.
 Loading...