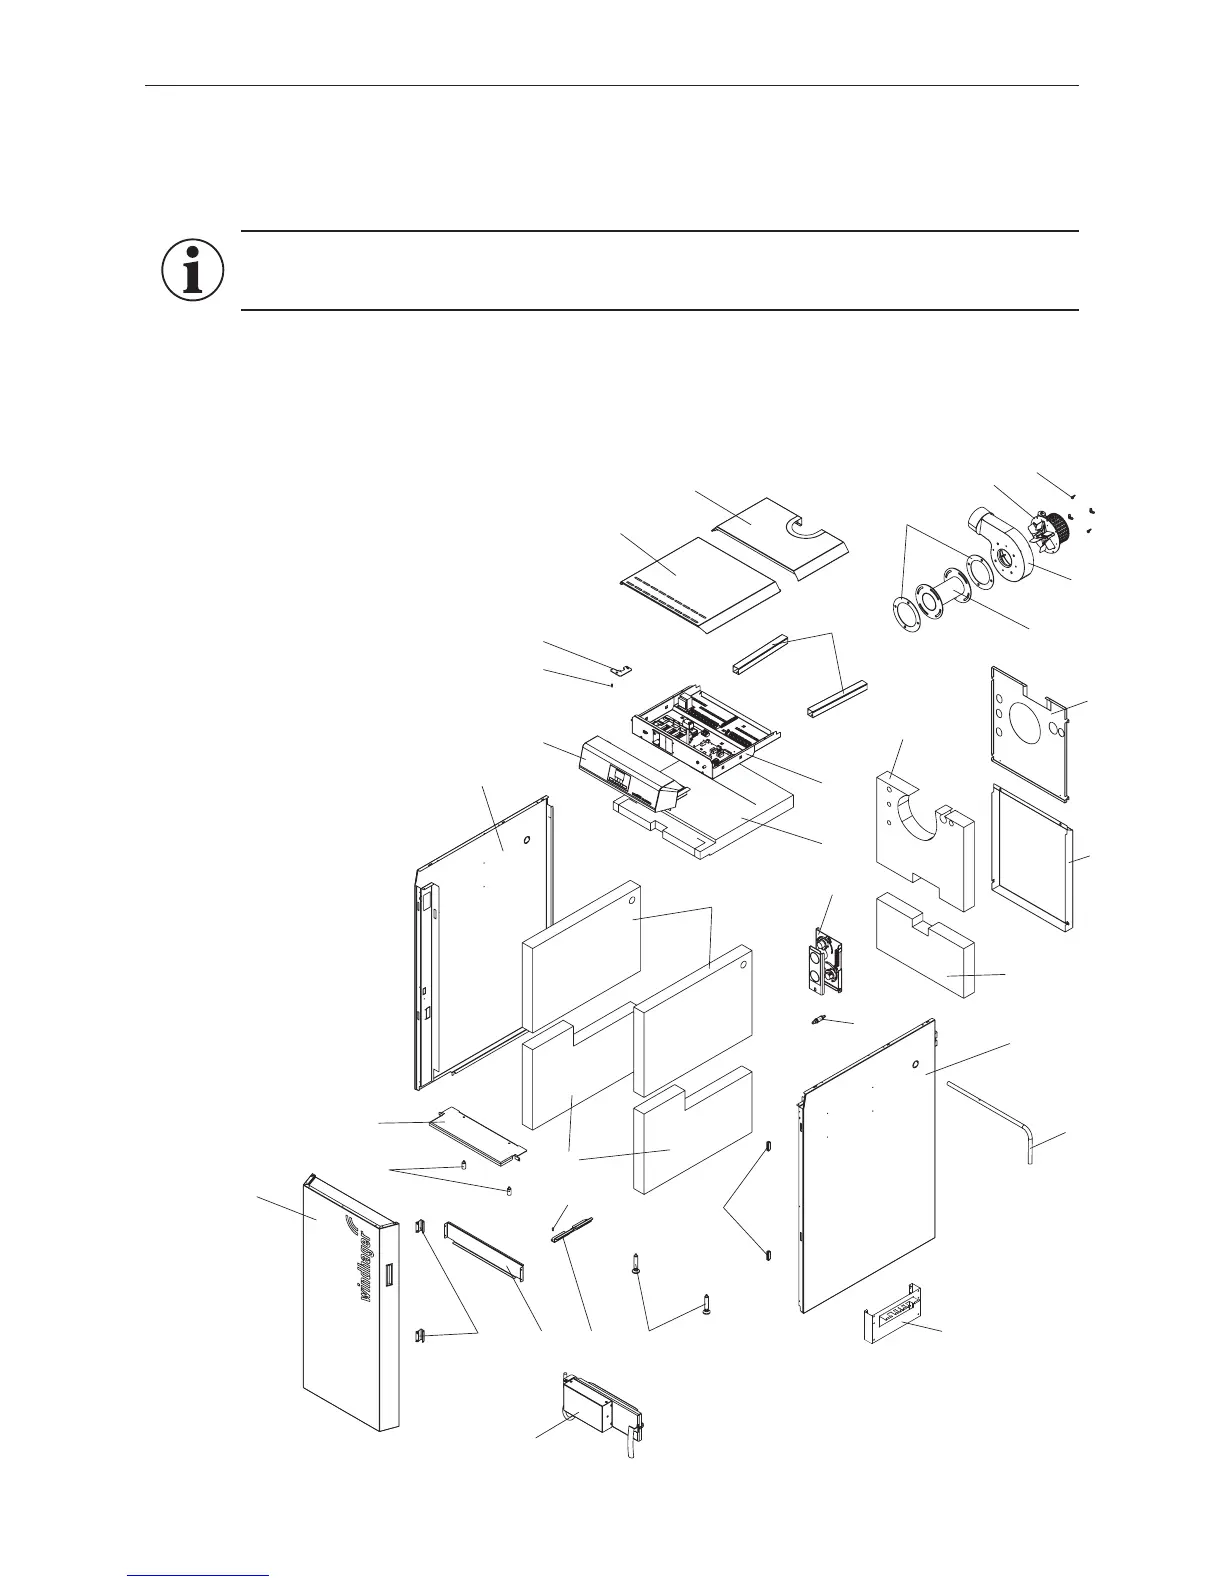
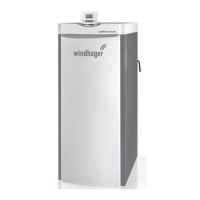
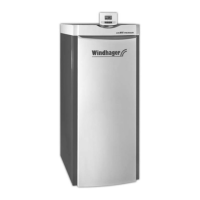
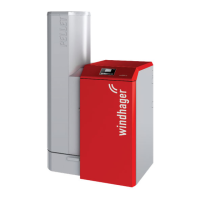
Fig. 4 Parts for installation
1 ...........Lower door hinge
2 ...........Carburisation gas duct
3 ...........Side panel left
4 ...........Side panel right
5 ...........Rear wall top
6 ...........Rear wall bottom
7 ...........Front boiler cover
8 ...........Rear boiler cover
9 ...........Hook-in plate ash pan
10 .........Bottom insulation, left/right
11 .........Top insulation, left/right
12 .........Top rear insulation
13 .........Bottom rear insulation
14 .........Top front insulation
15 .........Cladding door
16 .........Magnet retainer (2 pcs.)
17 .........Lever for cleaning heating surfaces
18 .........Carburisation gas duct attachment (2 pcs.)
19 .........Control panel
20 .........Upper door hinge
21 .........Control panel
22 .........Dog point screw (2 pcs.)
23 .........Cable channel (2 pcs.)
24 .........Lambda sensor
25 .........Air control
26 .........Set screws front (2 pcs.)
27 .........Magnetic catch (2 pcs.)
28 .........Blower seal
29 .........Flue connection adapter
- accessories
30 .........Blower housing
31 .........Flue gas blower
32 .........Wing nugs
33 .........Lighting door with
automatic ignition -
accessory
34 .........Hanger - accessory