19
2. For the Installer
2.3.11 Installing the side panels
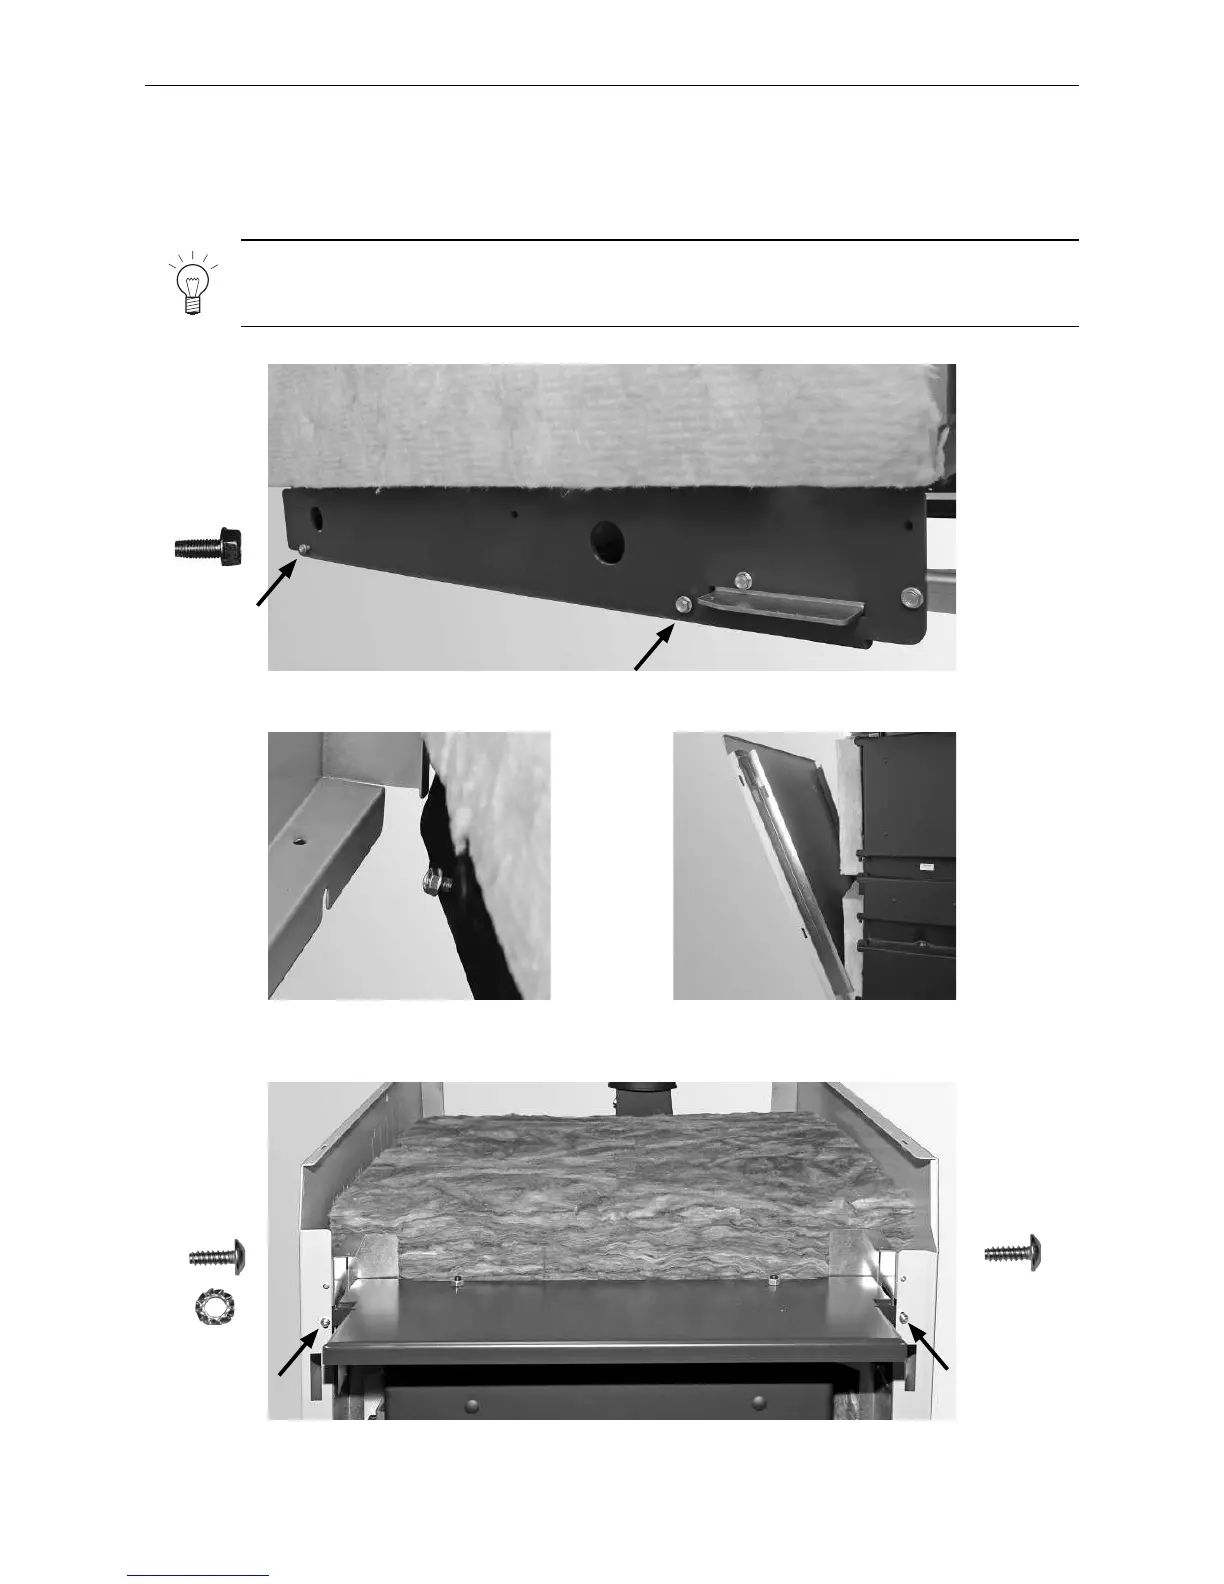
– Screw in 2 screws on the bottom of each side of the base halfway – Fig. 30. Release the side panels and hook
them into the installed screws at the bottom (Fig. 31, 32) and loosely screw the top on with one self-tapping
screw and one saw tooth ring for earthing – Fig. 33.
Fig. 30 Screw in 2 screws on each side of the base
Fig. 31 Hooking the side panels in with screws at the
bottom
2 each of
Note!
Only screw the cladding screws on loosely at first; do not adjust the cladding (gap size) and tighten
all screws until all cladding parts have been installed.
Fig. 32 Hooking in side panels
Fig. 33 Screws the side panels on loosely at the top front.
1 x1 x