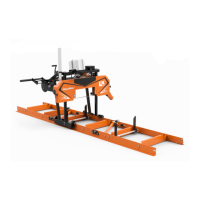
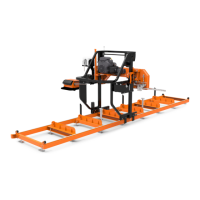
Setup & Operation
Tensioning the Blade
2
2-10 15doc041620 Setup & Operation
coiling, uncoiling, carrying or changing a blade Changing blades is
safest when done by one person! Failure to do so may result in
serious injury.
WARNING! Make sure the blade housing is closed before using the
up/down system. Failure to do so may result in serious injury.
Adjust the blade guide arm all the way open.
Open the blade housing cover. Turn the blade tension handle to release the blade tension until the
blade is pulled in and is lying loose in the blade housing. Lift the blade out of the blade housing.
Install a new blade on the blade wheels. When installing the blade, make sure the teeth are
pointing the correct direction. The teeth located between the blade guide assemblies should be
pointing toward the sawdust chute.
Position 1 1/4” wide blades on the wheels so the gullet is 3 mm out from the front edge of the
wheel. Position 1 1/2” wide blades on the wheels so the gullet is 4.5mm out from the front edge of
the wheel.
Close the blade housing cover.
Next, turn the tension handle until the blade is tensioned correctly.
2.4 Tensioning the Blade
See Figure 2-8. Tension the blade by turning the tensioner handle clockwise until the tension
gauge indicates the recommended tension. Check the blade tension occasionally when adjusting
the cant control or while cutting. As the blade and belts heat up and stretch, the blade tension will
 Loading...