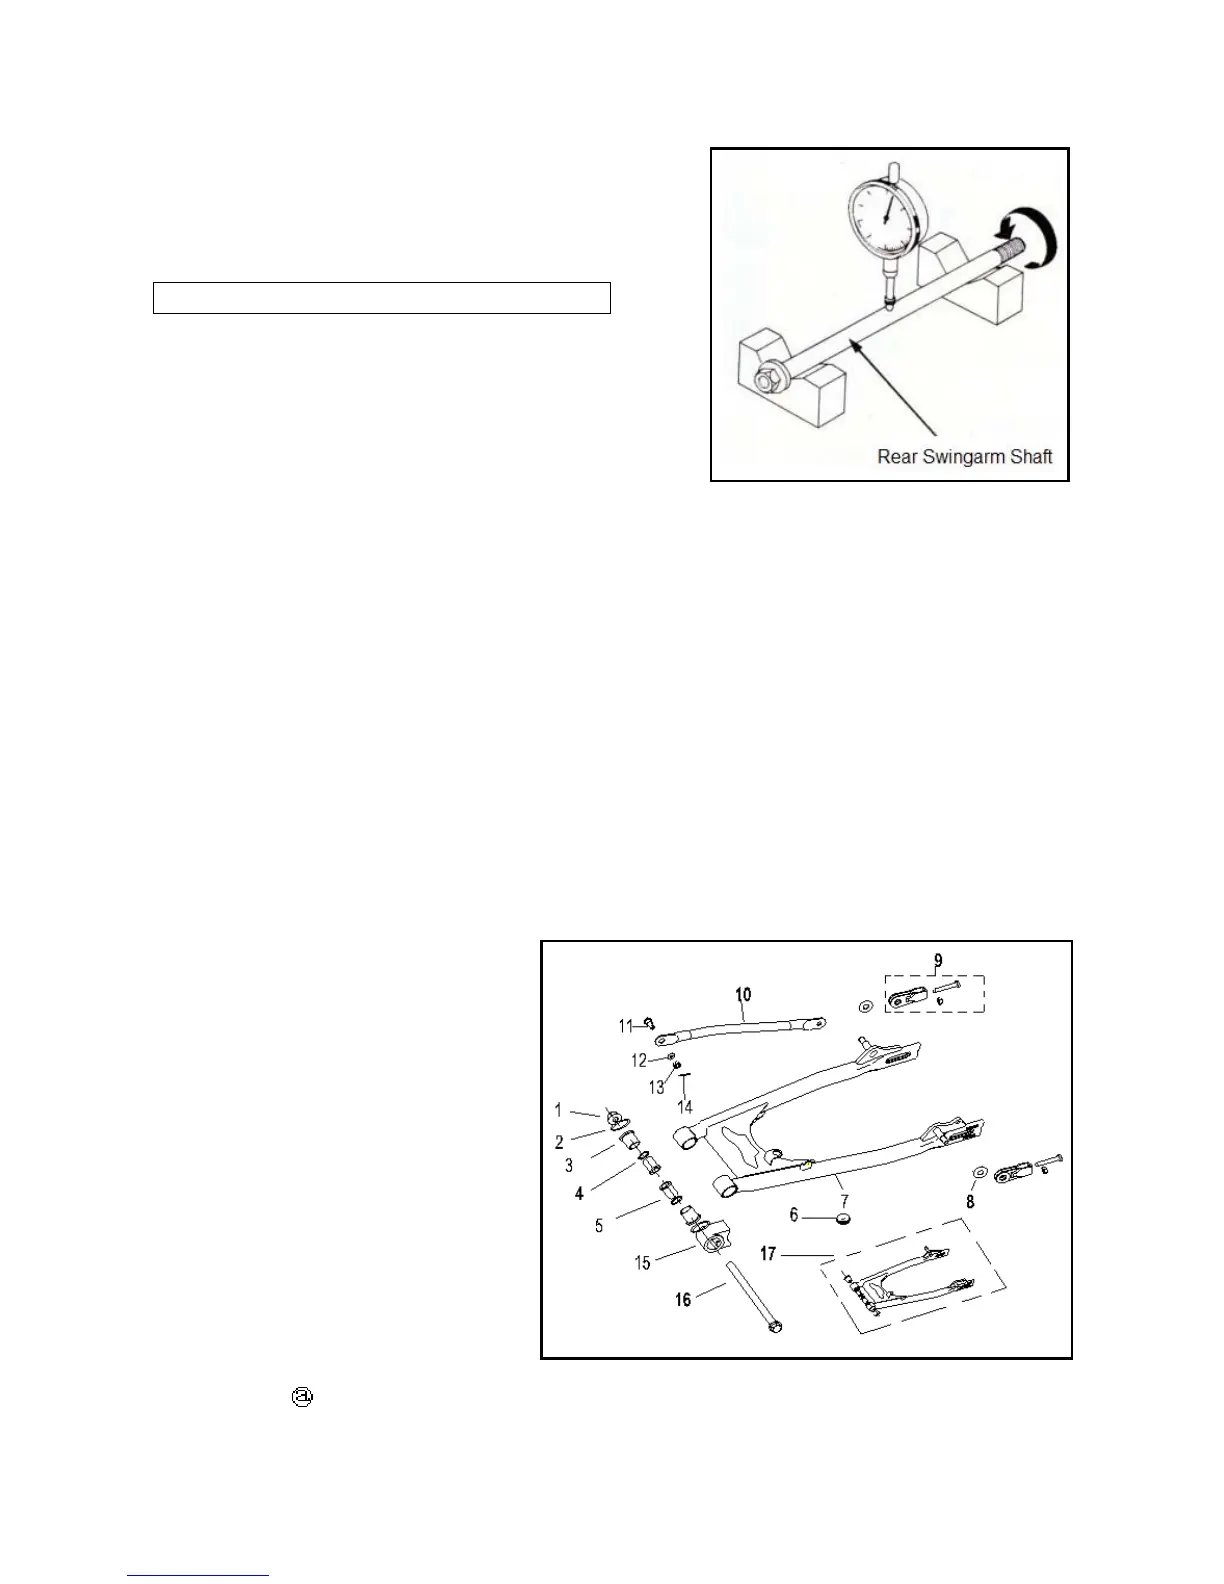
8.4.5 Rear Swing Arm Inspection
Check rear swing arm installation shaft. Rotate the shaft on a flat
surface or measure it with a dial gauge. If it is bent, replace it.
* Attention
Don’t attempt to straighten bent shaft.
Wash in solvent the components for rear swing arm installation
shaft.
Check sleeve assembly of rear swing arm(7) and intermediate
sleeve (5).
If they are damaged, replace them.
8.4.6 Install Rear Swingarm
Install the rear swing arm in the reverse order of removal.
Apply lubricating grease on to pivot bush.
Install rear swing arm sleeve assembly(15) and intermediate sleeve(14).
Install rear swing arm assembly(6).
Install rear swing arm onto the frame and insert rear swingarm shaft.
Install and tighten rear swing arm shaft nut to specified torque.
Install lower mounting bolt on rear shock absorber.
Install drive chain cover.
Install the two connecting bolts.
Install rear wheel.
Install rear swing arm nut
Tightening torque: 70-83N·m
8.5 Chain Drive Assembly
8.5.1.Removal
Stop the motorcycle on the flat ground and
stand it steadily.
Remove gearshift pedal connecting parts,
drive chain cover and drive sprocket.
Remove rear wheel, rear shock absorber,
chain cover and drive chain.
8.5.2.Inspection
Measure length of 10 chain links. If they cannot meet the specified value, replace the drive chain.

 Loading...