Email
Xerox
®
B205 Multifunction Printer
User Guide
106
Email
Email Overview
Before using Email, set up and configure the Email feature on the printer. For details, refer to Email
Settings.
Sending a Scanned Image in an Email
1. At the printer control panel, press the Scan button.
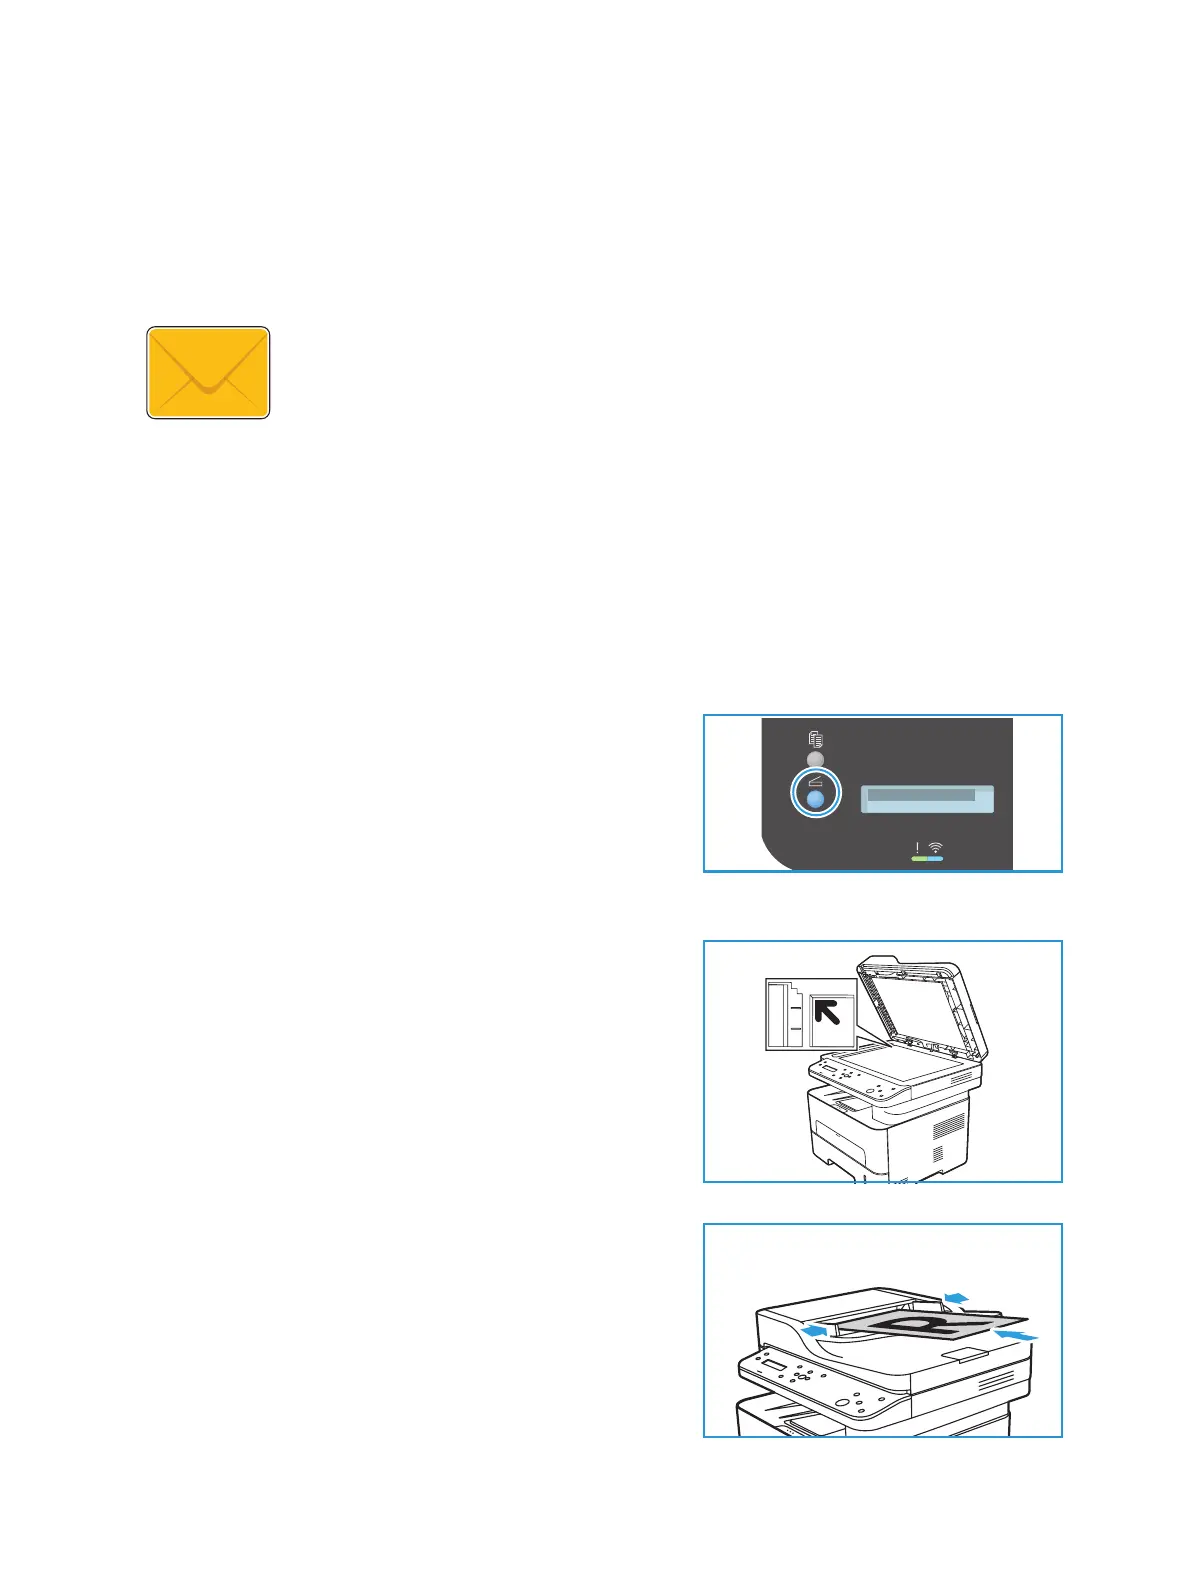
2. Load your original documents:
• Use the platen glass for single pages or paper that
cannot be fed using the automatic document
feeder. Lift the document feeder, then place the
original document face down in the upper-left
corner of the platen glass.
• For single or multiple pages, use the automatic
document feeder. Remove any staples and paper
clips from the pages. Insert the original documents
face up in the document feeder, with the top of the
page entering the feeder first. Adjust the paper
guides so that they fit against the original
documents.
You can use the Email feature to scan images and attach them to an email. You
can specify the format of the attachment and images can be scanned in color,
grayscale, or black and white.
Scanned images can be sent to an individual email address or a predefined
group of email address. Individual and group email addresses are set up in the
Address Book prior to using the Scan to Email function. For details about using
and editing the Address Book, refer to Address Book.

 Loading...