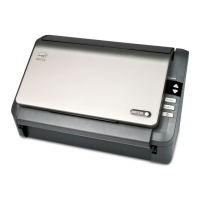
Scanning from TWAIN and WIA
Xerox
®
DocuMate
®
4799
User’s Guide
7-106
A note about your scanner and Microsoft WIA (Windows Image Acquisition):
The WIA platform has been developed to enable image transfer from devices using standard Windows
applications, such as Paint or Windows Fax and Scan, without the need to install additional scanning software.
Microsoft has developed its own interface for using the scanner with the Windows applications, as well as any
other WIA compatible applications you may have installed. However, when using a WIA 2.0 compatible
application, the default behavior will display the TWAIN interface as described in this document. You can change
the driver behavior to show the Windows interface instead of the custom interface described herein. Please refer
to Driver Settings for the Hardware Properties and Interface Behavior on page 149 for more information.
Please refer to your Windows documentation for WIA scanning instructions if you do not see the interface
described below, or if you have any questions regarding Windows scanning applications.
Scanning
Some features described herein may not be available for the current scanner. Please disregard any information
about features that you do not see in the interface for your scanner.
Note: Visioneer Acuity must be installed for the image processing options, described in this document, to be
available in the interface for your scanner. Only features that are appropriate for your scanner will be enabled
after Visioneer Acuity is installed. Visioneer Acuity is automatically installed when you install the scanner driver
from the installation disc. If you downloaded the scanner driver from our website, make sure you also download
and install Visioneer Acuity.
1. Load the document(s) in the scanner.
2. Adjust the settings in the interface for the item you are scanning.
3. Click on the Scan button.
4. When scanning is complete, click Done to close the interface.
5. The scanned images are now in the scanning application.
 Loading...
