Scanning and Configuring One Touch
Xerox
®
DocuMate
®
4799
User’s Guide
6-37
• To edit the configuration, click the Edit button.
Edit the settings and click OK.
Note: Your scanner comes with a number of configurations pre-set at the factory. To ensure that your scanner will
always have a set of correct scan configurations, do not delete the pre-set configurations. We also recommend
that you keep those configurations locked so they are not inadvertently deleted. That way, you will always have
the factory-settings available. If you do delete or edit them, and want to get the factory pre-sets back again, you
will need to uninstall then re-install your scanner.
In the Scan Configuration Properties window, the Scan Settings, Page Settings, Advanced Settings, and
Redaction Settings tabs are always available. When the Visioneer Acuity module is installed, the Acuity Settings
tab will also be available for all destinations.
Based on the selected destination, additional settings tabs may also be available. If you see one of these
additional settings tabs please refer to the appropriate section, as listed below, for instructions on configuring
these destination specific options.
•Use the Storage Options tab to choose the storage folder for scans sent to the Transfer to Storage
destination, as described on page 50.
•Use the Device Settings tab to configure Fax and Print destinations, as described on page 57.
•Use the PaperPort tab to choose the destination folder, in the Nuance PaperPort application, as described on
page 58.
•Use the SharePoint tab to specify a SharePoint site, user credentials, and destination folder, as described on
page 60.
•Use the FTP Transfer tab to specify an FTP site, user credentials, and destination folder, as described on
page 63.
•Use the SMTP Configuration tab to specify an SMTP server, user credentials, and destination email address,
as described on page 66.
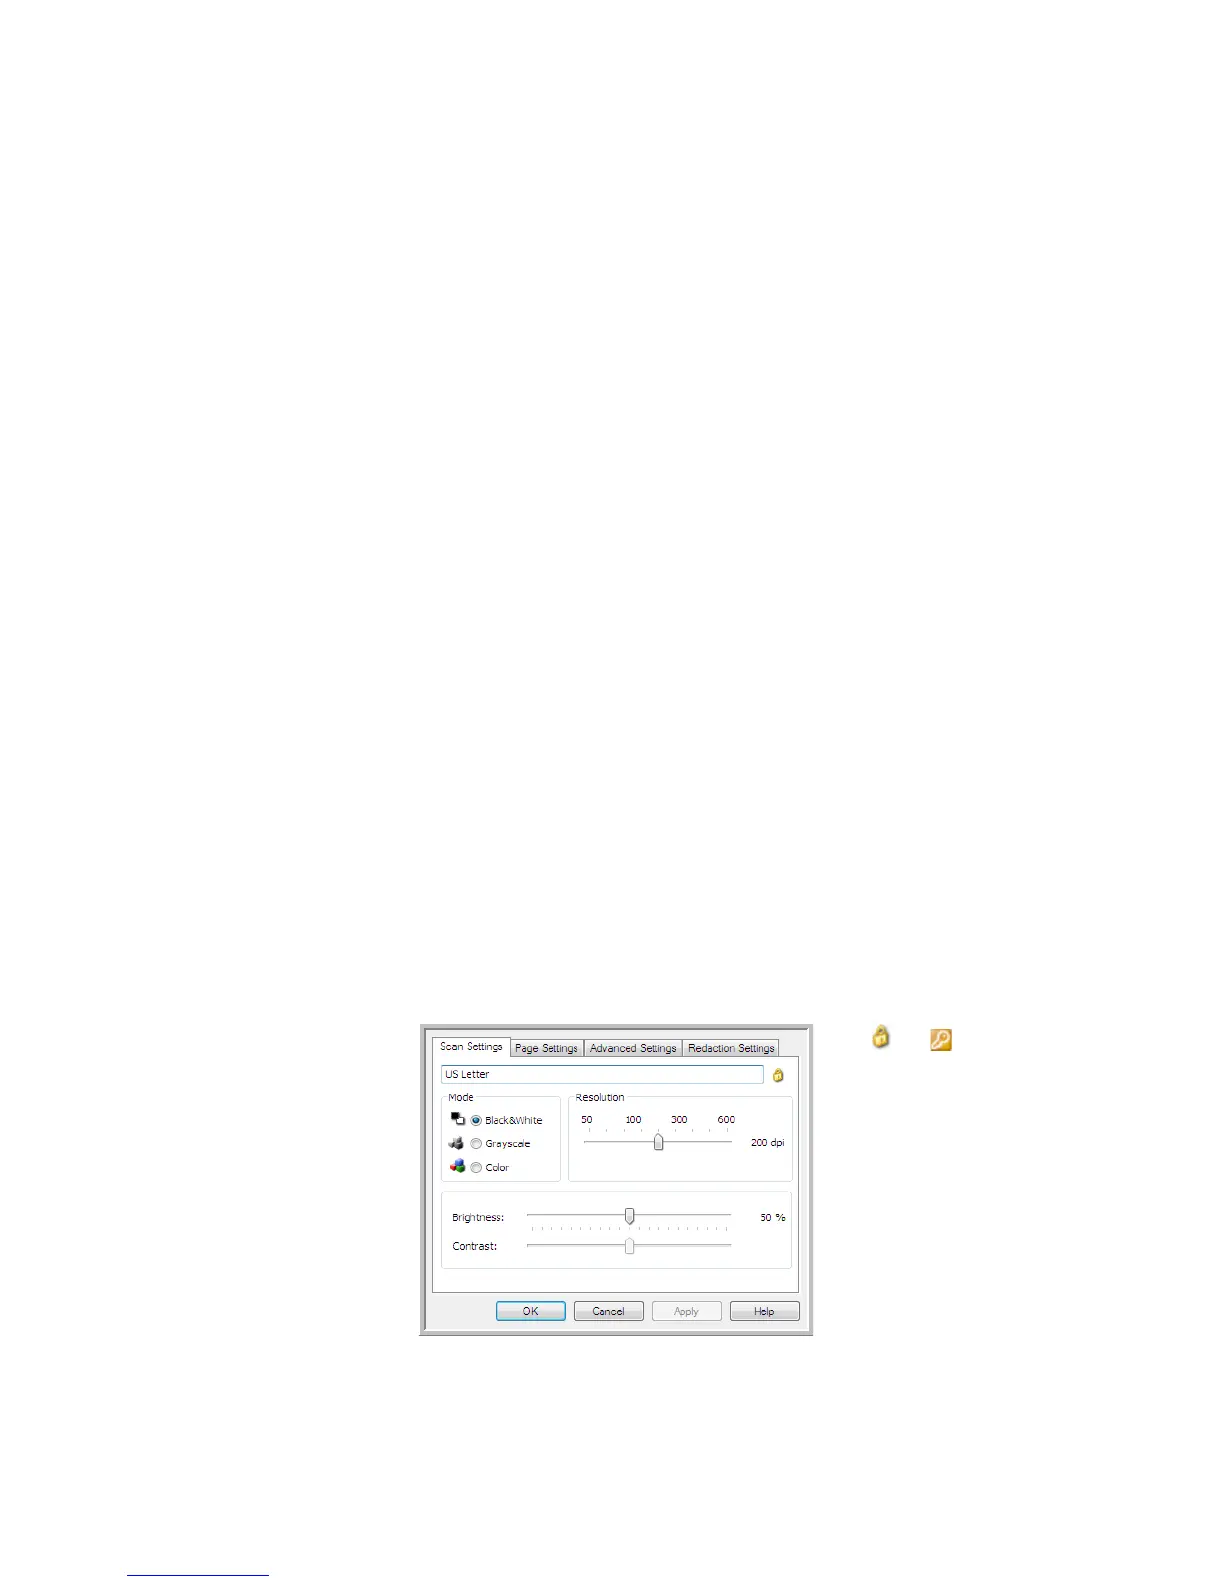
Scan Settings Tab
On the Scan Configuration Properties dialog box, type a name.
Mode—select a scanning mode:
If the configuration
is locked, click the
lock to unlock it. The
icon becomes a key.
Type a new name for
the configuration.
Select the scan mode
and drag the slider to
set the resolution.
Drag the sliders to set
the Brightness and
Contrast.
 Loading...