Replacing the Consumables
11-12
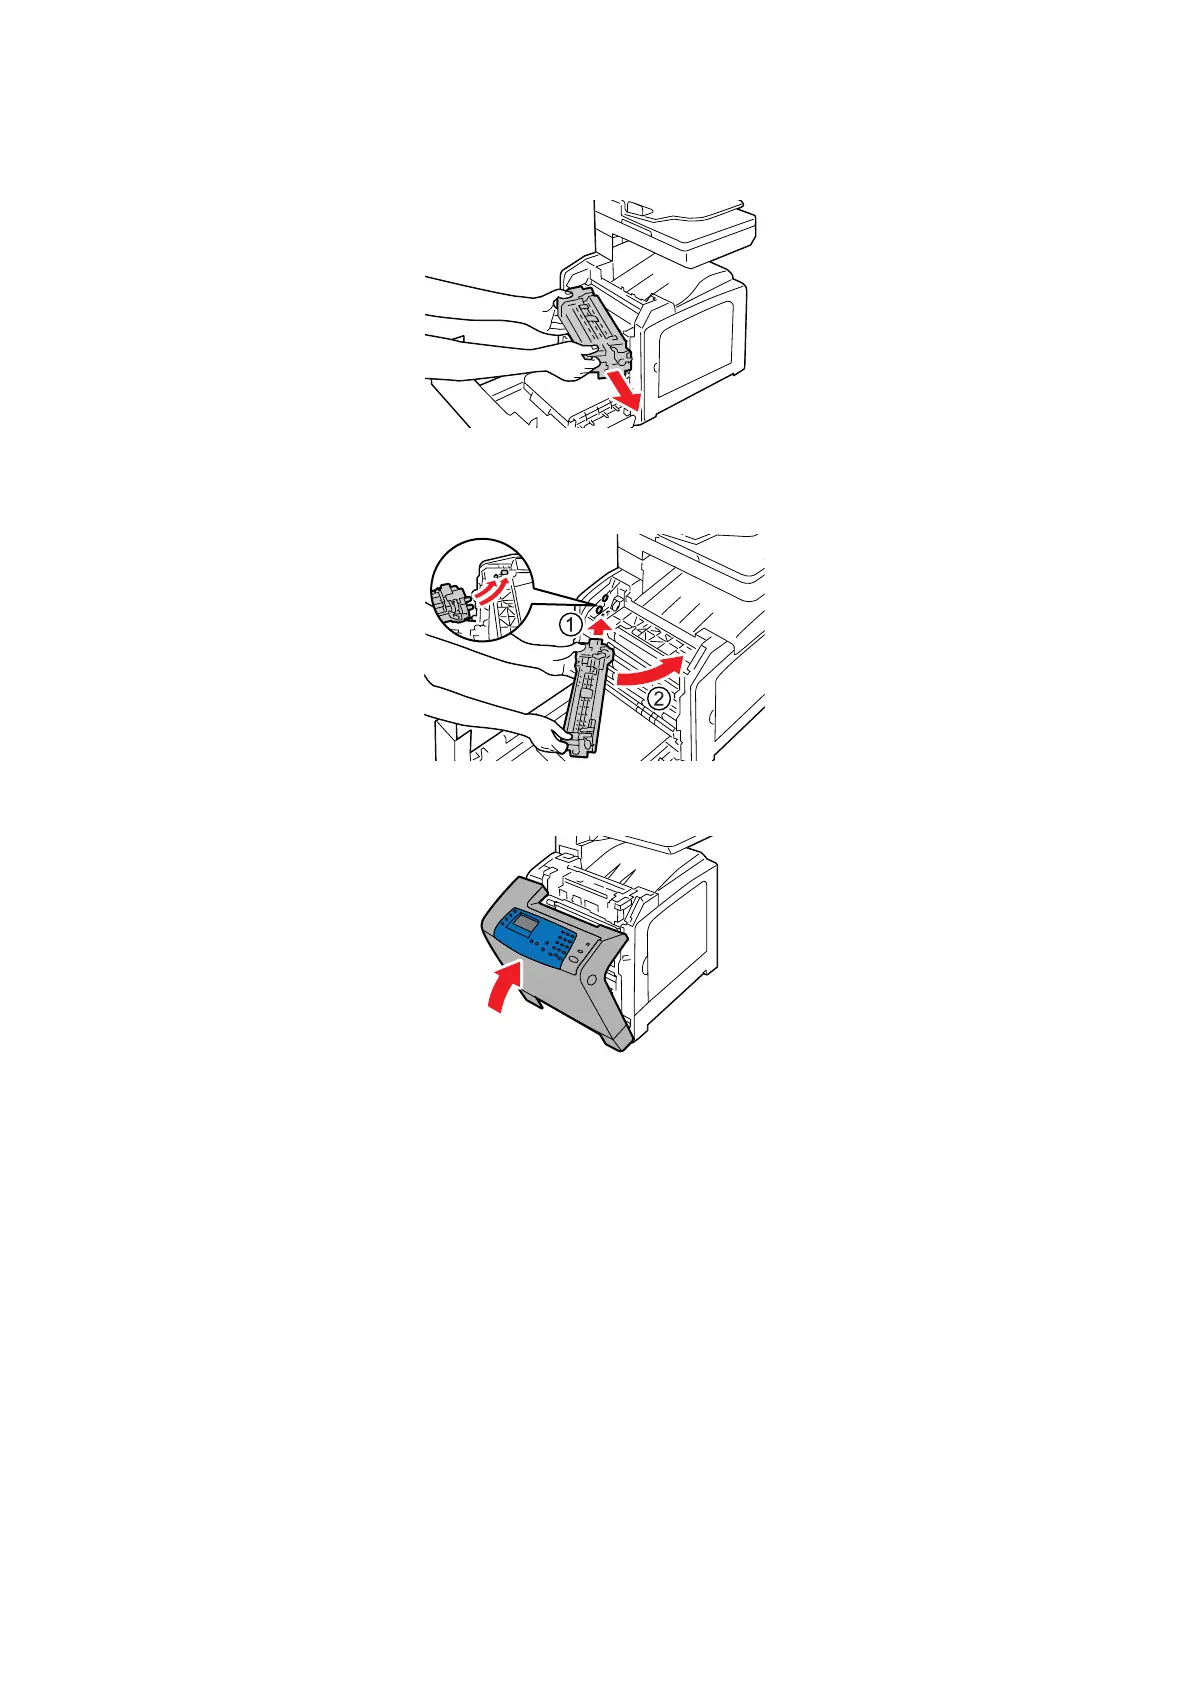
4. Hold the fuser unit by both ends, and slightly lift the right side of the fuser unit to remove it from the
printer.
5. Remove a new fuser unit from its packaging.
6. Hold the new fuser unit by both ends, and insert the left edge of the fuser unit into the holes inside the
printer.
7. Turn the right side of the fuser unit toward the rear of printer, and insert the right notch into the holder
inside the printer.
8. Close the front cover.
Important: When closing the front cover, be careful not to get your fingers caught between (the left,
right, top, or bottom edge of) the cover and the printer.
9. To reset the counter reading after installing the new fuser unit, configure Reset Fuser to Yes on the
printer console.
a. On the printer console, press the System button.
b. Select the Admin menu, and then press the OK button.
c. Select the Maintenance menu, and then press the OK button.
d. Select the Reset Fuser menu, and then press the OK button.
e. Select Yes , and then press the OK button.

 Loading...


