XO FLEX – Instructions for use Configuration
48
4 CONFIGURATION
This section describes the many aspects of XO FLEX that can be customized to fit your personal
needs.
4.1 CONFIGURATION OF PATIENT CHAIR POSITIONS
1. Adjust the chair to the required position using the foot control joystick as described in
section 3.6.2
2. Press the configuration button – see Figure 64 – within 8 seconds
3. The display will show “CHAIR”
4. Activate the chair base joystick – see Figure 65 – according to the position being
configured:
: Working position 1
: Working position 2
: Rinse position
(twice within one second): Entry position
5. Subsequently, an “OK” sound is heard
6. The display will show the configured position shortly afterwards
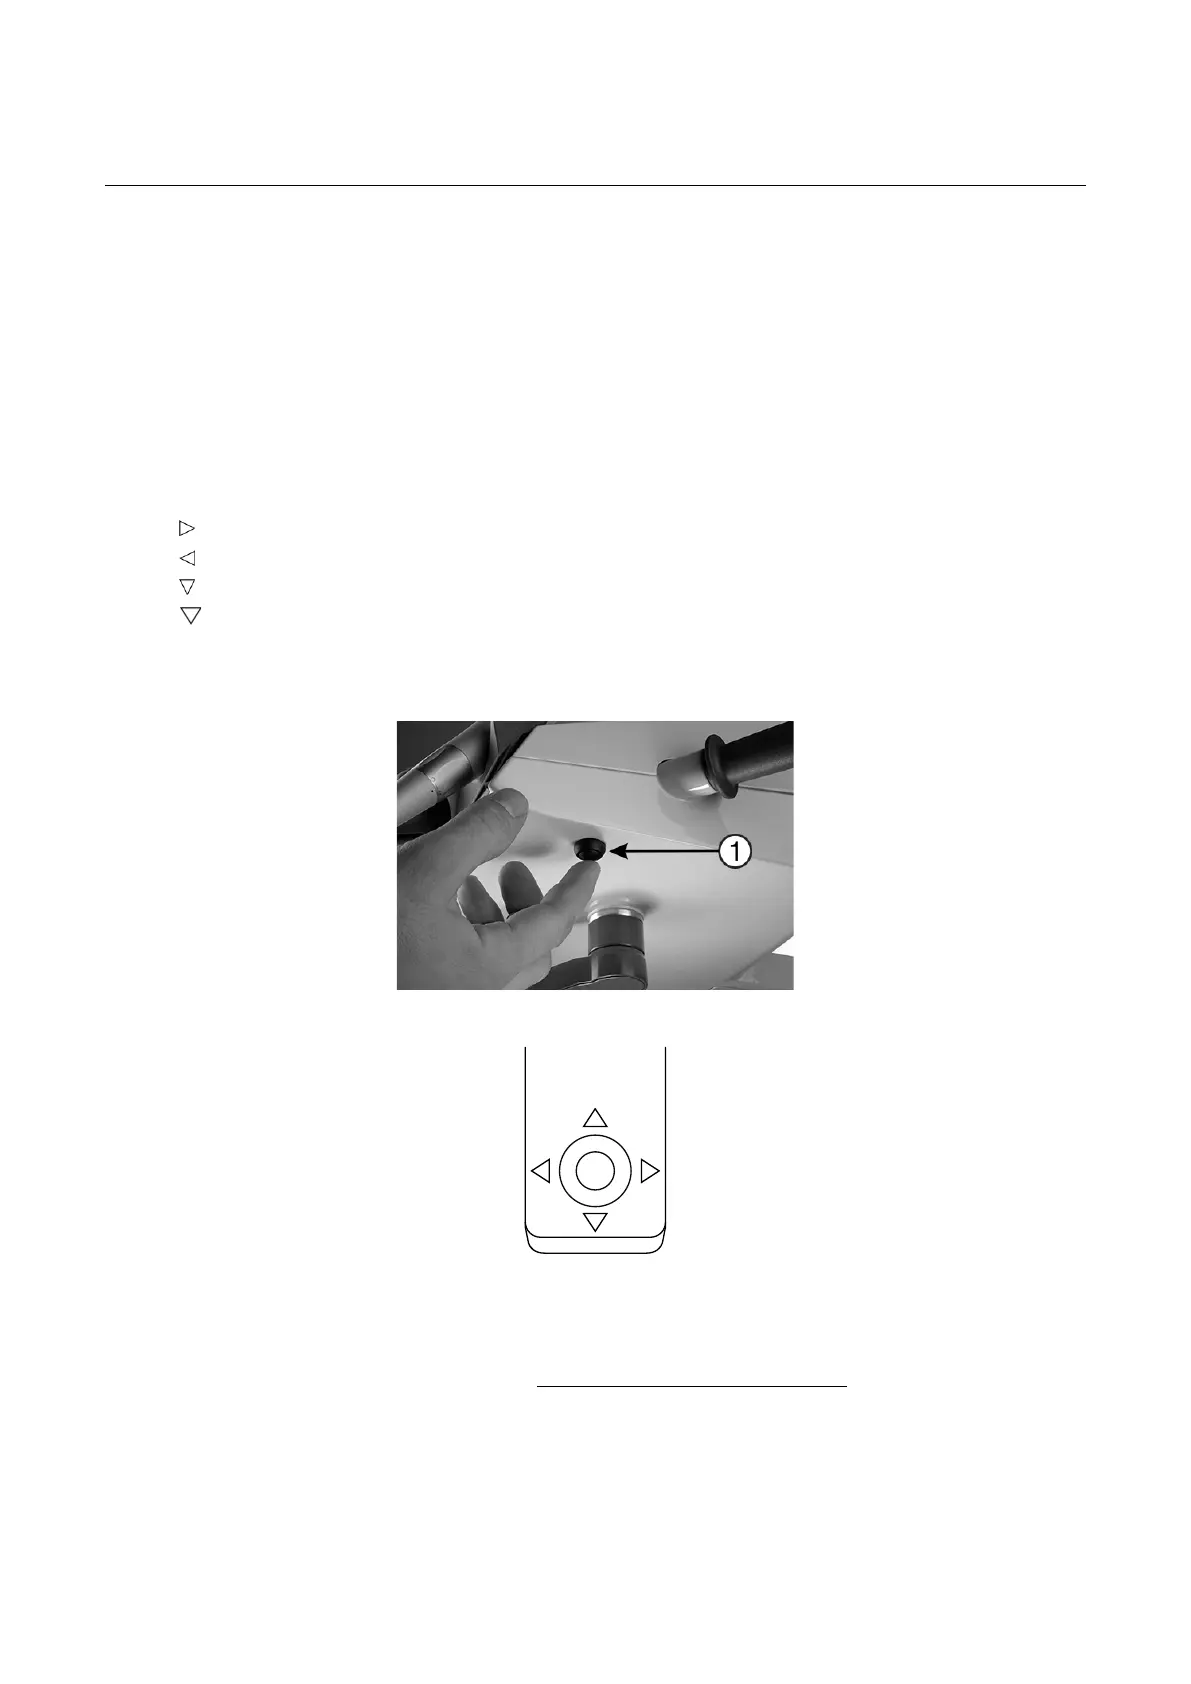
Figure 64 – Configuration button (1) under the instrument bridge
Figure 65 – Chair base joystick
4.2 CONFIGURATION OF GENERAL UNIT AND PATIENT CHAIR FUNCTIONS
1. Activate the configuration button (1) while all instruments are resting – see Figure 64.
2. Activate ▲ / ▼ or ⬇ – see Figure 66 – to browse the parameter to change (see Table 5)
3. Activate ► to select the parameter to change
4. Use ▲ / ▼ to change the value of the selected parameter or ⬇ to increase the value
5. Activate ◄ to save the new value
6. Press the configuration button again