XO FLEX – Instructions for use Configuration
49
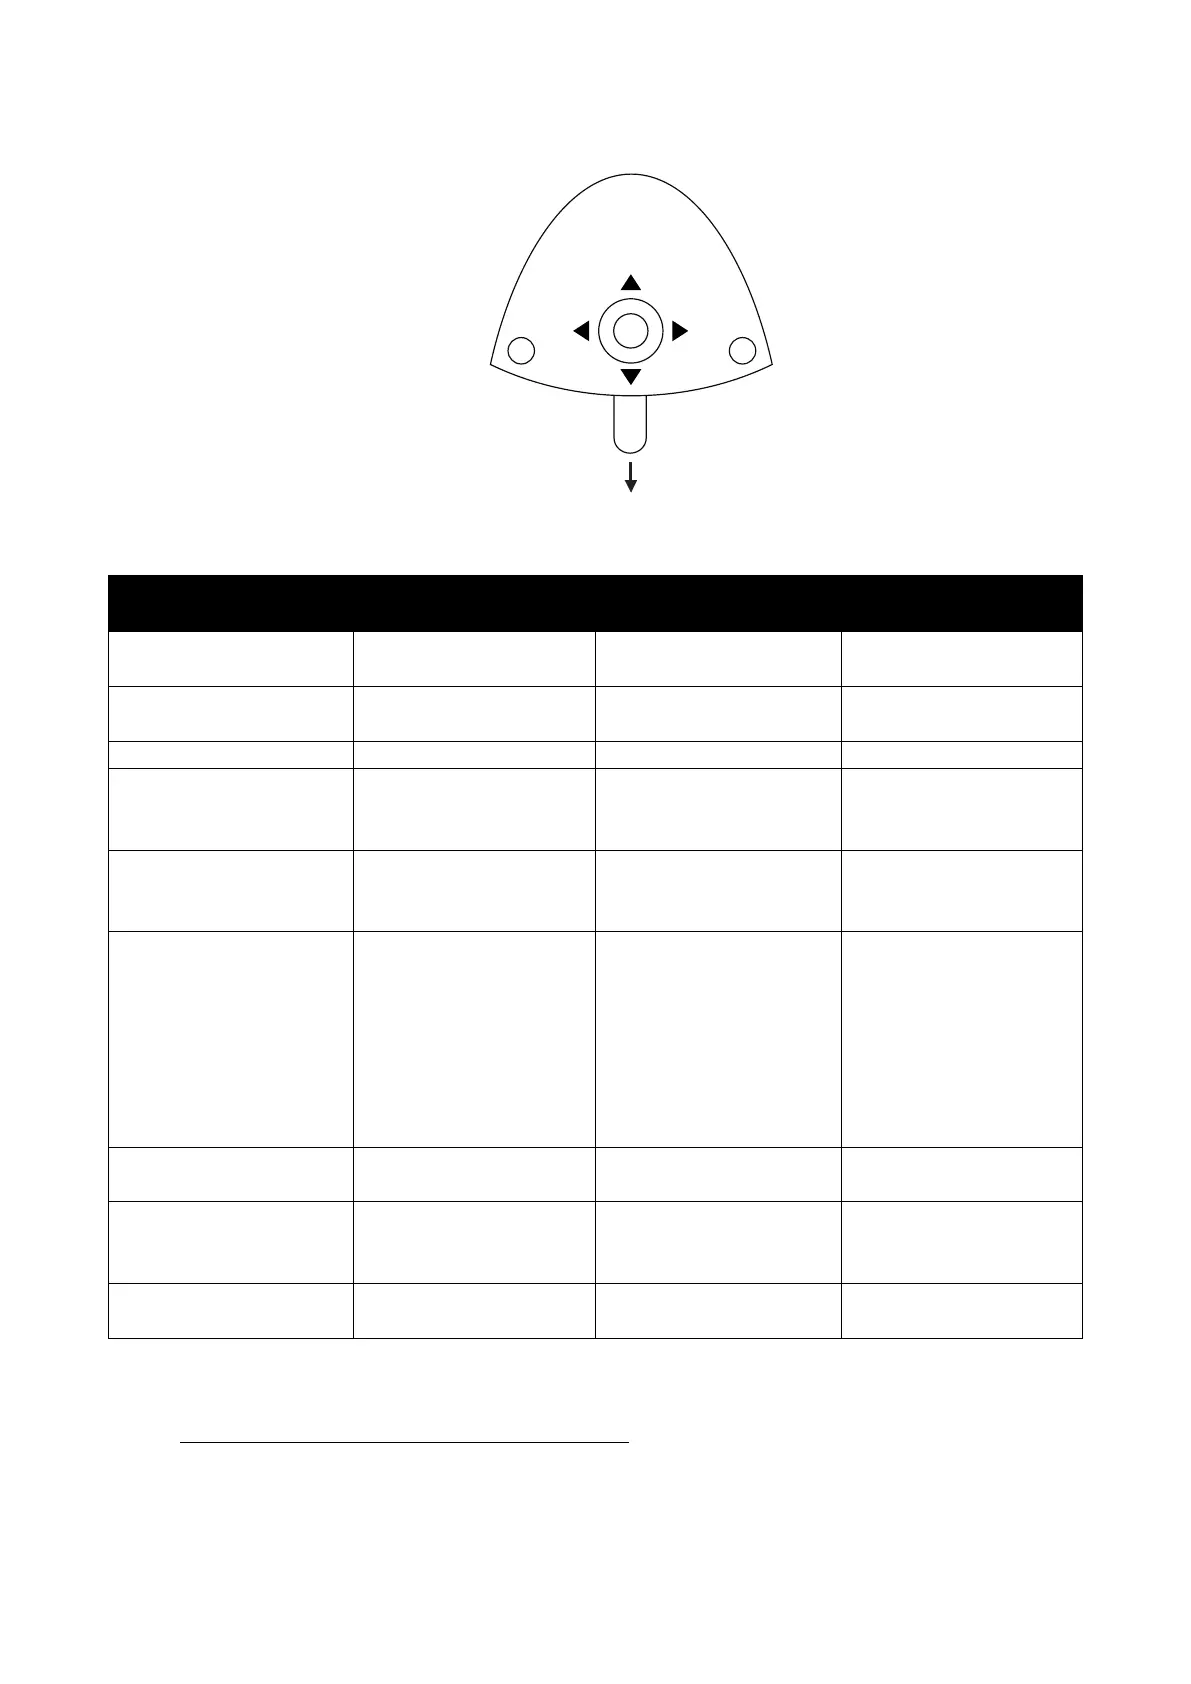
Figure 66 – Configuration using the foot control
Table 5 – Unit and patient chair parameters that can be configured
configuration
Pump
after
automatically when chair
reaches entry position
automatically when cup
filler stops
chair reaches a working
position or previous
position.
Light off when chair
moves towards entry, 0-
position or working
positions 1 or 2.
control
chair functions to
“factory standard”
position (0-position)
4.3 CONFIGURATION OF UNIT INSTRUMENTS
1. Lift the instrument to be programmed forward
2. Activate the configuration button (1) until the display shows the instrument setting – see
Figure 64
3. Activate ▲ / ▼ or ⬇ – see Figure 66 – to browse the parameter to change (see Table 6)