POWR
Power unit
5-51
6D93G11
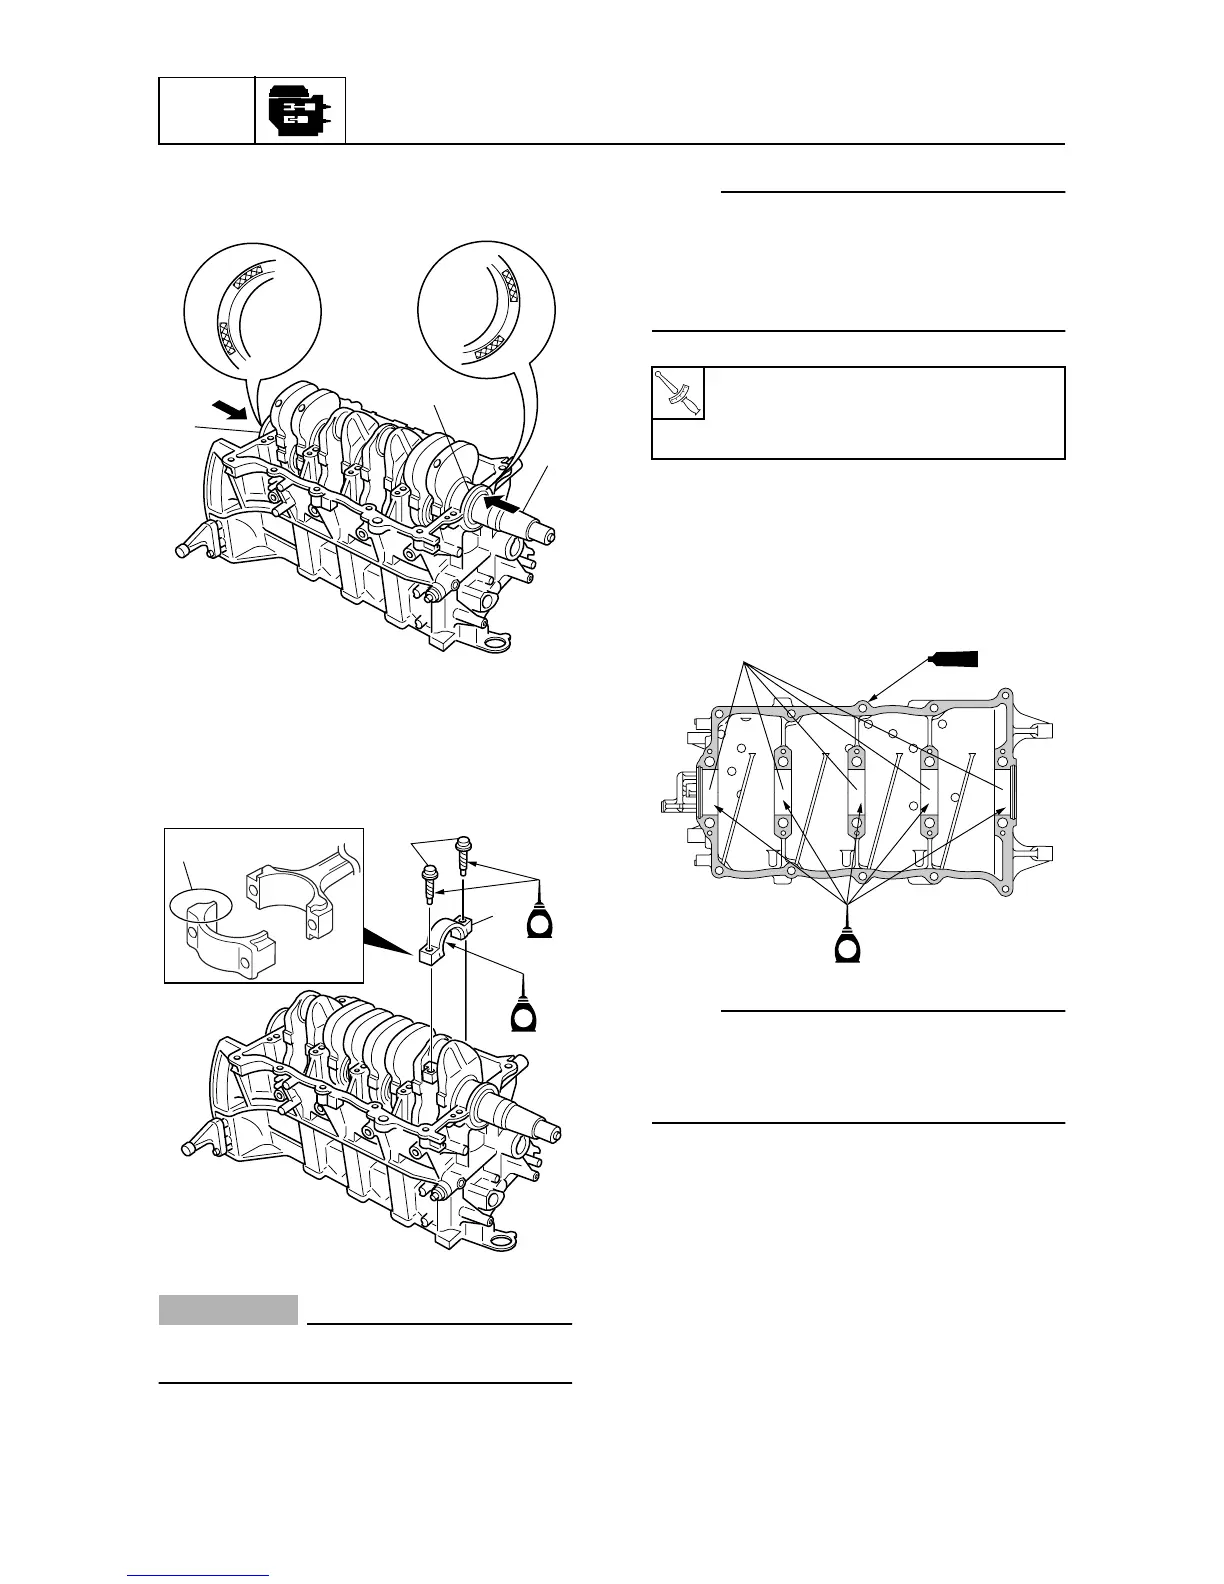
6. Set the crankshaft
8
and oil seals
9
and
0
into the cylinder block as shown.
7. Install the connecting rod cap
5
to the
connecting rod, and then tighten the new
connecting rod bolts
A
to the specified
torques in two stages.
CAUTION:
Do not reuse the connecting rod bolts,
always replace them with new ones.
NOTE:
• Make sure that the large, flat side
c
of the
connecting rod faces towards the flywheel
magnet side of the crankshaft.
• Apply engine oil to the connecting rod caps
and connecting rod bolts before installation.
8. Install half of the bearings
B
into the
crankcase.
9. Apply sealant to the mating surface of
the crankcase.
NOTE:
• Install the bearings in their original posi-
tions.
• Do not get any sealant on the main bear-
ings.
10. Install the crankcase onto the cylinder
block and apply engine oil onto the
threads of the crankcase bolts.
11. Tighten the crankcase bolts to the speci-
fied torques in two stages and in the
sequence shown.
S6D85700
8
9
0
S60C5B30
5
A
c
E
E
 Loading...


