6D93G11
7-44
1
2
3
4
5
6
7
8
9
NOTE:
• Repeat this procedure so that the ram goes
up and down four or five times (be sure to
wait a few seconds before switching the
leads).
• If the ram does not move up and down eas-
ily, push and pull on the ram to assist oper-
ation.
8. Check the fluid level when the tilt ram is
fully extended. Add sufficient fluid if nec-
essary.
Installing the power trim and tilt unit
1. Fully tilt the outboard motor up, and then
support it with the tilt stop lever
1
.
CAUTION:
After tilting the outboard motor up, be
sure to support it with the tilt stop lever.
2. Install the collars and bushings.
3. Lift the power trim and tilt unit up, and
then install the upper mounting shaft
2
.
4. Install the circlip
3
.
5. Install the lower mounting shaft
4
, and
then install the circlips
5
.
6. Route the PTT motor leads through the
hole, and then install the holders and
plastic ties.
7. Connect the ground lead
6
.
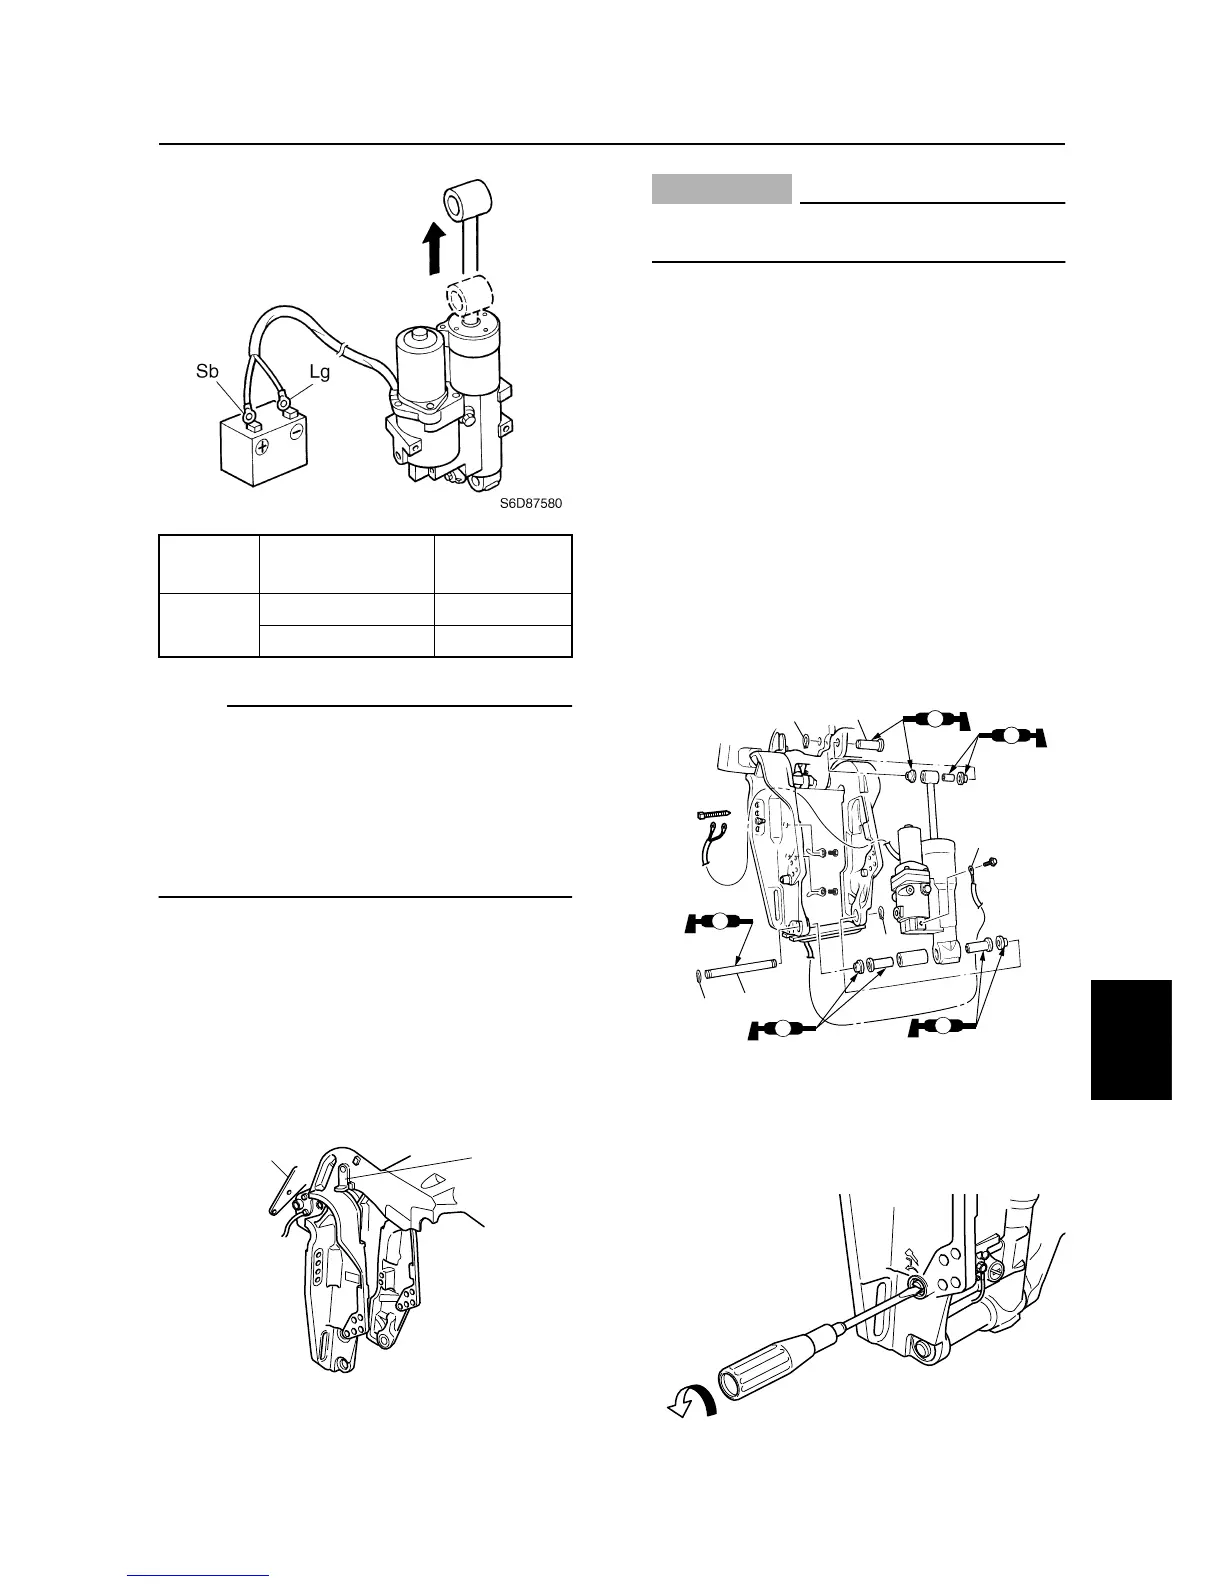
Bleeding the power trim and tilt unit
(built-in)
1. Fully turn the manual valve counterclock-
wise.
Ram PTT motor lead
Battery
terminal
Up
Sky blue (Sb)
+
Light green (Lg)
-
S60C7975
1
S6D87470
AA
AA
AA
AA
AA
3
2
6
5
5
4
S60C7745
Tilt cylinder and trim cylinder