BRKT
Bracket unit
7-39
69J1D11
3. Install the trim piston assembly into the
trim cylinder, and then tighten the trim
cylinder end screw
2
to the specified
torque.
WARNING
Do not push the trim rams down while
installing them into the trim cylinders.
Otherwise, the power trim and tilt fluid
may spurt out from the unit.
Installing the power trim and tilt
motor
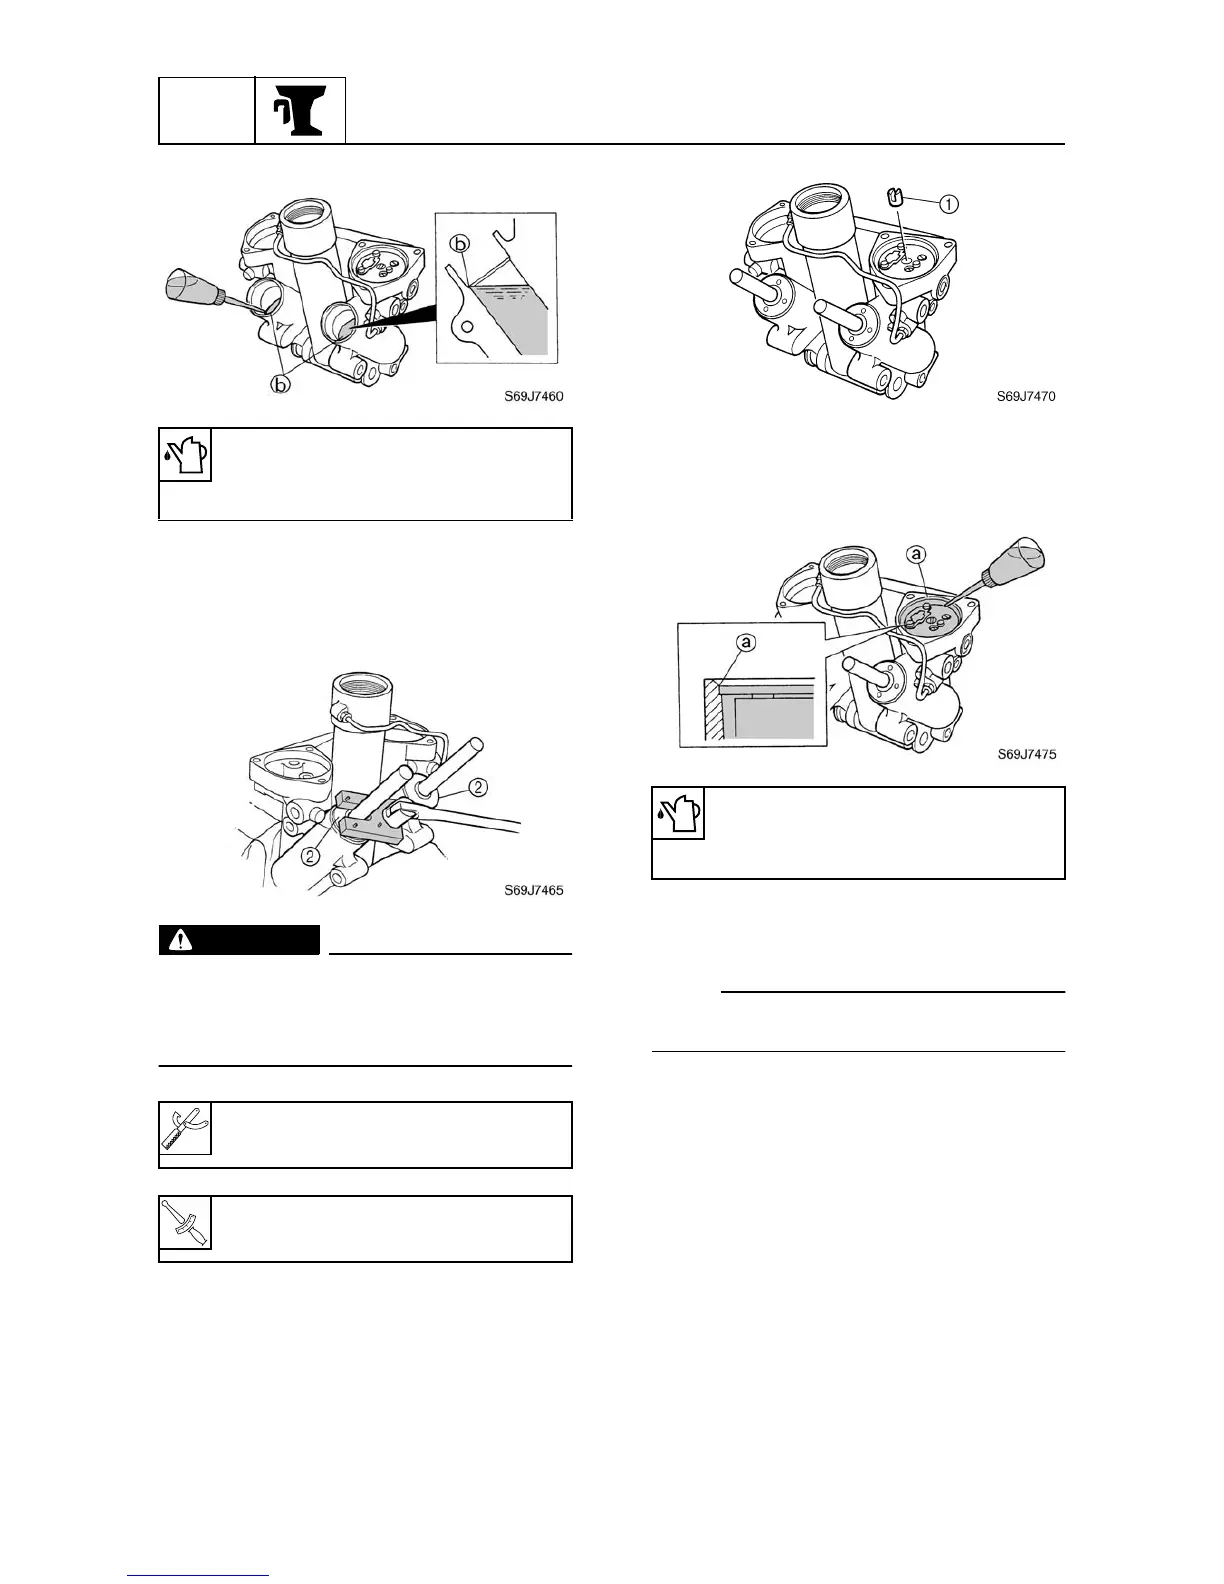
1. Install the joint
1
into the pump housing.
2. Fill the pump housing with the recom-
mended fluid to the correct level
a
as
shown.
3. Remove all of the air bubbles with a
syringe or suitable tool.
NOTE:
Turn the joint with a screwdriver, and then
remove any air between the pump gear teeth.
4. Install the new O-ring
2
, power trim and
tilt motor
3
, and then tighten the bolts
4
to the specified torque.
Recommended power trim and tilt
fluid:
ATF Dexron
II
Trim and tilt cylinder wrench:
YB-06175-2B
T
R
.
.
Trim cylinder end screw
2
:
160 N·m (16 kgf·m, 115 ft·lb)
Recommended power trim and tilt
fluid:
ATF Dexron
II
 Loading...