10
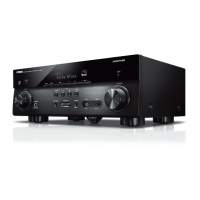
RX-A4A
L type allen wrench
L type allen wrench
L型六角レンチ
L型六角レンチ
Push
Push
押す
押す
1
1
1
1
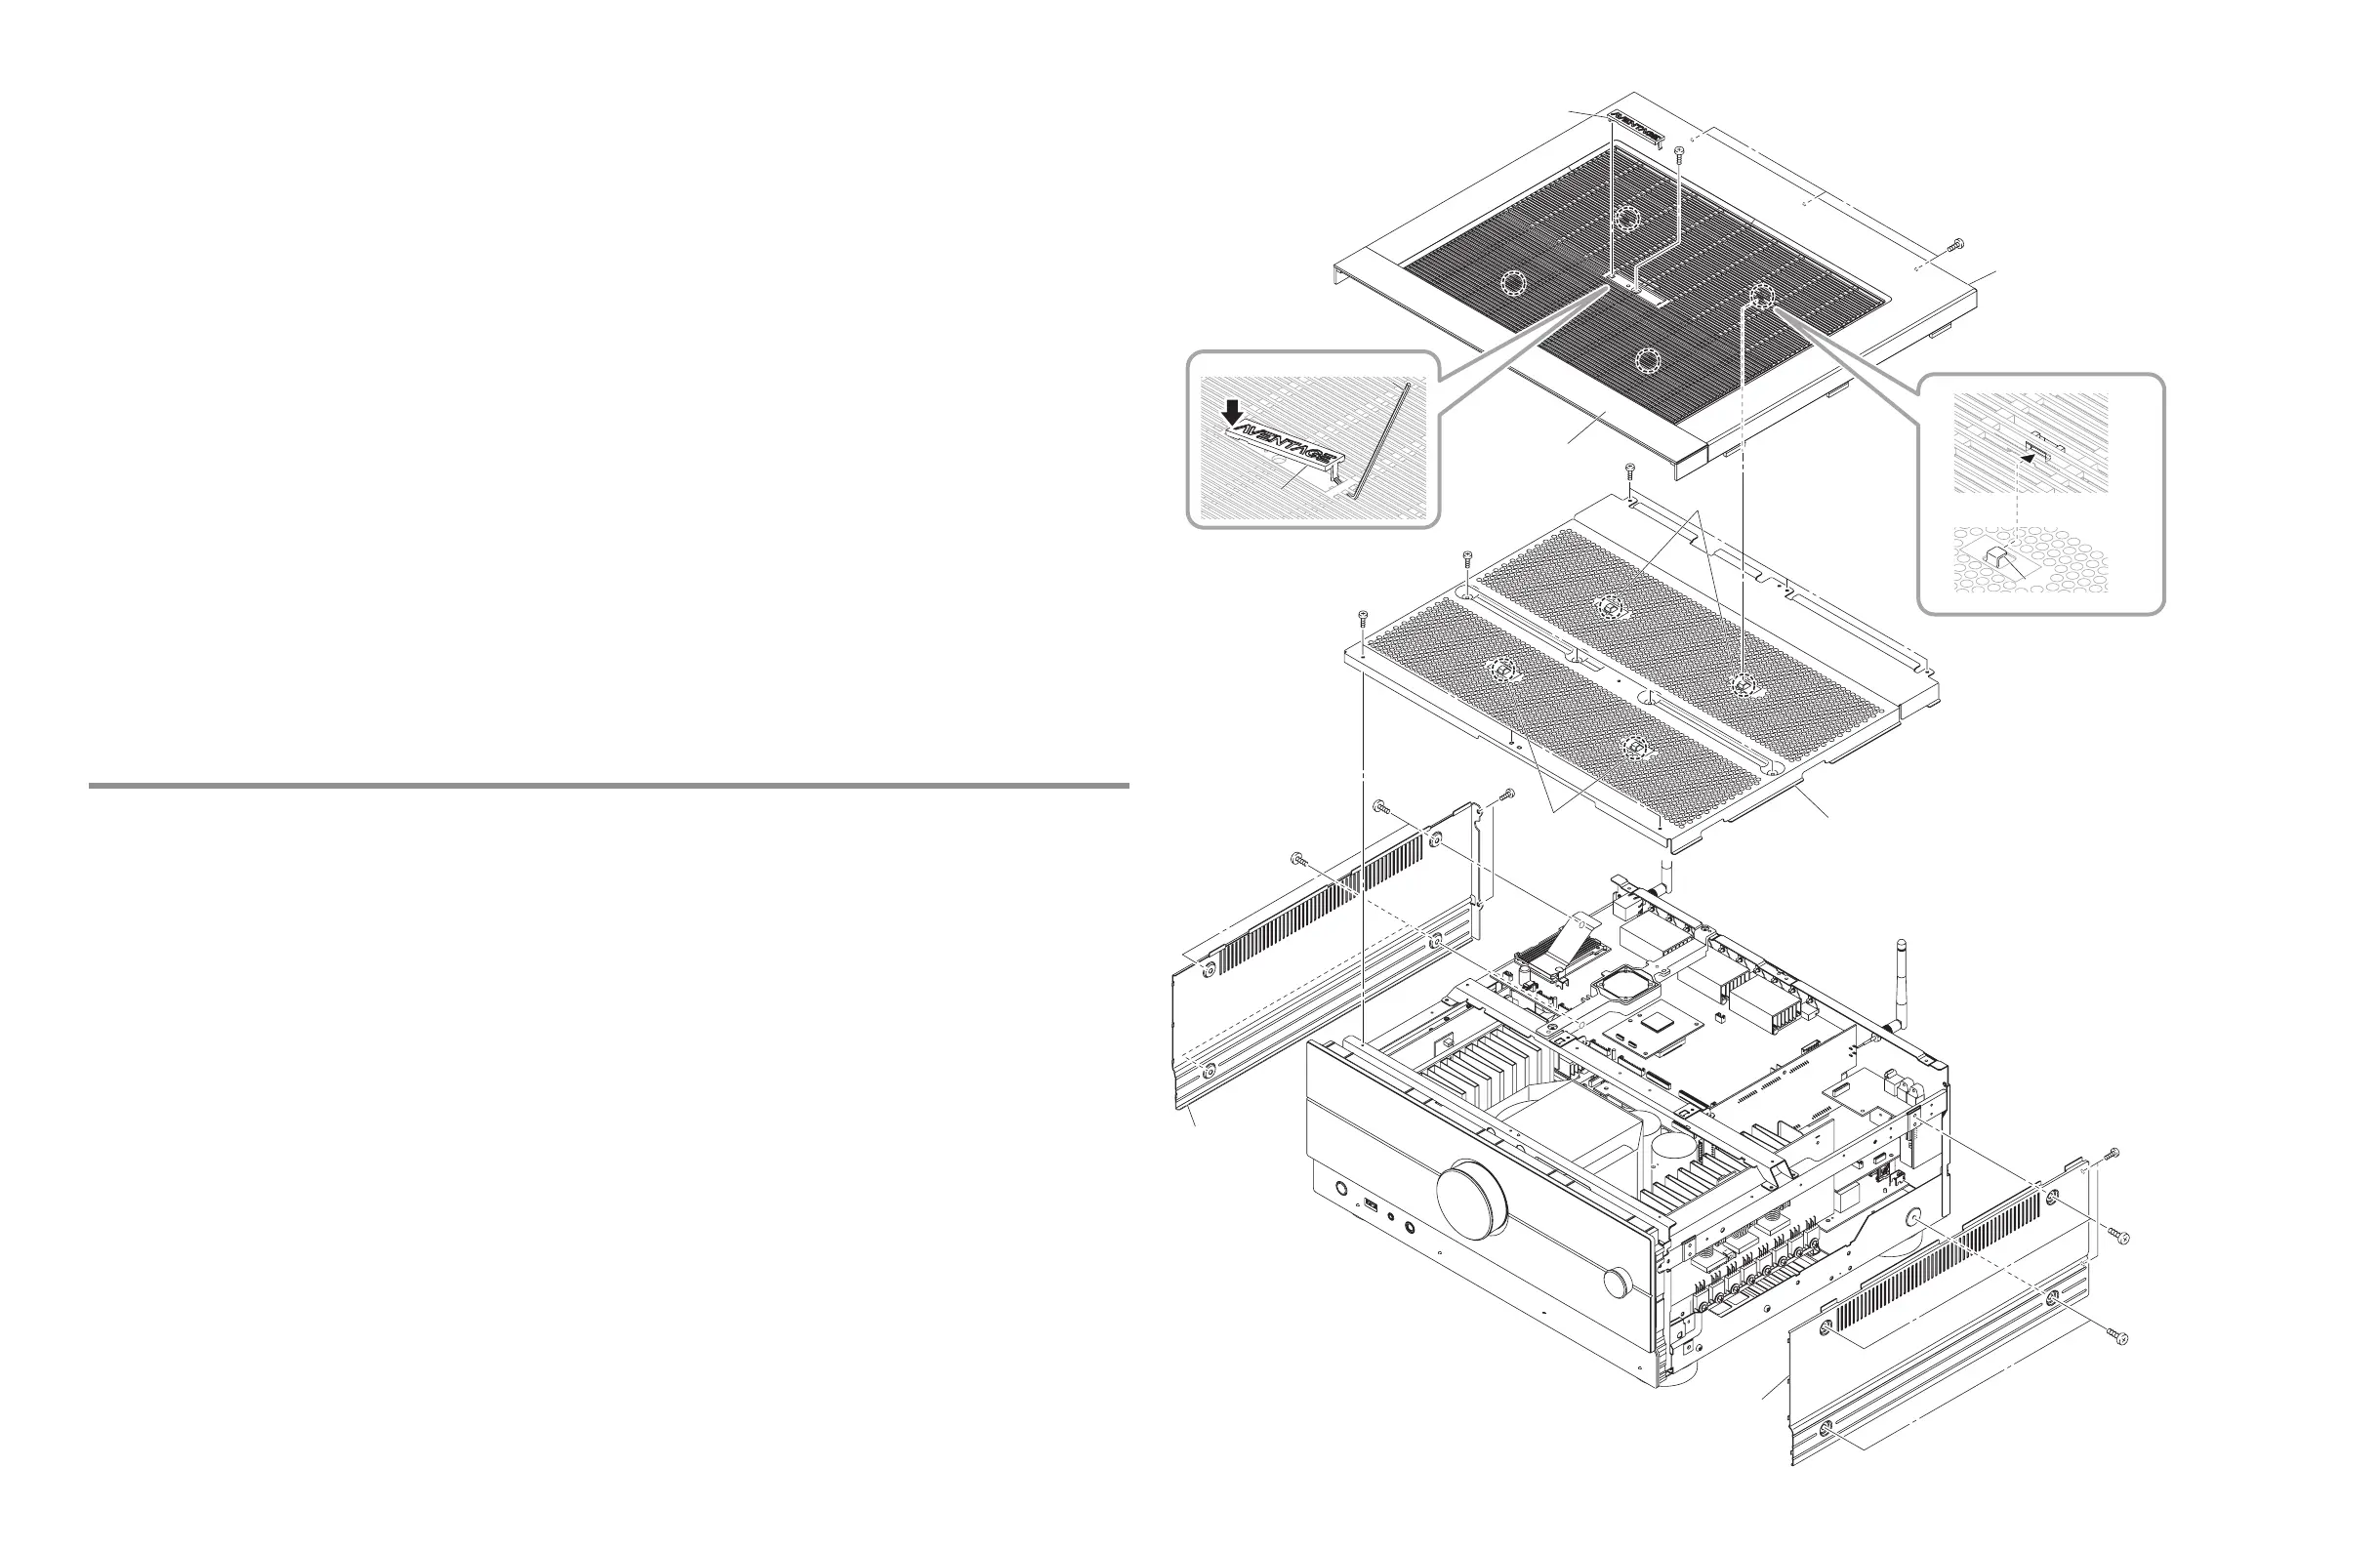
SIDE PANEL L
サイドパネル L
SIDE PANEL R
SIDE PANEL R
サイドパネル R
サイドパネル R
2
2
TOP COVER
トップカバー
TOP COVER
TOP COVER
トップカバー
トップカバー
TOP SHIELD
TOP SHIELD
トップシールド
トップシールド
エンブレム
EMBLEM
EMBLEM
エンブレム
エンブレム
TOP SHEET
トップシート
TOP SHIELD
トップシールド
3
4
5
5
5
Hooks
フック
Hooks
フック
Hook
Hook
フック
フック
Fig. 1
* When installing the TOP COVER,
make sure that the four hooks
on the TOP SHIELD are hooked
correctly.
※ トップカバーを取り付けるときは、
必ずトップシールドのフック 4 カ所
に正しく取り付けられていることを
確認してください。
n
DISASSEMBLY PROCEDURE / 分解手順
(Remove parts in the order as numbered.)
Disconnect the power cable from the AC outlet.
1. Removal of SIDE PANEL L and SIDE PANEL R (Fig. 1)
a. Remove 8 screws (
1
) and 4 screws (
2
).
b. Remove the SIDE PANEL L and SIDE PANEL R.
2. Removal of TOP SHEET, TOP COVER and TOP SHIELD (Fig. 1)
a. Remove the EMBLEM using a L type allen wrench.
b. Remove screw (
3
) and 3 screws (
4
).
c. Slide the TOP COVER and TOP SHEET backward to release the four hooks, and then remove the TOP COVER and TOP
SHEET.
* When installing the TOP COVER, make sure that the four hooks on the TOP SHIELD are hooked correctly.
d. Remove 10 screws (
5
), and then remove the TOP SHIELD.
(番号順に部品を外してください。)
AC 電源コンセントから電源コードを抜いてください。
1. サイドパネル L、サイドパネル R、の外し方 (Fig. 1)
a.
1
のネジ 8 本、
2
のネジ 4 本を外します。
b. サイドパネル L、サイドパネル R を外します。
2. トップシート、トップカバー、トップシールドの外し方 (Fig. 1)
a. L 型六角レンチでエンブレムを外します。
b.
3
のネジ 1 本、
4
のネジ 3 本を外します。
c. トップカバーとトップシートを後方にスライドさせてフック 4 カ所を外し、トップカバーとトップシートを外します。
※ トップカバーを取り付けるときは、必ずトップシールドのフック 4 カ所に正しく取り付けられていることを確認してくだ
さい。
d.
5
のネジ 10 本を外し、トップシールドを外します。



 To Next Page