26
RX-A4A
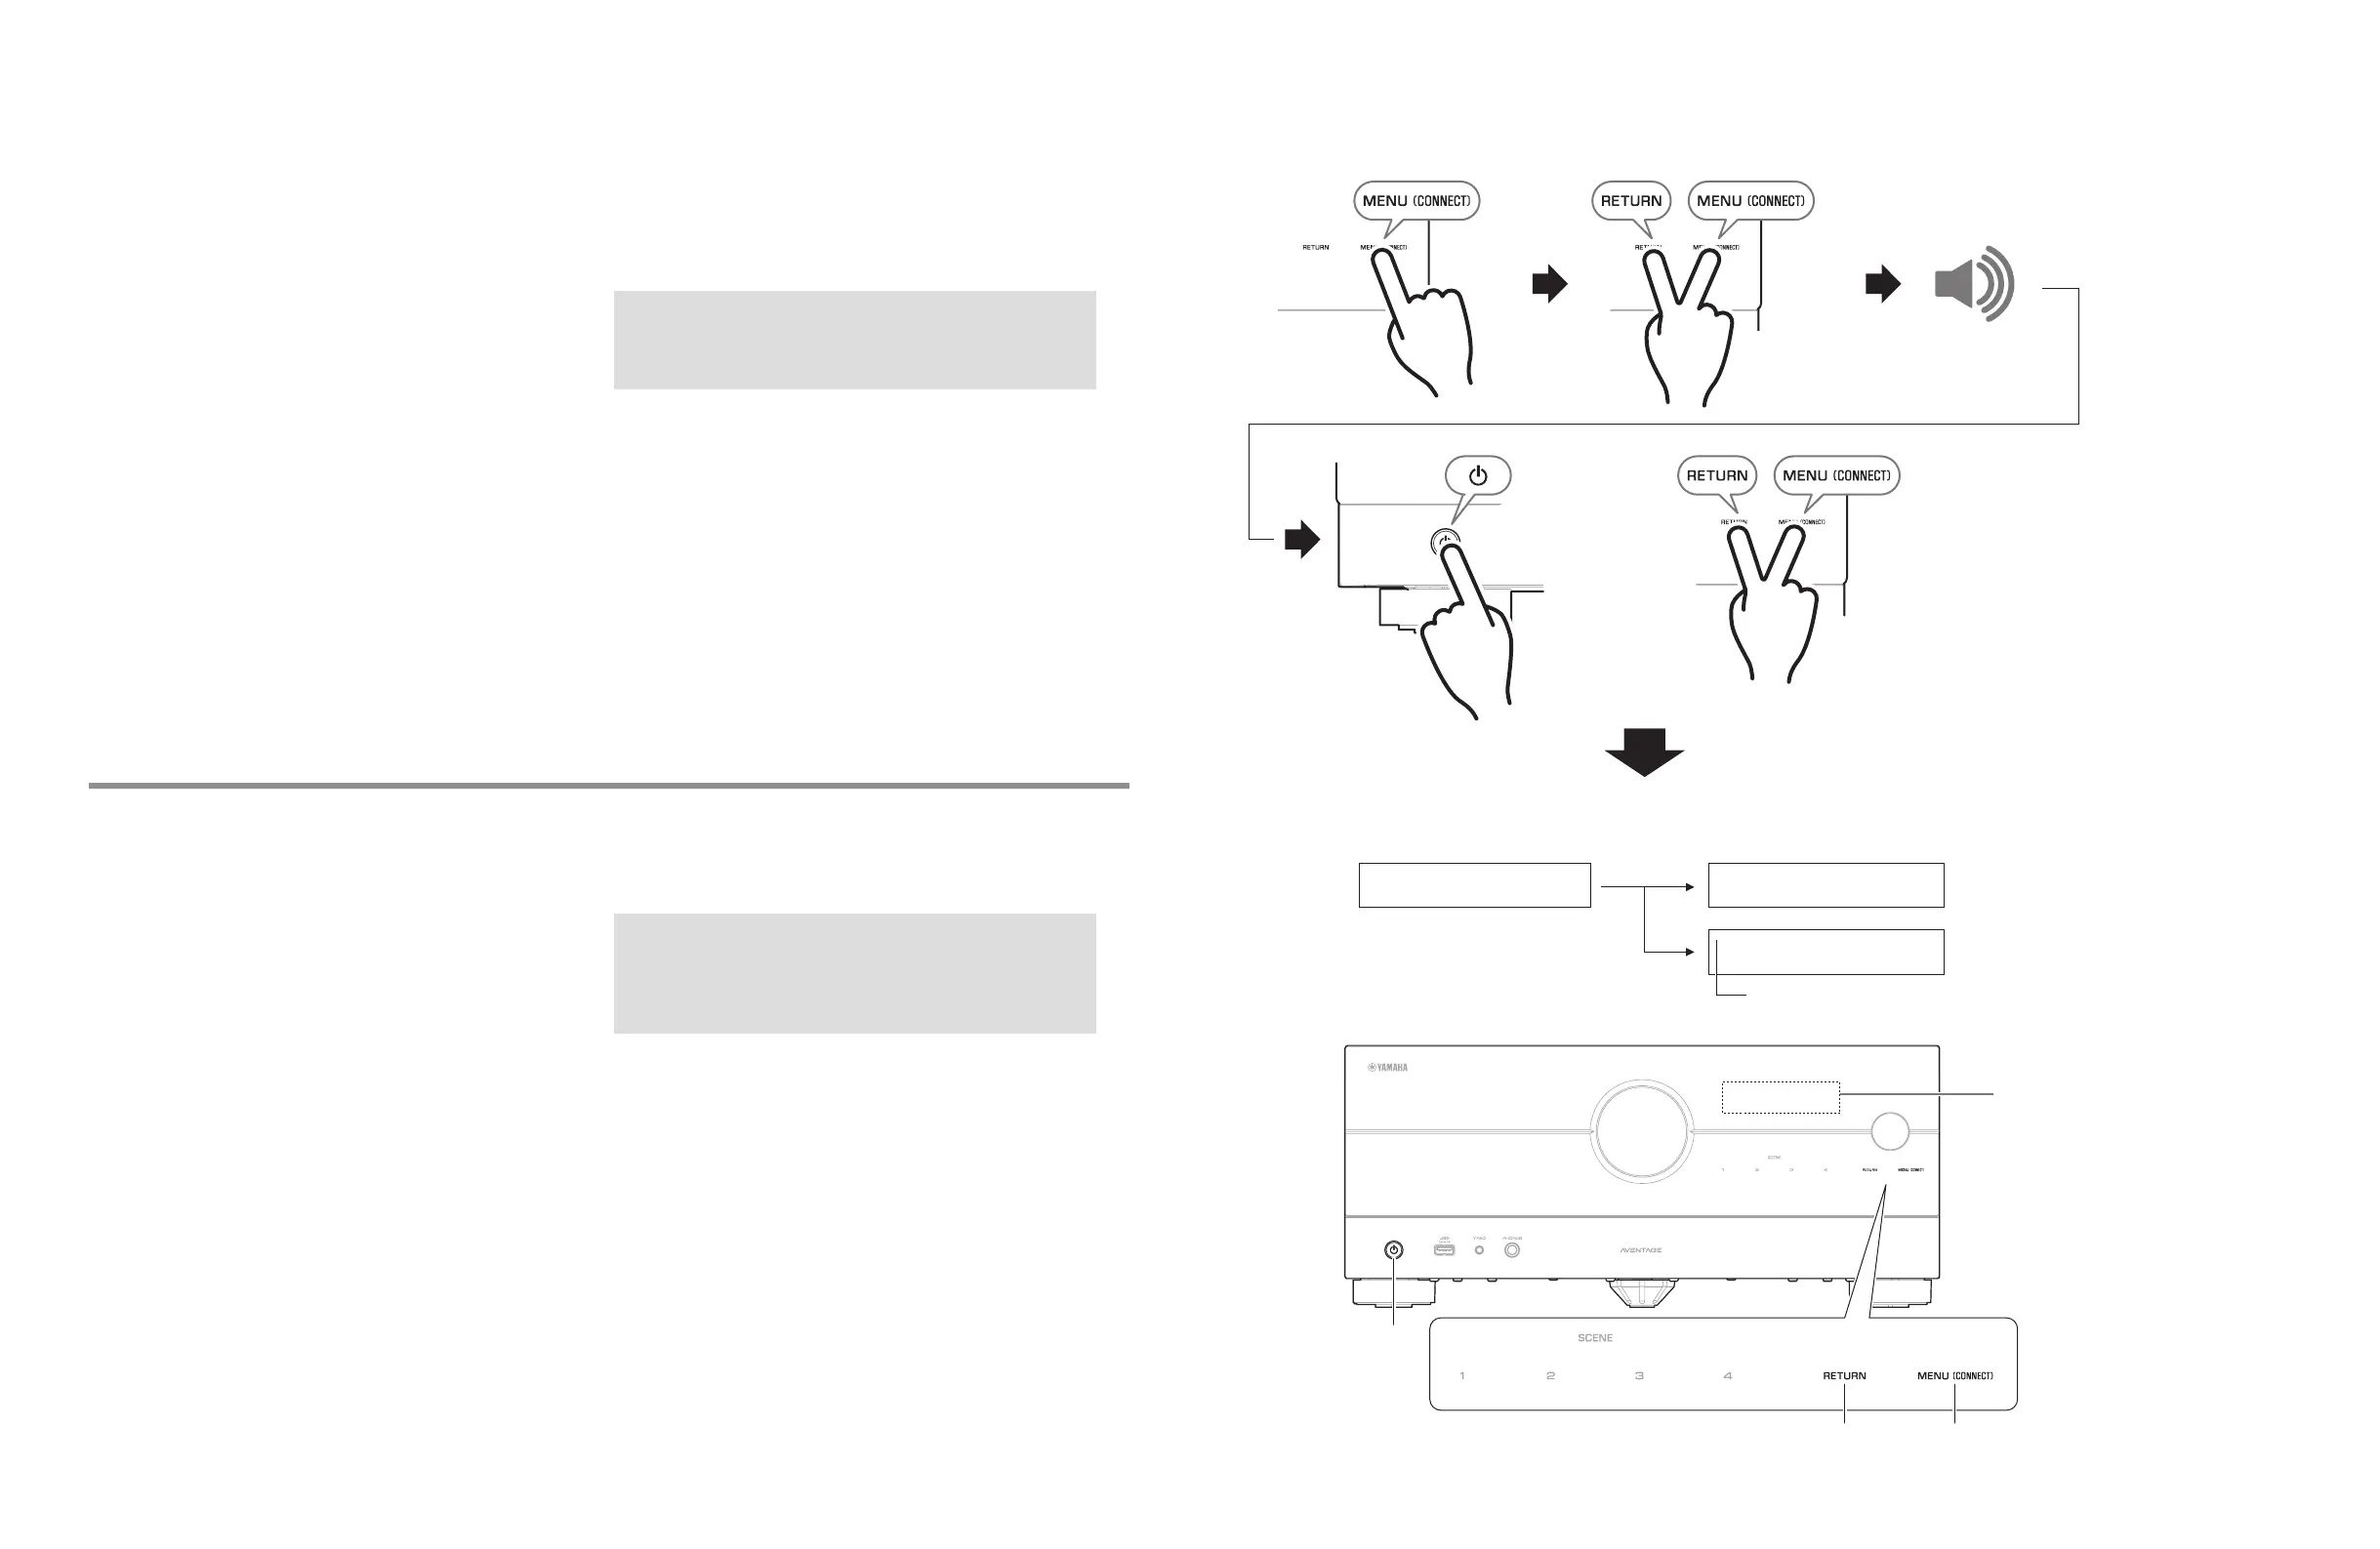
● Starting Self-Diagnostic Function (Fig. 1)
In advance, connect the power cable to the AC outlet to put
this unit in standby mode.
* Perform the following operations within 1 minute.
1. Touch and release the MENU (CONNECT) key.
2. While touch and hold the RETURN key, also touch and
hold the MENU (CONNECT) key.
After a few seconds, beep will sound.
3. While holding the 2 keys, press the z key.
The self-diagnostic function mode is activated, and “NO
PROTECTION“ or protection history is displayed.
4. Release the 3 keys.
● Starting Self-Diagnostic Function in the
protection cancel mode (Fig. 1)
If the protection function works and causes hindrance
to troubleshooting, cancel the protection function by the
procedure below. (The protection functions other than the
excess current detect function will be disabled.)
The startup procedure is the same for steps 1 to 3 of “Starting
Self-Diagnostic Function”. However, keep holding the
RETURN and MENU (CONNECT) key until the self-diagnostic
menu “1-1 DSP THROUGH” is displayed after the self-
diagnostic function mode is activated.
The “No Protection” on the upper left of the display to indicate
that the mode is self-diagnostic function mode with the
protection functions canceled.
And then, release the 2 keys.
CAUTION!
Using this unit with the protection function disabled may
cause further damage to this unit. Use special care for this
point when using this mode.
● Canceling Self-Diagnostic Function
(Fig. 1)
1. Before canceling self-diagnostic function, execute setting
for “S3. FACTORY PRESET” menu. (Memory initialization
inhibited or Memory initialized).
* In order to keep the user memory preserved, be
sure to select PRESET INHIBIT (Memory initialization
inhibited).
2. Press the z key to turn off the power. (Fig. 1)
● ダイアグの起動 (Fig. 1)
事前に、電源コードを AC コンセントに接続して本機をスタ
ンバイの状態にします。
※ 以下の操作は 1 分以内に行ってください。
1. MENU (CONNECT) キーをタッチして放します。
2. RETURNキーをタッチしながらMENU (CONNECT) キー
をタッチし、2 つのキーをタッチし続けます。
数秒後、「ピッ」というビープ音がします。
3. 2 つのキーをタッチしたまま z キーを押します。
ダイアグが起動し、”NO PROTECTION” または、プロテ
クション履歴が表示されます。
4. 3 つのキーを離します。
● プロテクション解除モードでの起動 (Fig. 1)
プロテクションが動作することにより、故障箇所の診断に支
障をきたすような場合は、次の方法によりプロテクションを
解除することができます。(過電流検出以外のプロテクショ
ン動作を解除する)
起動方法は「ダイアグの起動」の手順の 1~3 まで同じです。
ただし、ダイアグ起動後、ダイアグメニュー
“1-1 DSP THROUGH” が表示されるまで RETURN キーと
MENU(CONNECT) キーをタッチし続けます。
ディスプレイ左上に “No Protection” と表示され、プロテク
ションを解除した状態でのダイアグモードであることを知ら
せます。
その後、2 つのキーを放します。
注意!
プロテクションを解除した状態でのダイアグモードは、危
険な状態でもプロテクションが作動しないため、動作させ
ると、本機を破壊することがあります。このモードを使用
する場合は十分注意してください。
● ダイアグの解除 (Fig. 1)
1. ダイアグを解除する前に、“S3. FACTORY PRESET”メ
ニュー(メモリーの初期化禁止/またはメモリーの初期
化)の設定をします。
※ ユーザーメモリーを保持したい場合は、必ず PRESET
INHIBIT(メモリー初期化禁止)を選択してください。
2. z キーを押して電源を切ります。 (Fig.1)
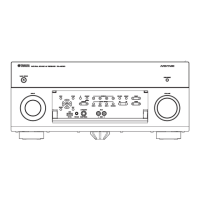
Front display
フロントディスプレイ
NO PROTECT
A1-1
DSP THROUGH
A1-1
No Protection
DSP THROUGH
RETURN key
RETURN キー
MENU
(CONNECT)
key
MENU
(CONNECT)
キー
A key
A キー
12
Fig. 1
ダイアグ起動画面
Self-Diagnostic Function starting up display
Startup procedure / 起動手順
1. 2.
3.
ビープ音
タッチ
タッチし続ける
2 つのキーをタッチした
まま
z
キーを押す
RETURN と MENU キーを
押し続ける
プロテクション解除モード表示
※ 操作は 1 分以内に行って
ください。
Beep
Touch
Touch and hold
While holding the 2 keys,
press the z key
Keep holding the RETURN
and MENU (CONNECT) key
Protection cancel mode indication
* Perform the operations
within 1 minute.
Front display / フロントディスプレイ