5. Move the CPU on the mounting rail at its position.
6. T
o fix the CPU at the mounting rail, move the locking levers back to the initial posi-
tion.
7. Remove the connectors, which are not necessary at the CPU.
8. Plug again the wired connectors.
ð
Now you can bring your system back into operation.
In the following the replacement of a CPU in a system is shown:
1. If there is an extension module connected to the CPU, you have to remove it from
the CPU. For this pull the locking levers of the extension module and CPU outwards
until these engage audible.
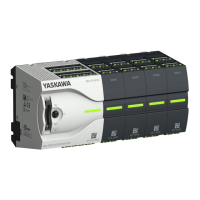
Option: CPU replacement
in a system
VIPA System MICRO
Basics and mounting
Demounting > Demounting CPU
HB400 | CPU | M13-CCF0000 | en | 16-47 24
 Loading...