Customizing Your Phone
83
If the contact is not in any group, enter the All Contacts.
3. Highlight a desired contact, and then press Option.
On the SIP-T48S/T48G IP phone, tap after the desired contact.
4. Select Add to Blacklist.
On the SIP-T48S/T48G IP phone, tap Blacklist.
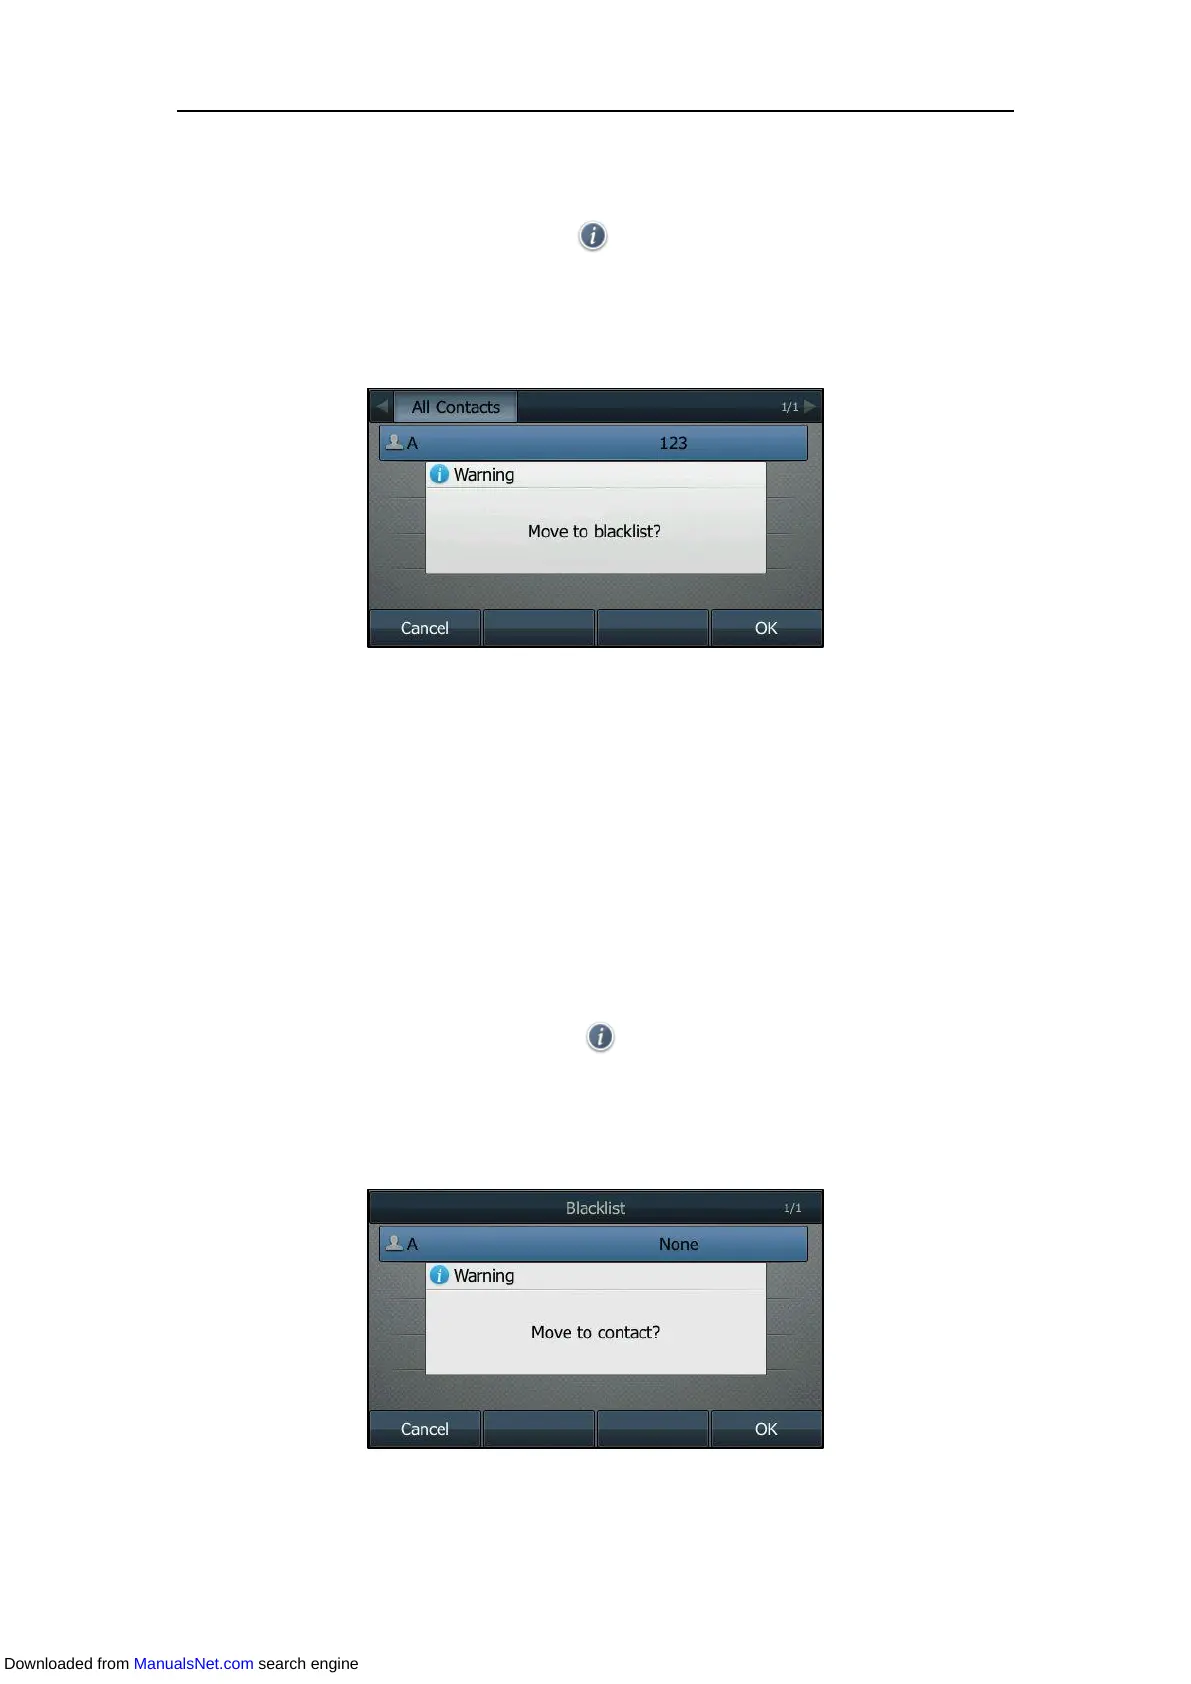
A message is displayed on the LCD screen:
5. Press OK.
Adding a contact to the blacklist is configurable via web user interface at the path
Directory->Local Directory.
Adding a Contact to the Local Directory
Procedure:
1. Navigate to Menu->Directory->Blacklist.
On the SIP-T48S/T48G IP phone, you can also tap Directory->Blacklist.
2. Highlight a desired contact, and then press Option.
On the SIP-T48S/T48G IP phone, tap after the desired contact.
3. Select Add to Contact.
On the SIP-T48S/T48G IP phone, select All Contacts from the pull-down list of Group.
A message is displayed on the LCD screen (except the SIP-T48S/T48G IP phone):
4. Press OK.
Downloaded from ManualsNet.com search engine
 Loading...