IM CA71-E
10-7
Method of Calibrator Adjustment
10
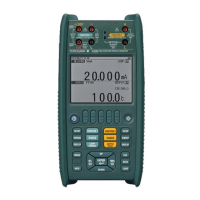
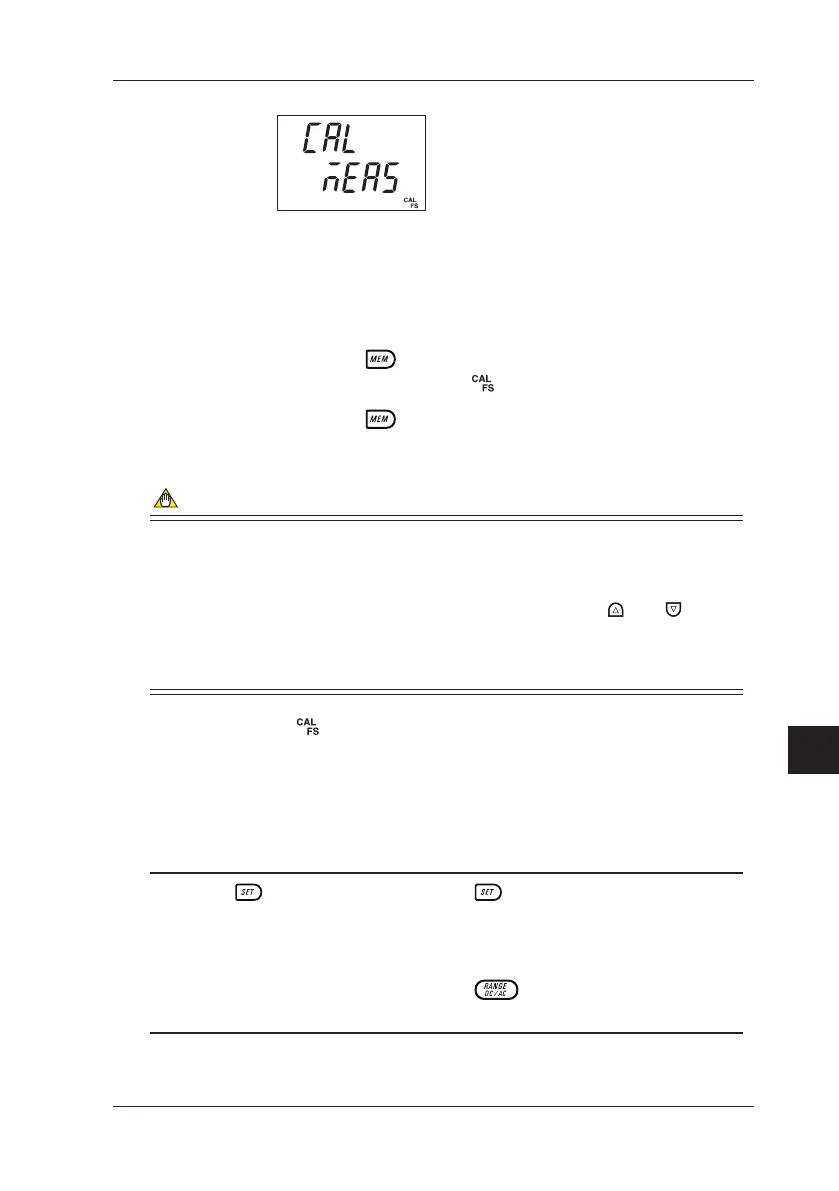
CAL-mode Operation Keys and Display Indications
Step 4: Apply the CAL FS adjustment setpoint input of each range in
Table 10.2 from the calibration standard to the H and L input
terminals of the calibrator.
Step 5: Pressing the
key conrms the CAL FS adjustment
setpoint. At this point, the
symbol blinks.
Step 6: Pressing the
once again saves the adjustment setpoint
in memory.
NOTE
• Range adjustments are made automatically within the calibrator so that
the LCD reading matches the adjustment setpoint in question given in
the table with reference to the input applied as described above.
Therefore, you need not make any range adjustment with
and keys.
• Saving the adjustment setpoint results in the overwriting of existing data.
Be extremely careful since the previous adjustment setpoints are cleared.
Step 7: The
symbol stops blinking, causing the calibrator to return
to the state discussed in step 4. Using the function selector
switch, select the next range. By repeating steps 4 to 6,
you can adjust the measurement function assigned to that
range.
TIP
Press the key while holding down the key. This key operation
cancels the CAL mode.
You can use the same key operation to cancel the CAL mode during
calibration, before saving to memory.
When adjusting DC current range, using the key, change DC 20 mA →
DC 100 mA.
10.3 Adjusting Measurement Functions
 Loading...