29
IM 04L05A01-02E
Setting Messages to Be Written to the Measured Data.
1.
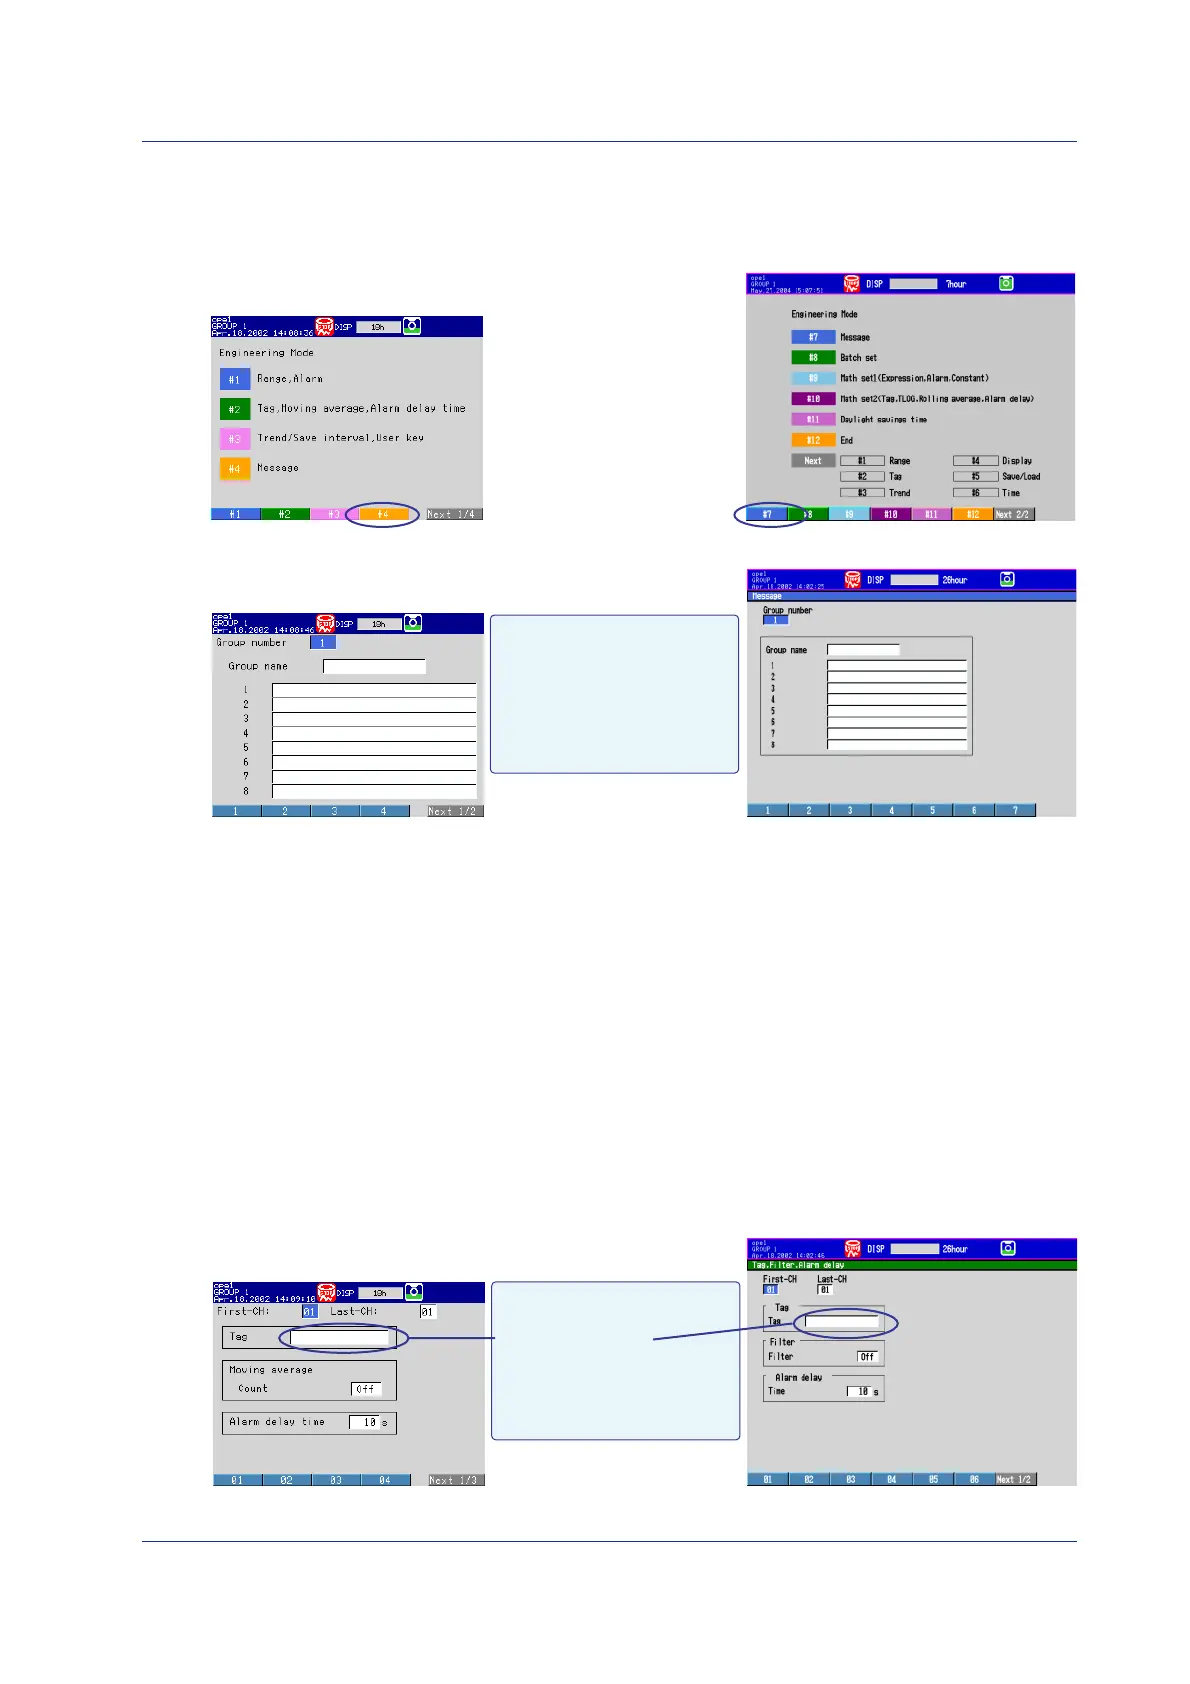
Press the Next #/# soft key to show the menu with [Message].
2.
On the DX100P, press the #4 soft key. On the DX200P, press the #7 soft key.
The message screen is displayed.
DX200PDX100P
3.
Set each item.
DX200PDX100P
Group number
: 1 to 7
Group name
Up to 16 characters
1 to 8 (messages)
Up to 32 characters
4.
Press DISP/ENTER.
The settings are confirmed.
5.
Press ESC.
The screen returns to the engineering mode menu.
Setting Other Engineering Mode Items
1.
On the engineering mode menu, press the soft key corresponding to the item to
be entered to display the setting screen.
2.
Set each item.
3.
Press DISP/ENTER to confirm the settings.
4.
Press ESC to return to the engineering mode menu.
Below are screens used to set the tag for each channel, the display update rate (see
page 6), auto save interval (see page 6), and the name of the directory in which
measured data is to be saved.
DX200P
DX100P
Tag
Up to 16 characters
Tag, Moving average*, Alarm delay time
Tag, Filter*, Alarm delay
* “Filter” for the DX102P, DX104P, DX204P, and DX208P.
“Moving average” for the DX106P, DX112P, DX210P, DX220P, and DX230P.
Setting Conditions and Making Measurements
 Loading...