START-UP
Axiovert 200 HAL 100 W halogen illuminator Carl Zeiss
B 40-080 e 03/01 2-21
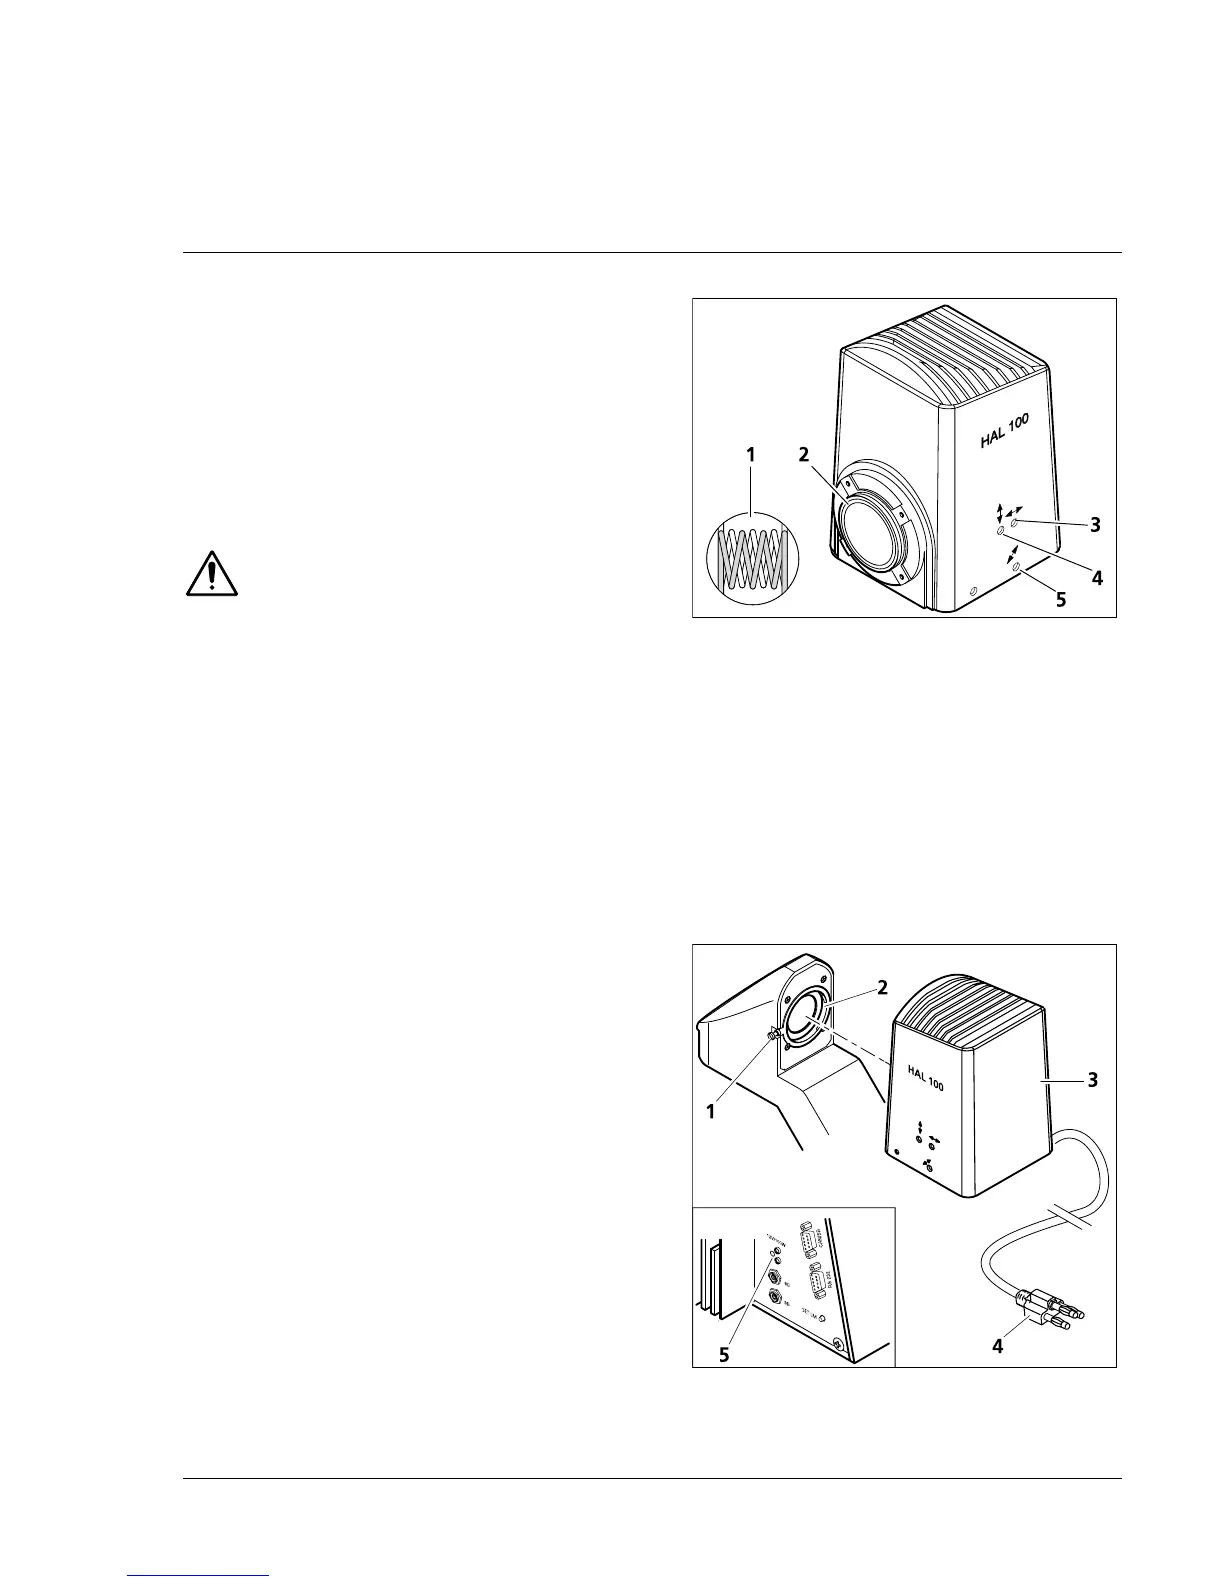
2.12.2 Coarse alignment of halogen
illuminator
• Loosen the clamping screw (2-27/2) and
remove the halogen illuminator from the carrier
for transmitted-light illumination.
• Switch on the microscope.
• Direct light beam against a projection area
(wall) approx. 3 m away.
Make sure not to look into the light
exit opening of the illuminator.
• Use SW 3 ball-headed screwdriver to set
adjusting screw (2-26/3) in such a way that
both images of the lamp coil on the projection
area are defined as clearly as possible.
• Then set adjusting screws (2-26/4 and 5) in
such a way that the lamp coils of one image
exactly fill the gaps of the reflector image
(2-26/1).
2.12.3 Attachment of halogen illuminator
• If required, remove cover from the lamp mount
(2-27/2) in the carrier for transmitted-light
illumination.
• Insert dovetail (2-27/2) of lamp housing (2-26/3)
in carrier (2-27/2) and use SW 3 ball-headed
screwdriver to tighten clamping screw (2-27/1).
• Connect 3-pin lamp plug (2-27/4) to 3-pin 12 V
100 W socket (2-27/5) on the instrument rear.
Fig. 2-26 Alignment of halogen illuminator
Fig. 2-27 Attachment of halogen illuminator