Installation
000000-1520-928_GA_EN_021013
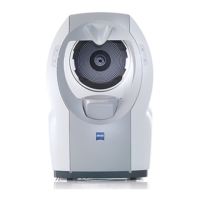
Installation
CAUTION - PROPERTY DAMAGE
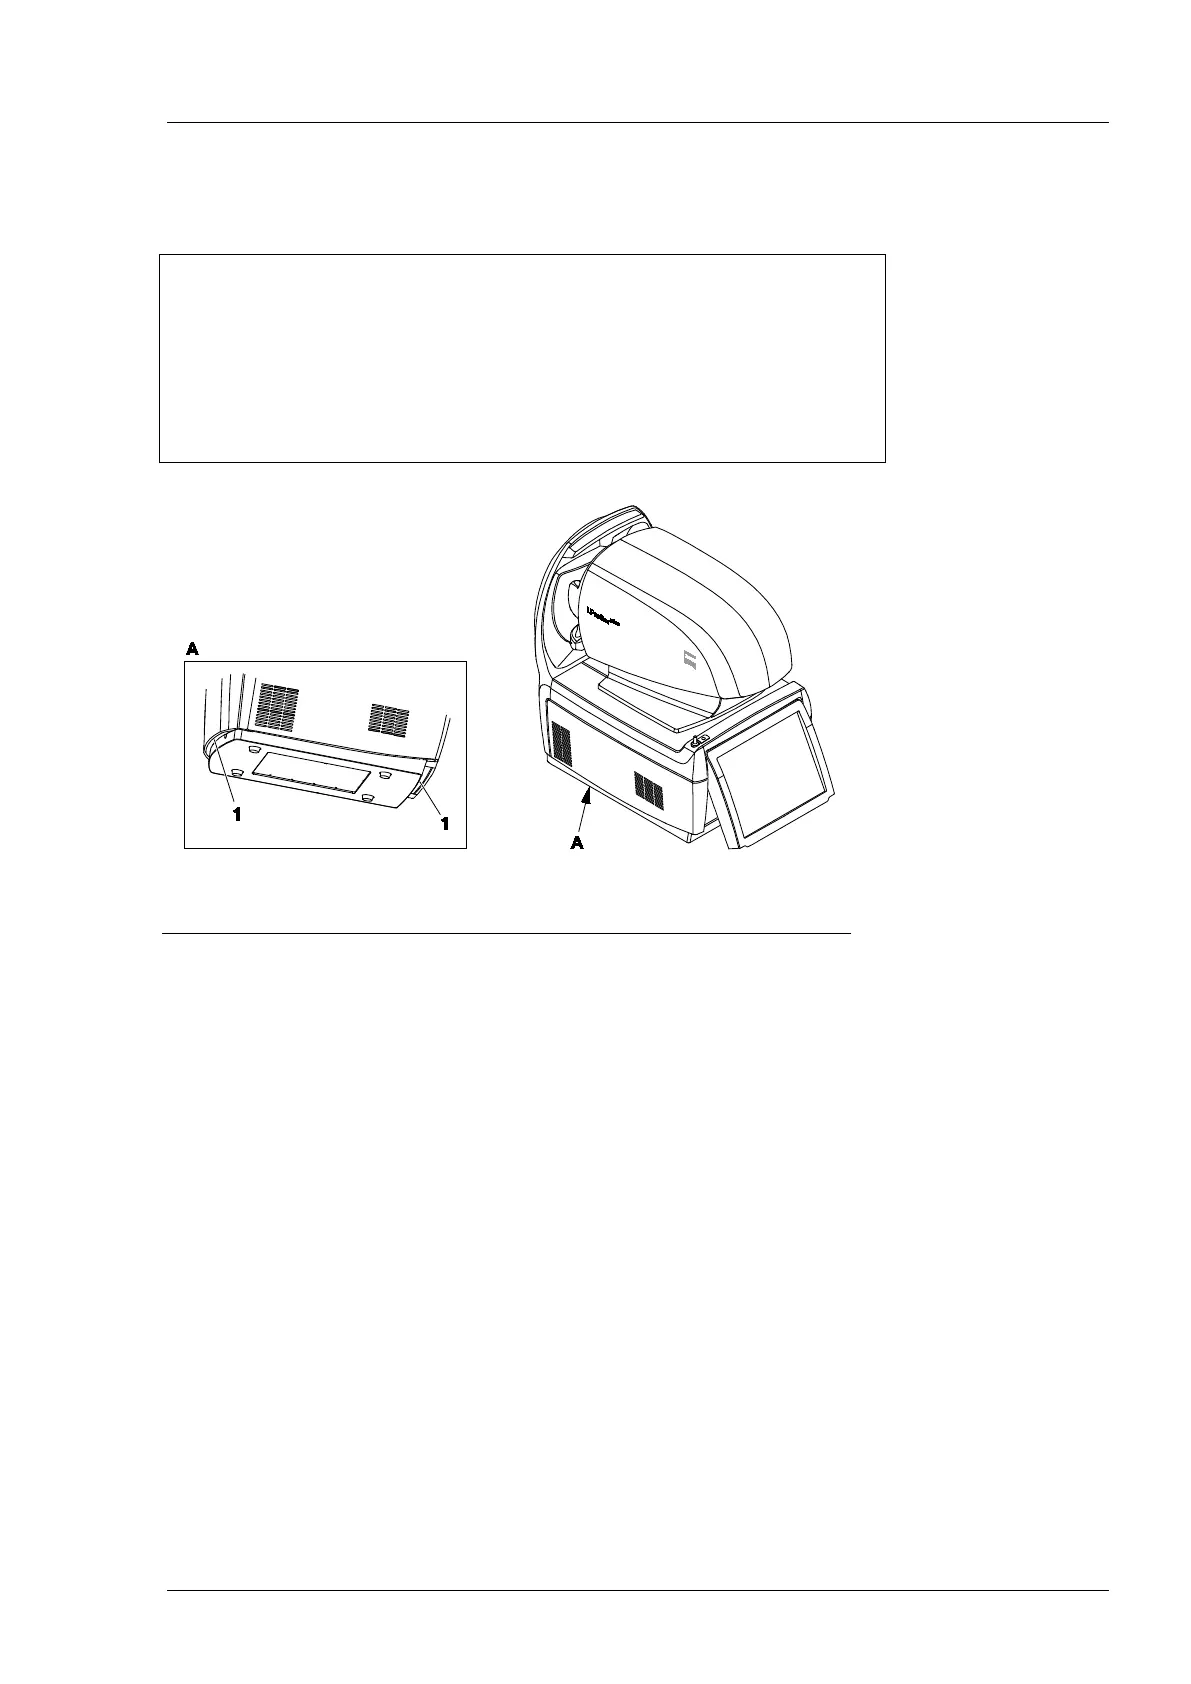
For a change of location the device should always be lifted by two persons
using the recessed handles (1, Fig. 8) on the underside. Do not use the
display as a handle. As far as possible it should be transported on a moving
support fitted with brakes. Avoid impact during transport, as the device
contains shock-sensitive elements. When transporting outside the premises,
always use the transport packaging.
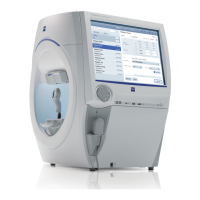
Fig. 8 Recessed handles on the underside of the i.Profiler
® plus
• Set up the device so that no light sources (ceiling lamps, spots, etc.) are
directed at the measuring zone or surrounding area (forehead rest,
measuring head).
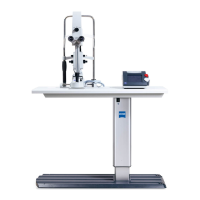
• We recommend the use of a height-adjustable instrument table. This
facilitates the positioning of the patient in front of the i.Profiler
® plus
for
achieving good measuring results.
• We recommend a minimum table size of 420 x 600 mm for the
standalone i.Profiler
® plus
.
• We recommend not setting the i.Profiler
® plus
on refraction units with a
rigidly mounted forehead rest. Installation on refraction units without a
rigidly mounted forehead rest with the corresponding minimum table size
is possible.
• Position the device on a horizontal surface.
• Connect the device to the power supply with the power cable.