Installation
000000-1520-928_GA_EN_021013
Connecting the printer via an existing network
The administrator responsible for your local network must first set up a
network printer or printer server in the network.
The procedure for printer configuration is described in the user manual for
the network printer or printer server. The IP address and subnet mask to be
used will be assigned by the administrator.
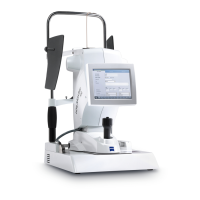
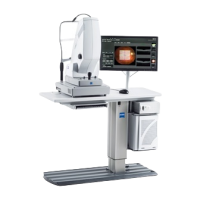
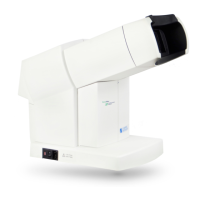
• Switch on the i.Profiler
® plus
and the printer or printer server.
• In the Settings - Maintenance window (see Software description of the
i.Profiler
® plus
), select the Printer configuration option (administrator
privileges required). The Message dialog will open.
Confirm with Yes. A dialog for configuring the printer will appear.
• Press the Add New Printer button. The Printer Configuration dialog
appears. Follow the prompts appearing on the screen.
• Enter the IP address of the printer.
• Press the Test button. When the connection is successful, a green check
mark will appear.
• Confirm the selection with Finished. The printer appears in the list of the
Printer Setup dialog.
• Press the Properties button. Ensure that the Portrait print format is set.
• Press the Print Testpage button. A test page will now be printed to
confirm that the printer has been installed successfully.
• Press the Close button, in order to close the Printer Setup dialog. The
device will restart.