Connecting a Windows XP Computer with Built-in Wireless Capabilities
1 On your Windows desktop, click the Wireless Network Icon in the System Tray.
2 Windows will automatically scan for available wireless networks in your area. Any
compatible networks within range will appear in the Available networks list.
Double-click the Wireless Network Name (SSID) you gave your wireless network
in Step 4 of the Setup Wizard. If you did not change the Wireless Network Name
(SSID), select the default name Zoom.
• If you enabled security in Step 4 of the Setup Wizard, enter the security key in
the next dialog box and click Connect.
• Otherwise if your desired network is unsecured, in the message box select
Connect Anyway.
¾ When you click on the wireless network option box, Windows will scan for available
networks. More than one wireless network may appear in the list. These are other
wireless networks that are within range of your network. Your neighbors, for
instance, may be within range of your network. Each wireless network has a
channel associated with it. We recommend there be at least a five-channel
difference between your network and those of your neighbors. Having less than a
five-channel difference may result in interference with your connection. By default,
the Wireless-N Router uses channel 10. If you need to change this channel, you
must do so using the Wireless Setup page of the Zoom Configuration Manager.
For instructions on how to log in to the Zoom Configuration Manager, see page
10. After logging in, select Wireless from the left-hand menu. On the Wireless
page you can select a new channel from the drop-down menu.
To disconnect from the current network:
1 On your Windows desktop, click the Wireless Network Icon in the System Tray.
2 Click View Wireless Networks button.
3 Select your Wireless Security Name. And click on Disconnect.
Connecting a Macintosh OS X Computer with Built-in Wireless
Capabilities
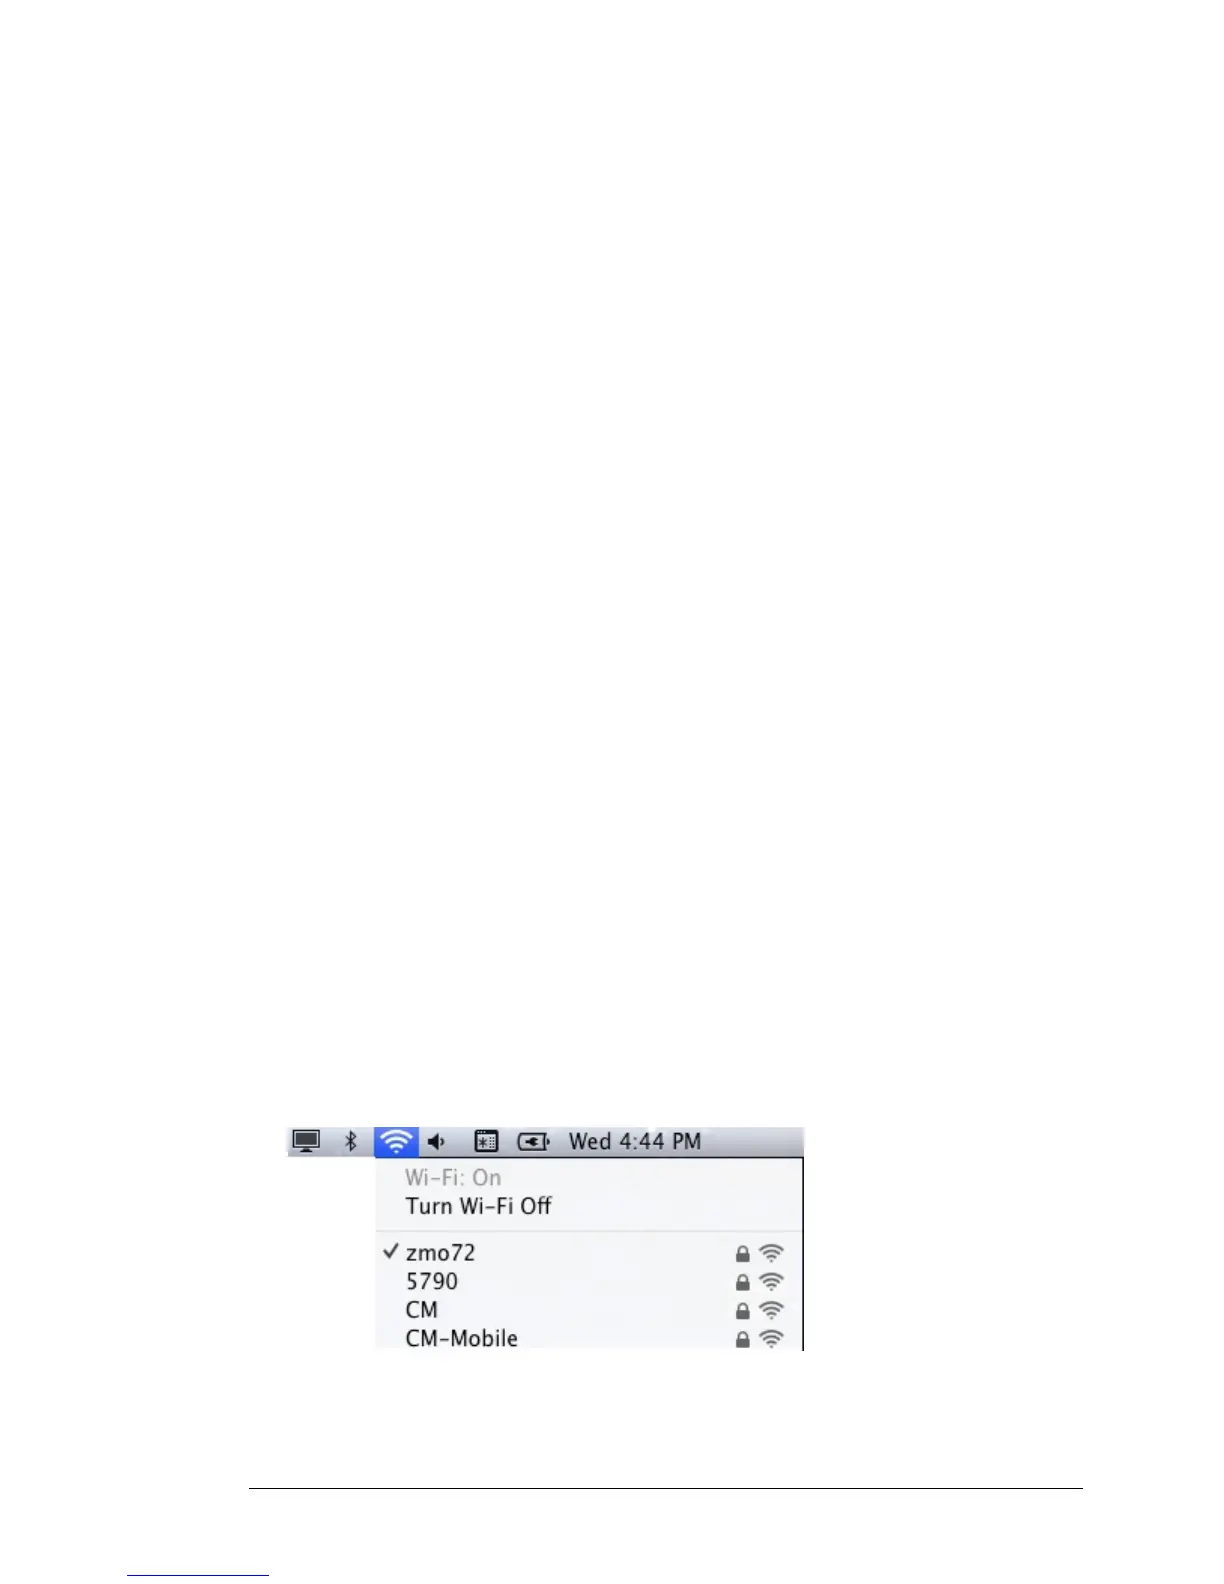
1 Click the Wi-Fi icon in the menu bar. If the Wi-Fi icon does not appear on your
menu bar, please refer to your built-in documentation on how to enable wireless.
Note: On versions prior to OS 10.7 the Wi-Fi icon is called AirPort.
2 Select the Wireless Network Name (SSID) you gave your wireless network in Step
4 of the Setup Wizard. If you did not change the Wireless Network Name (SSID),
Chapter 3: Connecting Devices Wirelessly to the Wireless-N Router 31