50 CHAPTER 2: LOGGING INTO AN ETHERNET SWITCH
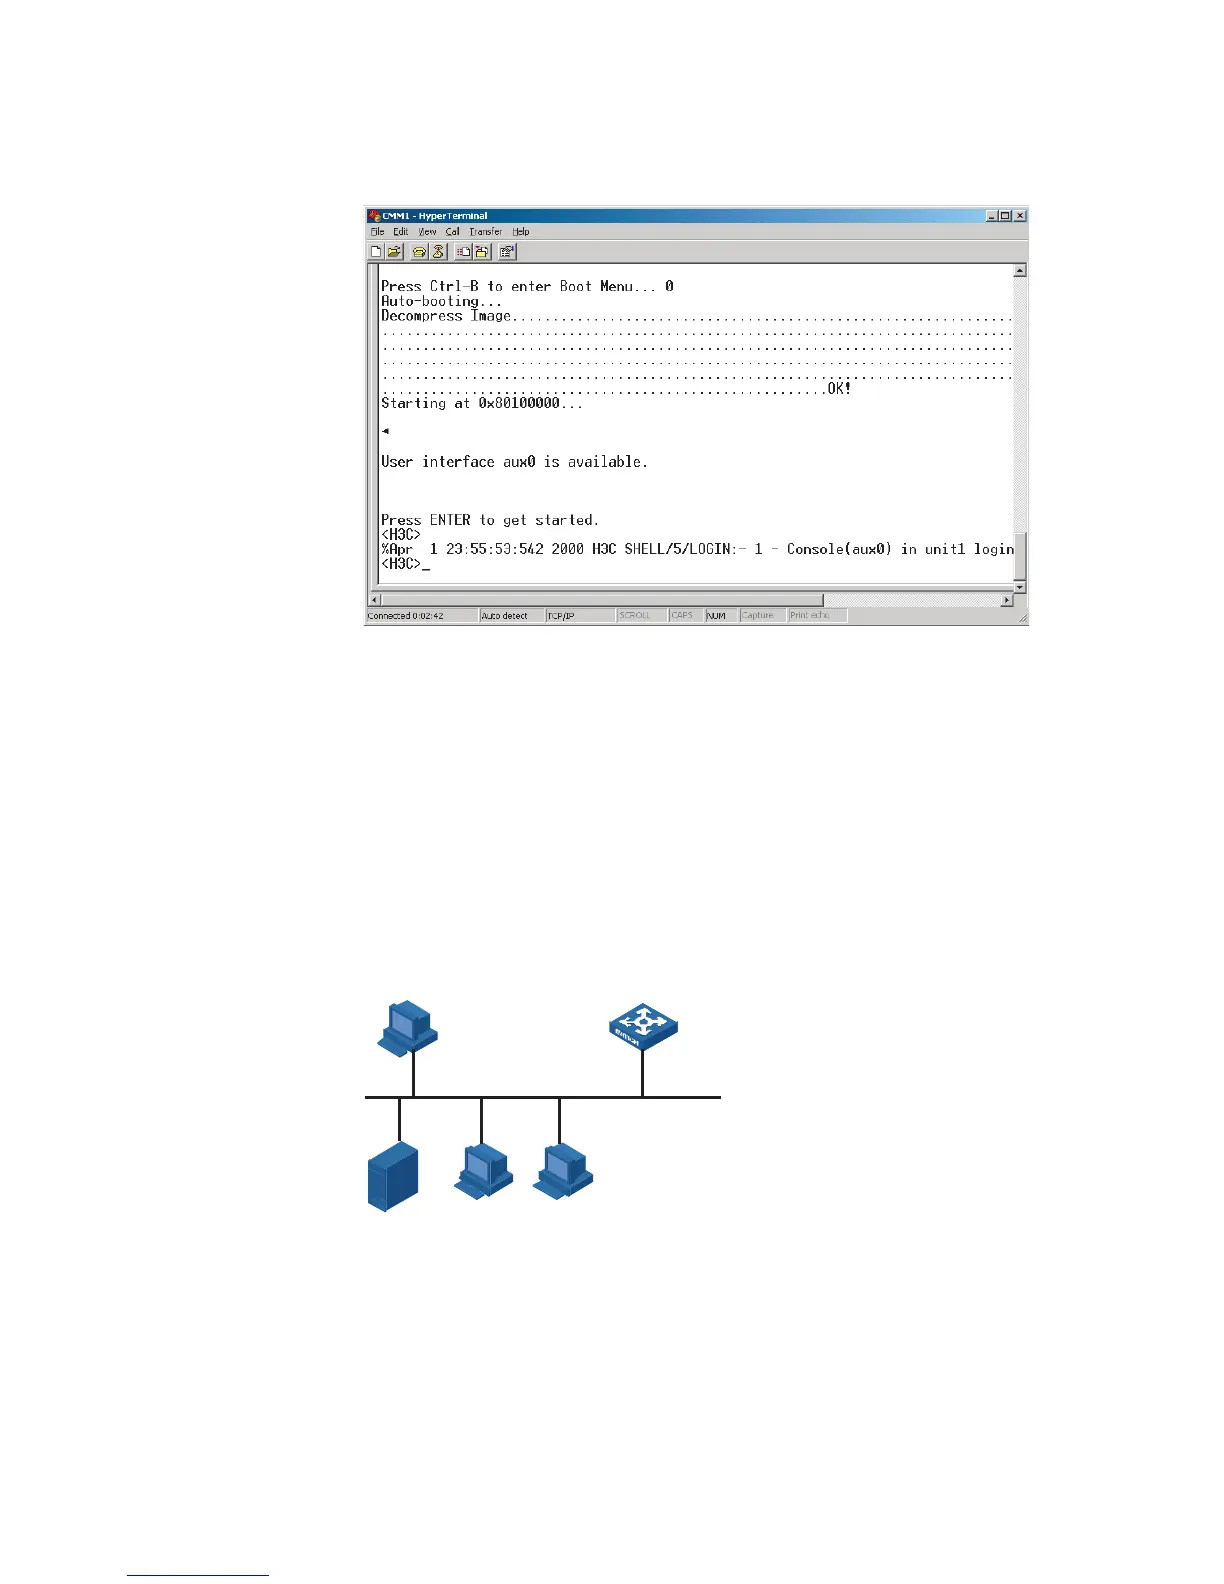
Figure 13 The terminal window
■ Perform the following operations in the terminal window to assign IP address
202.38.160.92/24 to VLAN-interface 1 of the switch.
<4210> system-view
[4210] interface Vlan-interface 1
[4210-Vlan-interface1] ip address 202.38.160.92 255.255.255.0
2 Perform Telnet-related configuration on the switch according to instructions earlier
in this chapter.
3 Connect your PC/terminal and the switch to an Ethernet, as shown in Figure 14.
Make sure the port through which the switch is connected to the Ethernet
belongs to VLAN 1 and the route between your PC and VLAN-interface 1 is
reachable.
Figure 14 Network diagram for Telnet connection establishment
4 Launch Telnet on your PC, with the IP address of VLAN-interface 1 of the switch as
the parameter, as shown in
Figure 15.
Workstation
Ethernet port
Ethernet
Server
Workstation
PC with Telnet
running on it (used
to configure the
switch)