Pg. 65
www.3xlogic.com | 877 3xLOGIC | helpdesk@3xlogic.com
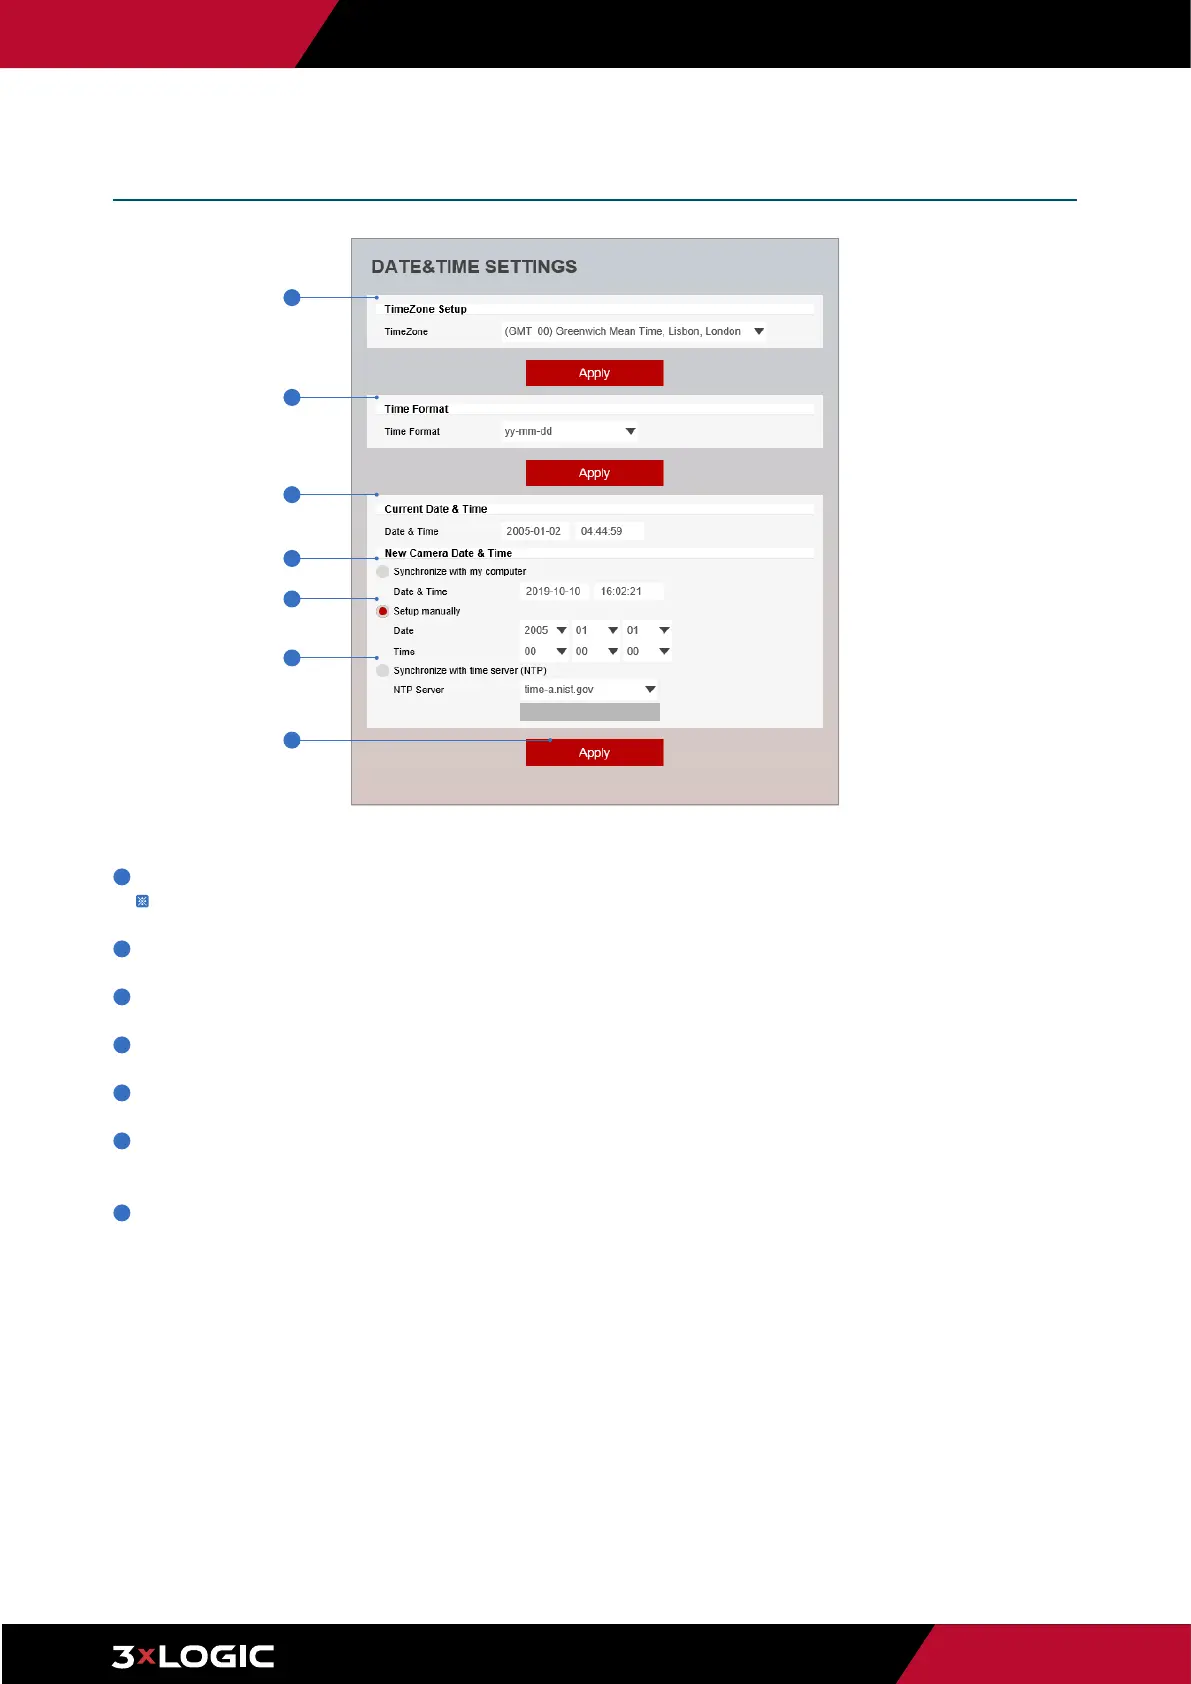
1
TimeZone Setup - Choose the TimeZone for camera. It will be activated after clicking ‘Apply’ button.
Prior to setting below ‘New Camera Date & Time’, always set the correct Timezone first.
2
Time Format - Select the time format: yy-mm-dd or mm/dd/yy.
3
Current Date & Time - Shows the current date and time setting in the camera.
4
Synchronize with my computer - Set the date / time using those of the currently connected PC.
5
Setup manually - Set the date / time by typing manually.
6
Synchronize with time server (NTP) - Choose time server available to connect to the camera.
Date & Time will be updated automatically every hour when connected.
7
Click Apply to save new settings.
Date & Time Settings
Setup - System Setup
2
3
4
5
6
1
7
 Loading...