4 Repair
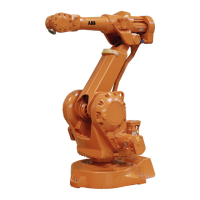
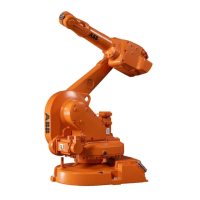
4.3.2. Replacement of complete arm system
3HAC023637-001 Revision: B114
Removal, complete arm system
The procedure below details how to remove the complete arm system from the robot.
Action Note
1.
DANGER!
Turn off all electric power, hydraulic and
pneumatic pressure supplies to the robot!
2. Move the robot to its calibration position.
3. Remove the covers from the base and the
frame.
4. Release the cable harness from below upwards
to the lower arm by:
• disconnecting all the connectors inside
the base and the frame.
• removing all cable ties and brackets
inside the base and the frame.
The cable layouts inside the base and
the frame are shown in the figures:
• Illustration, cabling inside
base on page 110.
• Illustration, cabling inside
frame on page 109.
5. Push out the VK-cover from inside of the frame. Shown in the figure Location of
complete arm system on page 113.
6.
CAUTION!
The complete arm system weighs 55 kg! All
lifting equipment used must be sized accord-
ingly!
7. Fit lifting slings to the upper arm to unload the
weight of the complete arm system.
8. Unscrew the 12 attachment screws and remove
the one washer.
Be careful when pulling the cabling through
base, frame and lower arm. Use tape to bunch
the connectors and protect them.
9. Gently pull out the cabling from the frame and
base while lifting away the complete arm
system.
10. Check the sealing ring. Replace if damaged.
Continued
Continues on next page
 Loading...
