Required equipment
NoteArt.no.Equipment, etc.
Includes:
• 3HAC037314-001
bushing (2 pcs)
For spare part no. see:
• Spare parts on page 355
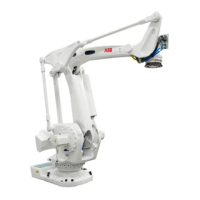
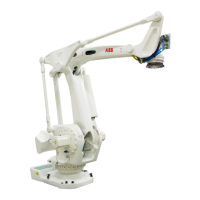
Upper arm, axis 4
Conical roller bearing3HAC039571-002Grease filling tool
Optimol Longtime PD 23HAC9408-1Bearing grease
Mercasol 31063HAC034903-001Rust preventive
For information how to use
the tool, please contact ABB.
3HAC038174-002Shaft fitting/removing tool
T=2.5 mm3HAC038174-031Shims
Range: Up to 400 mm.-Slide caliper (large size)
0.4 mm-Feeler gage
For cleaning surface of bush-
ing
-Isopropanol
-Glycerine
Loctite 2433HAB7116-1Locking liquid
Content is defined in section
Standard tools on page 351.
-Standard toolkit
These procedures include
references to the tools re-
quired.
Other tools and procedures
may be required. See refer-
ences to these procedures in
the step-by-step instructions
below.
Removing the upper arm
Use this procedure to remove the upper arm.
NoteAction
Remove all equipment fitted to upper arm
and tilthouse unit.
1
Shown in the figure:
• Calibration scale and correct axis
position on page 332
Move the robot to calibration position.2
See section:
• Replacing the balancing device on
page 265
Remove the balancing device.3
Put two loading pallets under the balancing
weight and run axis 3 så that the balancing
weight rests on the pallets.
4
Release the brake of axis 3 so that the balan-
cing weight really rests on the pallets.
5
Move the lower arm forward to get a better
mounting position in the continued removal
procedure.
6
Continues on next page
3HAC039838-001 Revision: C 211
© Copyright 2013 ABB. All rights reserved.
4 Repair
4.4.3 Replacing the upper arm
Continued