Operation Manual / 4 Product description / A100-L
8 Disassembly and assembly / 8.16 Table of tightening torques
© Copyright 2017 ABB. All rights reserved. HZTL4034_EN Revision K June 2017
8.16 Table of tightening torques
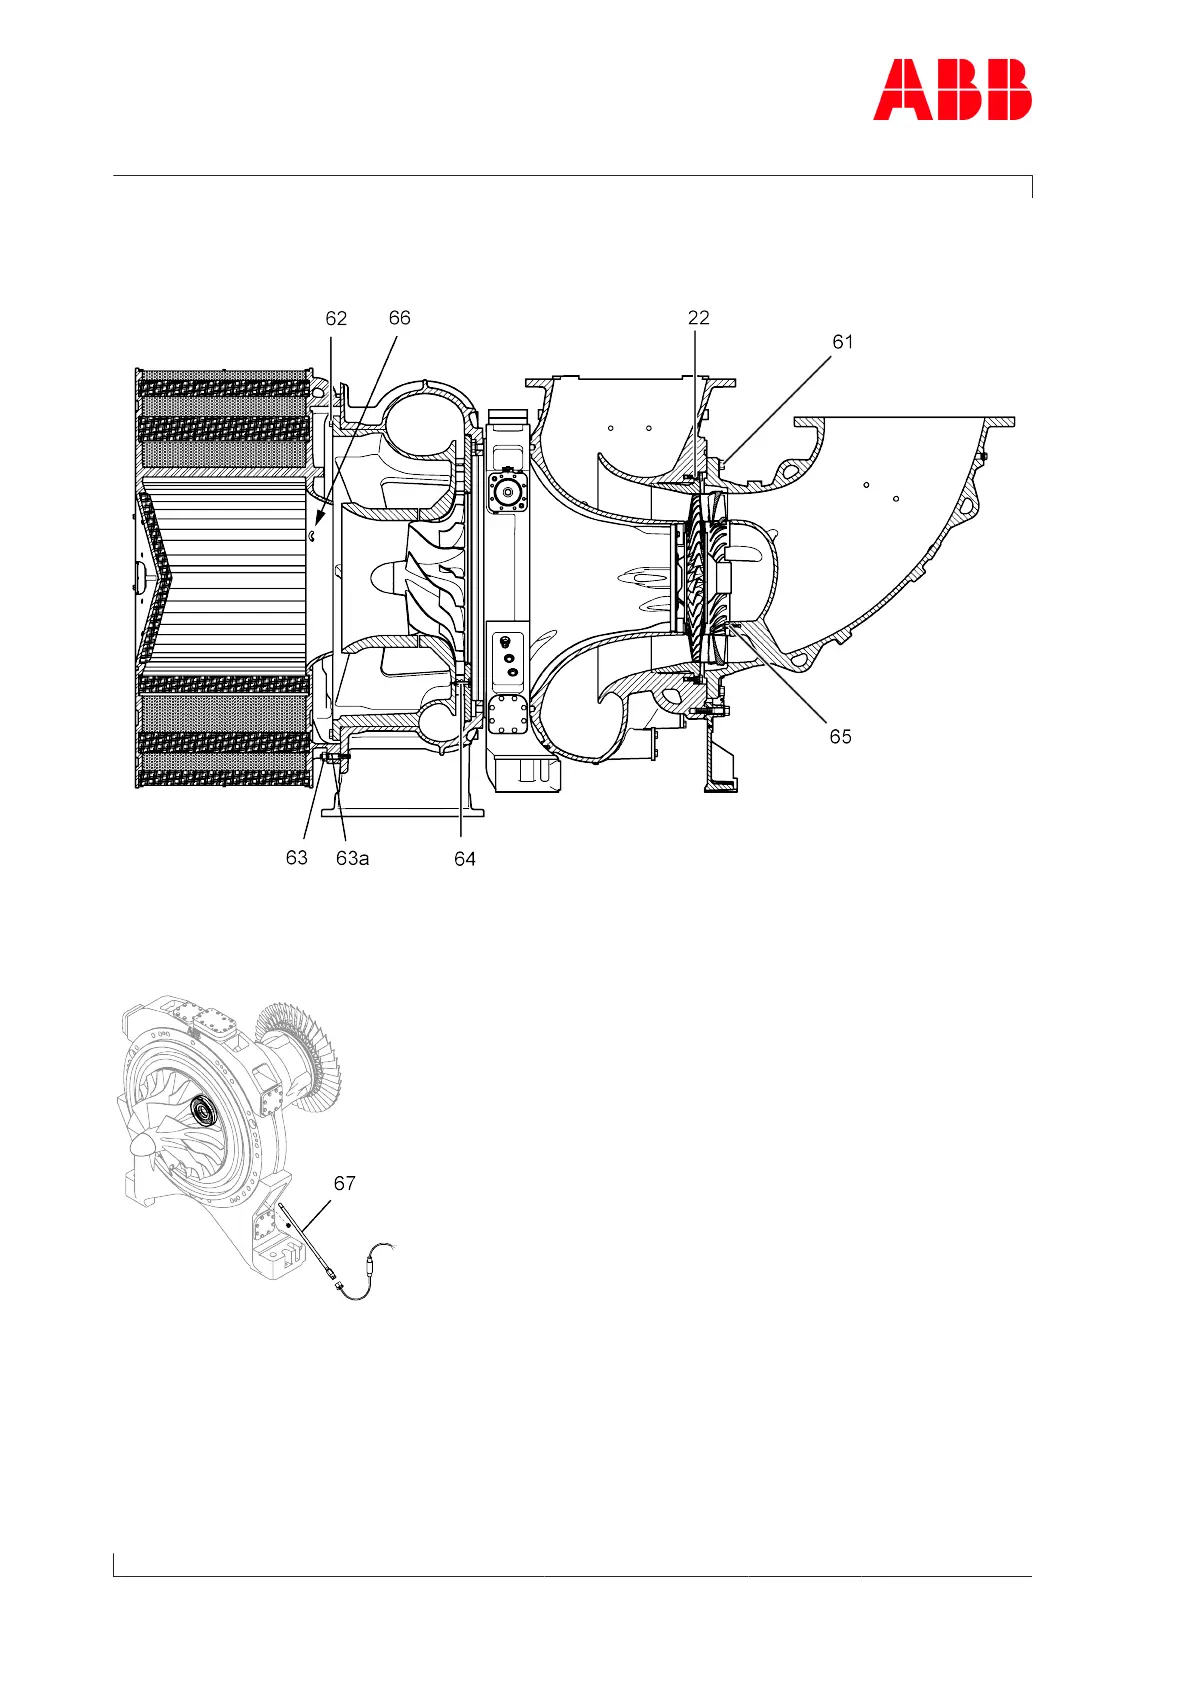
Fig.58: Overview of tightening torques
Fig.59: Overview of speed sensor tightening torque
Page 86 / 106