THIS OPERATION MUST BE CARRIED OUT BY THE INSTALLER ONLY
DIP SWITCH ON OFF PARAMETER
1 INSTALLED NOT INSTALLED TUBEHEAD 1
2 dc ac TUBEHEAD TYPE 1
3 INSTALLED NOT INSTALLED TUBEHEAD 2
4 dc ac TUBEHEAD TYPE 2
5 INSTALLED NOT INSTALLED II° CONTROL BUTTON
6 LONG 12’’ = 30cm SHORT 8’’ = 20cm CONO
7 NOT AVAILABLE
8 NOT AVAILABLE
INSTRUCTION
To change the number of tubehead installed, move the dip-switch n° 1 or the dip-switch n° 3:
DIP SWITCH 1 3
ON ON
OFF OFF
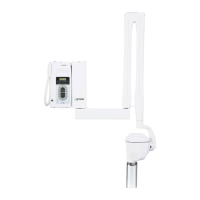
►if the tubehead is connected to the XRAY1 terminal board, put the dip-switch n° 1 in the ON position; otherwise
in OFF position
►if the tubehead is connected to the XRAY2 terminal board, put the dip-switch n° 3 in the ON position; otherwise
in OFF position
To change the type of tubehead installed, move the dip-switch n° 2 or the dip-switch n° 4:
DIP SWITCH 2 4
ON ON
OFF OFF
►if the tubehead connected to the XRAY1 is of ac, put the dip-switch n° 2 in the OFF position; otherwise put it in
the ON position
►if the tubehead connected to the XRAY2 is of ac, put the dip-switch n° 4 in the OFF position; otherwise put it in
the ON position
PLEASE NOTE
It is possibile to connect to the timer of type AC: n° 2 Xmind®dc tubeheads
To change the amount of control buttons installed, move the dip-switch n° 5:
DIP SWITCH 5
ON
OFF