Using the Oscilloscope
To set the oscilloscope to trigger on an edge
3-17
To set the oscilloscope to trigger on an edge
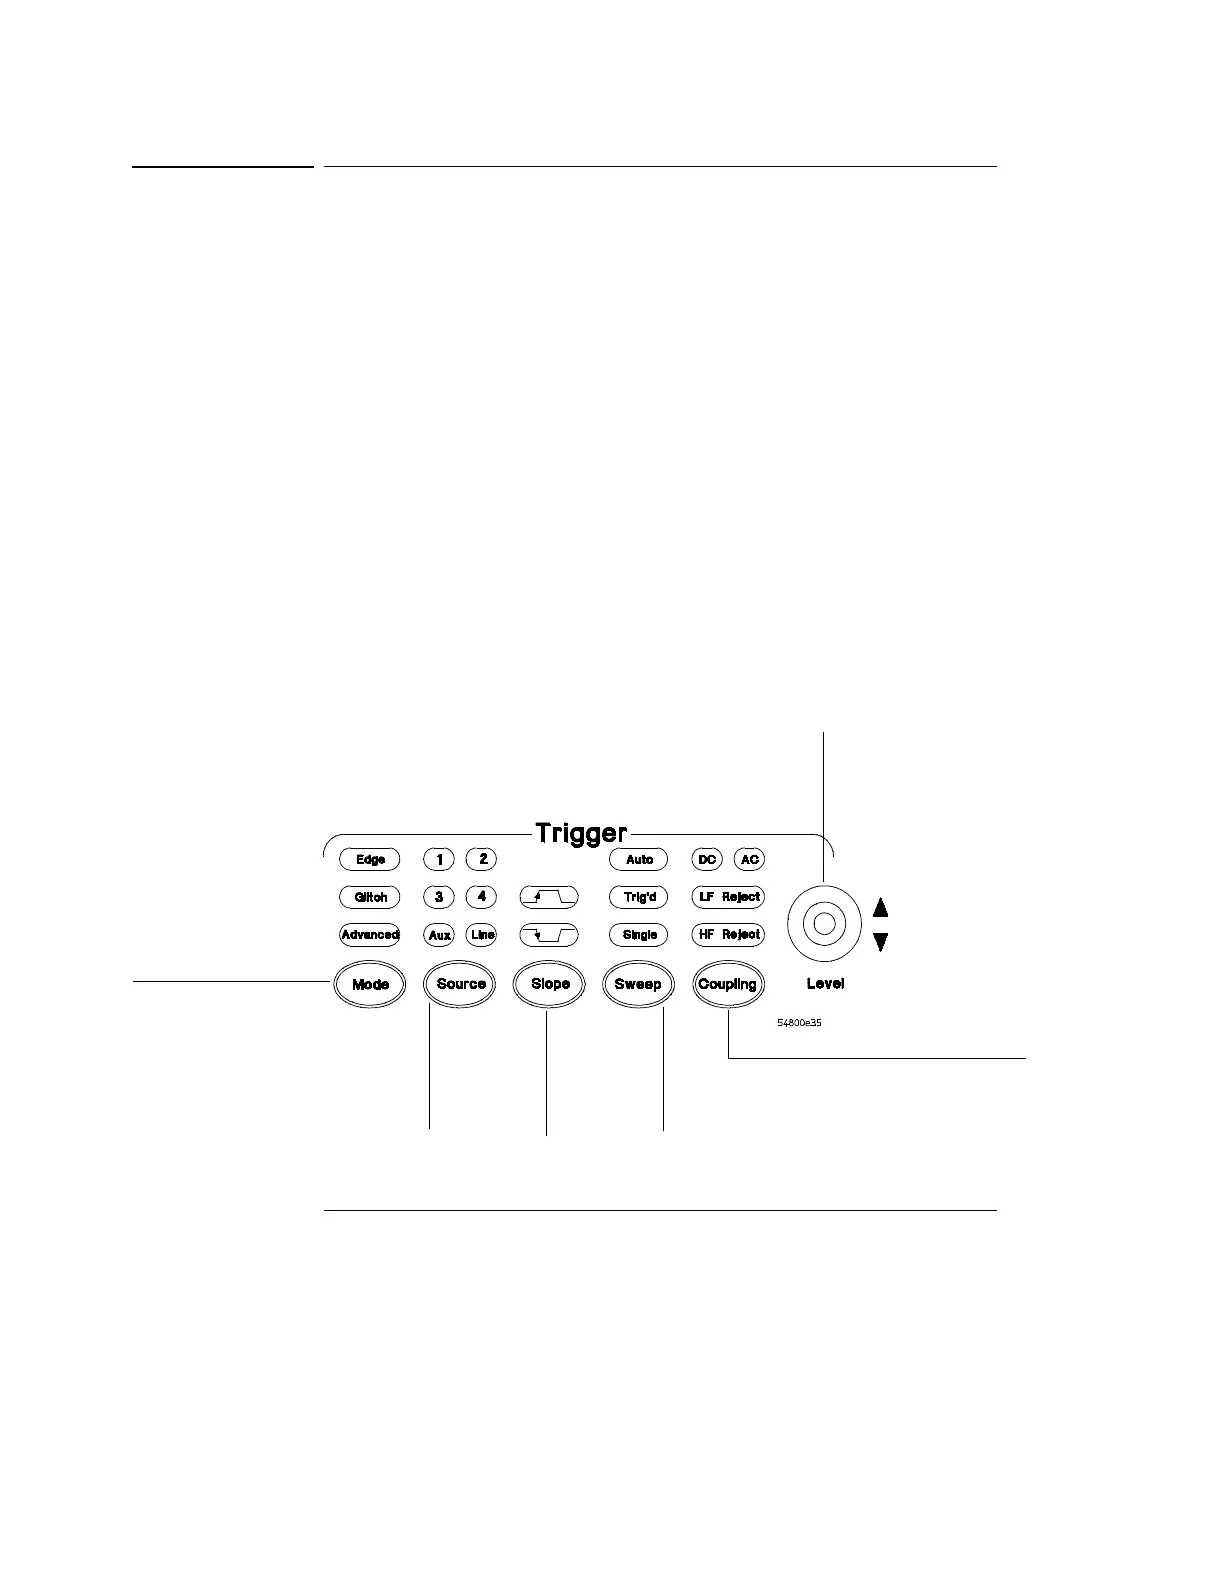
1 Press and release the Mode key until the Edge LED indicator is
illuminated.
2 Press and release the Source key until the desired source LED is
illuminated.
You can choose any of the channels or the Aux Trig In (4-channel ocilloscopes)
or Ext Trigger as the source for an edge trigger.
3 Press the Slope key until the desired slope LED is illuminated.
You can have an edge trigger on a rising or falling edge.
4 Press the Sweep key until the Trig’d LED is illuminated.
The oscilloscope will wait for the edge before initiating a sweep.
5 Select an input coupling for the trigger signal by pressing the Coupling
key.
You can choose DC, AC, LF Reject, or HF Reject. See the built-in Information
System for more information on when to use each type of coupling.
6 Turn the Level knob to adjust the voltage level at which the oscilloscope
will trigger.
Figure 3-11
Trigger Controls and Indicators
Select Edge
mode
Select the
trigger
source
Select rising
or falling
edge for the
trigger
Select Trig’d
Single, or Auto
Set coupling
characteristics
for the trigger
Set trigger level
 Loading...


