Service Guide N5230-90024 7-41
PNA Series Microwave Network Analyzers Repair and Replacement Procedures
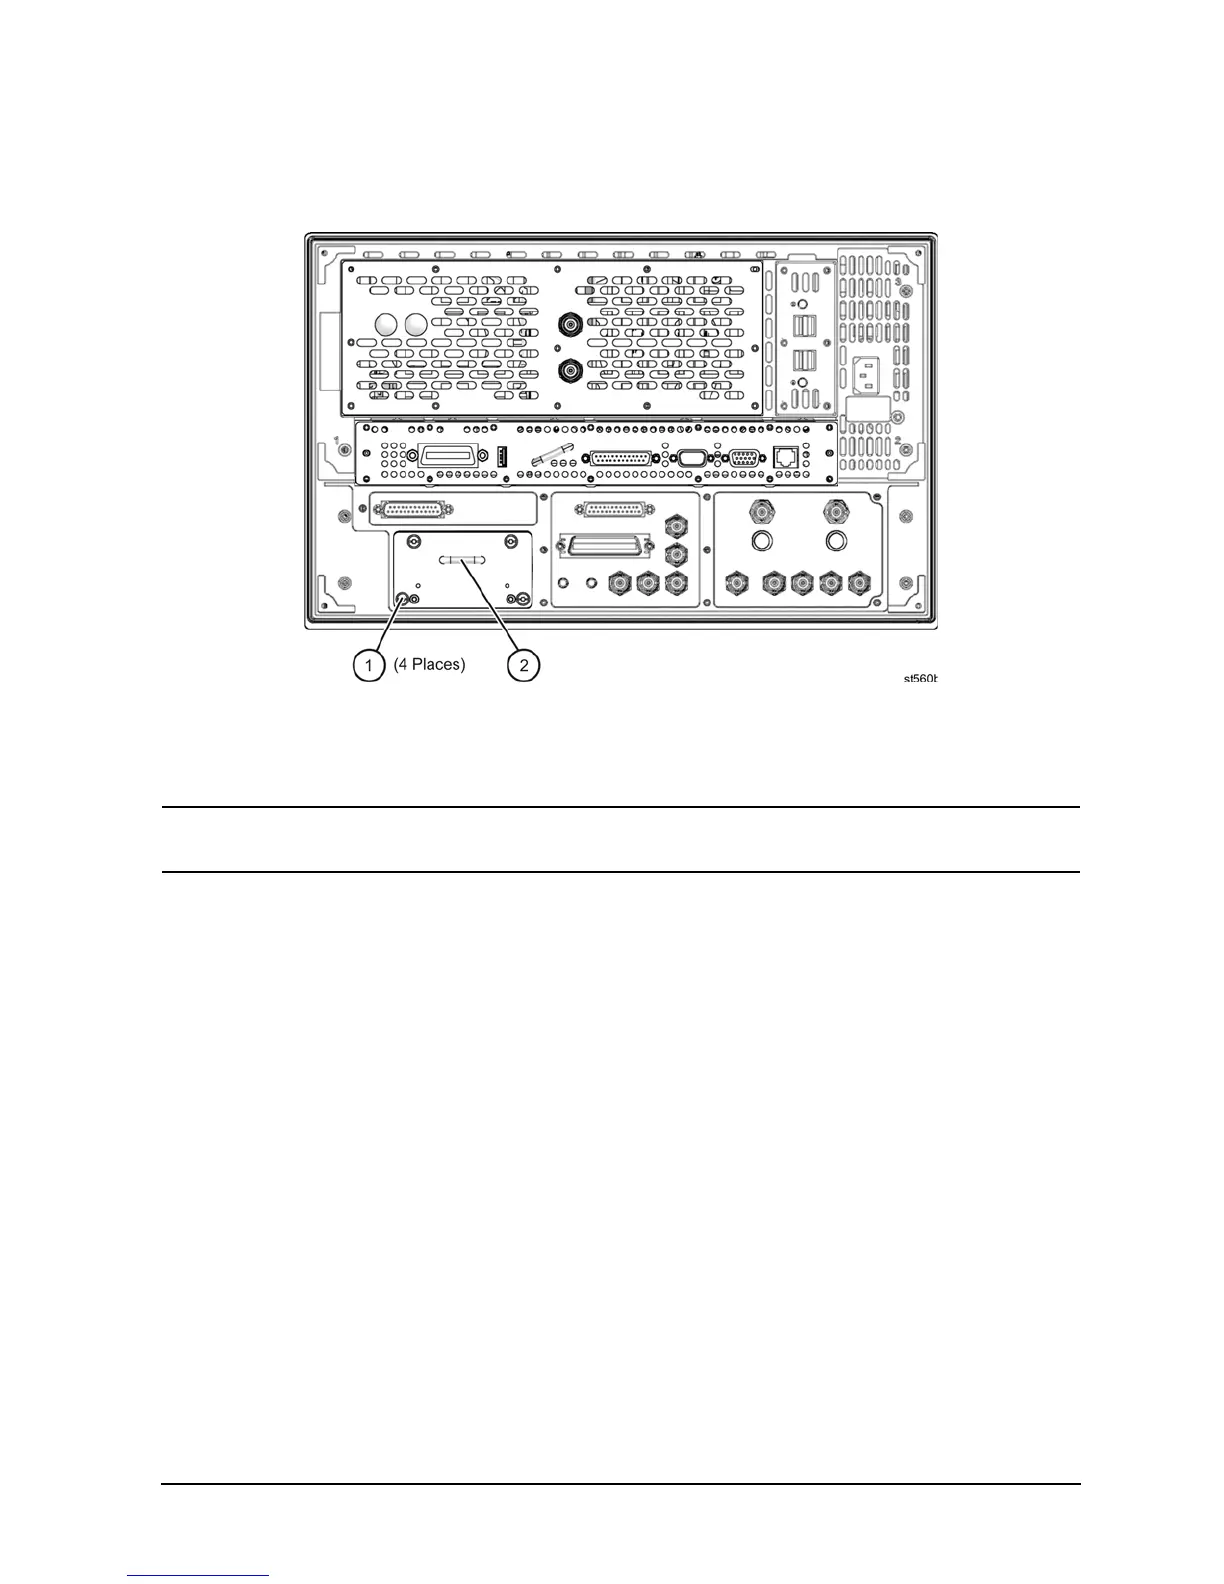
N5230C Removing and Replacing the A41 Hard Disk Drive (HDD)
Figure 7-17 Hard Disk Drive Assembly Removal
Disassembling the HDDA
NOTE If the HDD is being replaced by the HDDA (N8980A or N8981A), it is not necessary to
perform these steps.
Refer to Figure 7-18.
1. Remove the HDDA from the analyzer. Refer to “Removal Procedure” on page 7-40.
2. With a T-10 TORX driver, remove the following items that mount the HDD (item
④
), to the bracket:
a. The four screws (item
①).
b. If the HDD is equipped with the serial ATA interface:
• the four bushings (item
➁)
• the nylon spacer (item
⑤)
c. If the HDD is equipped with the parallel ATA interface:
• the eight bushings (item
➁)
3. Disconnect the HDD (item
④
) from the interface board (item
③
).