10.3 Maintenance plan
Maintenance ball swivel connection
Item 6.2 Check the screw connection of the ball swivel connection after
100 operation hours and then every 600 operation hours. Torque
300 Nm.
Item 8.6 The grease filling will avoid wear and seal and will protect
against corrosion. Therefore grease the bearing every 50 operation
hours with a lot of grease, until the grease overflows. During greasing turn
the ball connection of the bucket arm in steps of 20°. Grease all four
greasing points in any position. Before and after a longer period of non-
operation greasing is absolutely necessary.
DANGER
- Before lubrication, the bucket arm support must be placed into position
(1-1/arrow) and the parking brake must be applied.
- Stay clear of the bucket arm swivel area during process of swivelling.
S06C S06C
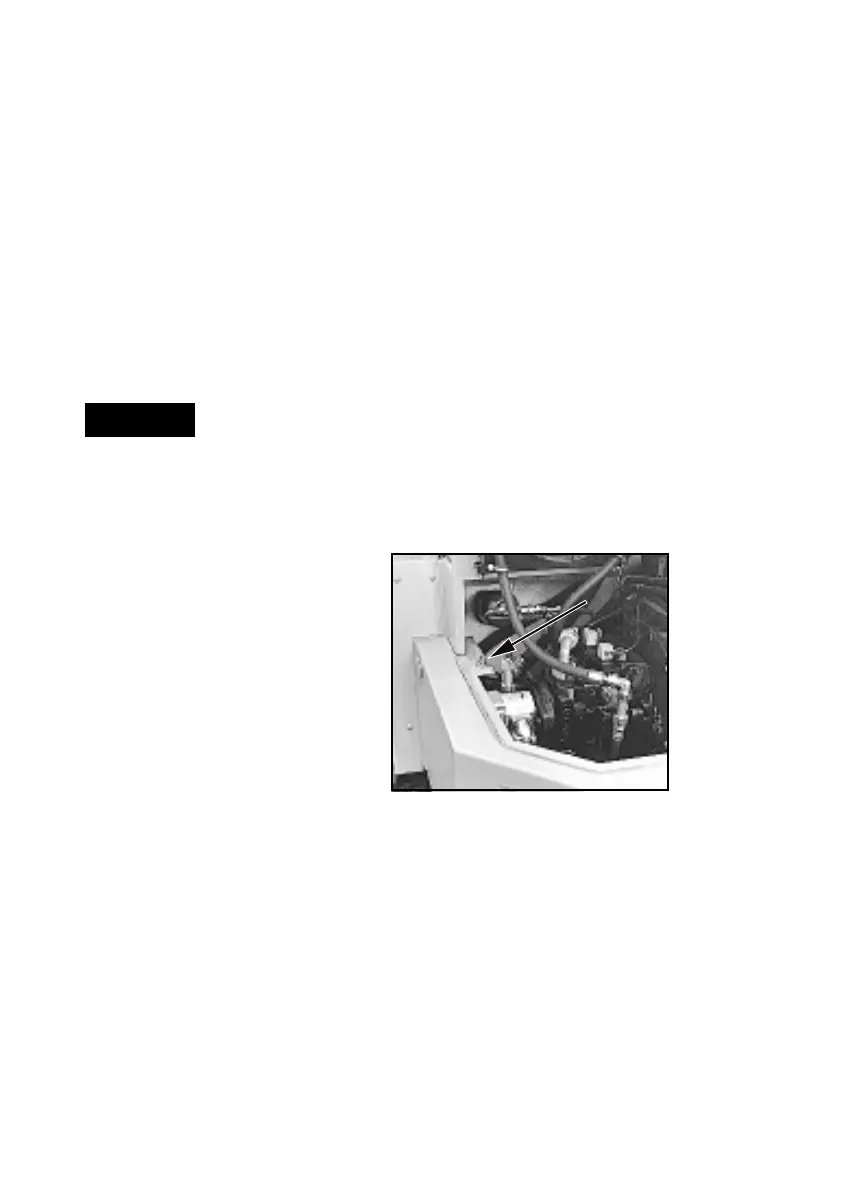
Maintenance rear axle
pendulum bolt
Item 8.1 The rear axle pendulum
bolt has to be greased every 50
operation hours. The greasing
point for this bolt is situated under
the motor cover on the left side of
the machine (10-1/arrow).
Fig. 10-1
10.3 Maintenance plan
Maintenance ball swivel connection
Item 6.2 Check the screw connection of the ball swivel connection after
100 operation hours and then every 600 operation hours. Torque
300 Nm.
Item 8.6 The grease filling will avoid wear and seal and will protect
against corrosion. Therefore grease the bearing every 50 operation
hours with a lot of grease, until the grease overflows. During greasing turn
the ball connection of the bucket arm in steps of 20°. Grease all four
greasing points in any position. Before and after a longer period of non-
operation greasing is absolutely necessary.
DANGER
- Before lubrication, the bucket arm support must be placed into position
(1-1/arrow) and the parking brake must be applied.
- Stay clear of the bucket arm swivel area during process of swivelling.
Maintenance rear axle
pendulum bolt
Item 8.1 The rear axle pendulum
bolt has to be greased every 50
operation hours. The greasing
point for this bolt is situated under
the motor cover on the left side of
the machine (10-1/arrow).
Fig. 10-1