HM135/HM435 Programmer software guide
Preliminary version Page 23
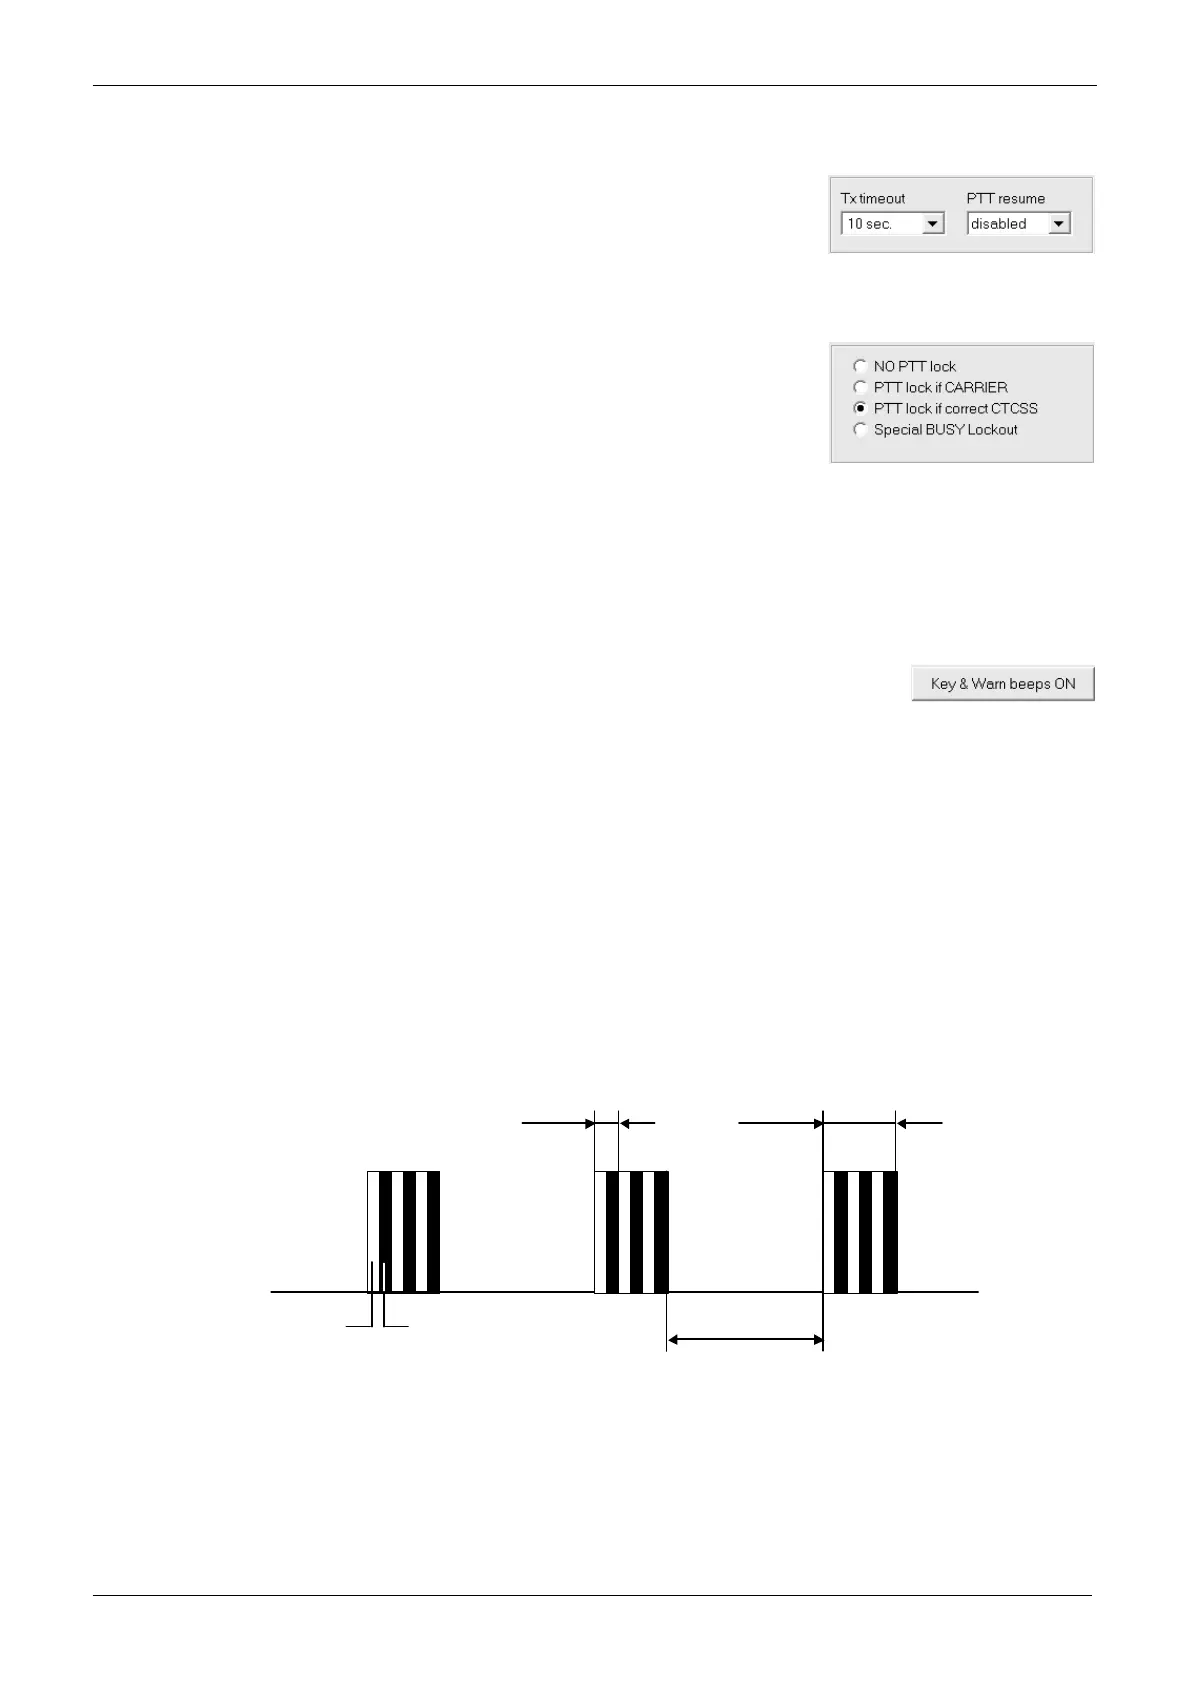
6.4.a Setting the Transmission timeout
1) Click the Tx timeout drag down button and select the maximum transmission time available for the user.
2) Obviously, as soon as you will select a Tx timeout value different than disabled, you will also
automatically activate the PTT resume drag down button. Leave it to disabled if you want to
restore the transmission just after the PTT has been released or set the time which the user has
to wait with the PTT released.
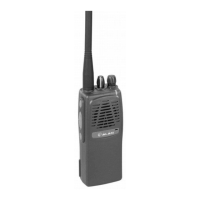
6.4.b Setting the PTT lock
3) You have now three choices to lock the PTT in certain conditions:
If you don’t want to lock the PTT, even when the channel is busy or the correct CTCSS tone is present, leave the NO PTT Lock
radio button active.
If you need the Tx inhibited when a carrier is detected (busy channels), use the PTT lock
if CARRIER radio button.
If you need the Tx inhibited when the correct CTCSS tone is detected, use the PTT lock
if correct CTCSS radio button.
If you need the Tx inhibited when the wrong CTCSS is detected, use the Special BUSY
Lockout radio button.
4) Click the OK button to confirm or Cancel to exit without changing the previous settings.
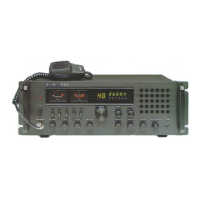
6.5 Enabling/disabling the key and warn beeps (Key & Warn beeps button)
Normally, when you press any key, you hear a short beep as a confirmation in the loudspeaker. Moreover, in case of
mistakes or particular events, different beeps are emitted. If your customer requires a very silent use, you can disable the
said acoustic signals as follows:
From the Global Data window - Set-Up area - click the Key & Warn beeps button: you will toggle it
OFF or ON depending on the times you press the button.
We recommend, when possible, to leave the acoustic signals ON in order to improve the transceiver’s ease of use.
6.6 Setting the acoustic signals (rings)
You can set up and configure the acoustic warning signals which the radio emits when a Selcall is received in order to obtain
the audio effect you prefer. Independent settings are available for each kind of received Selcall, i.e. Primary (Seq I),
Secondary (Seq II) or Group (Group call). Before doing that, have a look to the following paragraph in order to know how
each ring is composed.
6.6.a Format of rings (acoustic signals)
Each ring is composed by a preset number of bursts (from 1 to 255). Each burst is obtained by alternating two tones (Tone 1
and Tone 2) a preset number of times. Let’s call each alternation as trill. In other words, a ring is composed by a preset
number of bursts which are composed by a preset number of trills which are composed by two tones. You can set not only
the frequency and duration of each tone, but also the number of trill per burst, the number of bursts which make each ring,
the pause between each burst and the cadency (repetition of each ring). The following diagram shows a ring made by 3 burst,
each of them made by 3 trills
A good management of burst, trills etc. allow you to create a wide range of sounds in the rings which can imitate a lot of
situations (e.g. alarm tones) or well known rings (e.g. your Country’s typical phone ring when a Selcall is received). This
additionally improves the ease of use.
Burst Trill
Inter burst
paus e
Tone 1 (white) Tone 2 (black)