APOC0274 Ed.3a
Page 21 of 35
+44 (0)1235 861 483 | aleretoxicology.co.uk
Alere™ DDS
®
2 Mobile Analyser User Guide | 7. QC Tests | 8. Main Menu
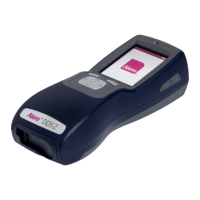
Step 4: Following analysis of the second QC test cartridge, results of the QC test will be displayed as ‘QC Results:
Pass’ or ‘QC Results: Fail’.
Step 5: If the QC tests have failed, contact Product Support. Do not continue testing.
Step 6: After acknowledging the results by selecting OK, the analyser will prompt you to remove the test cartridge,
to complete the QC testing.
Step 7: If you wish to print the QC results, please select the View Results option from the main menu to print the
individual QC tests. See section 9 Accessing Stored Results.
Step 4 Step 6Step 4
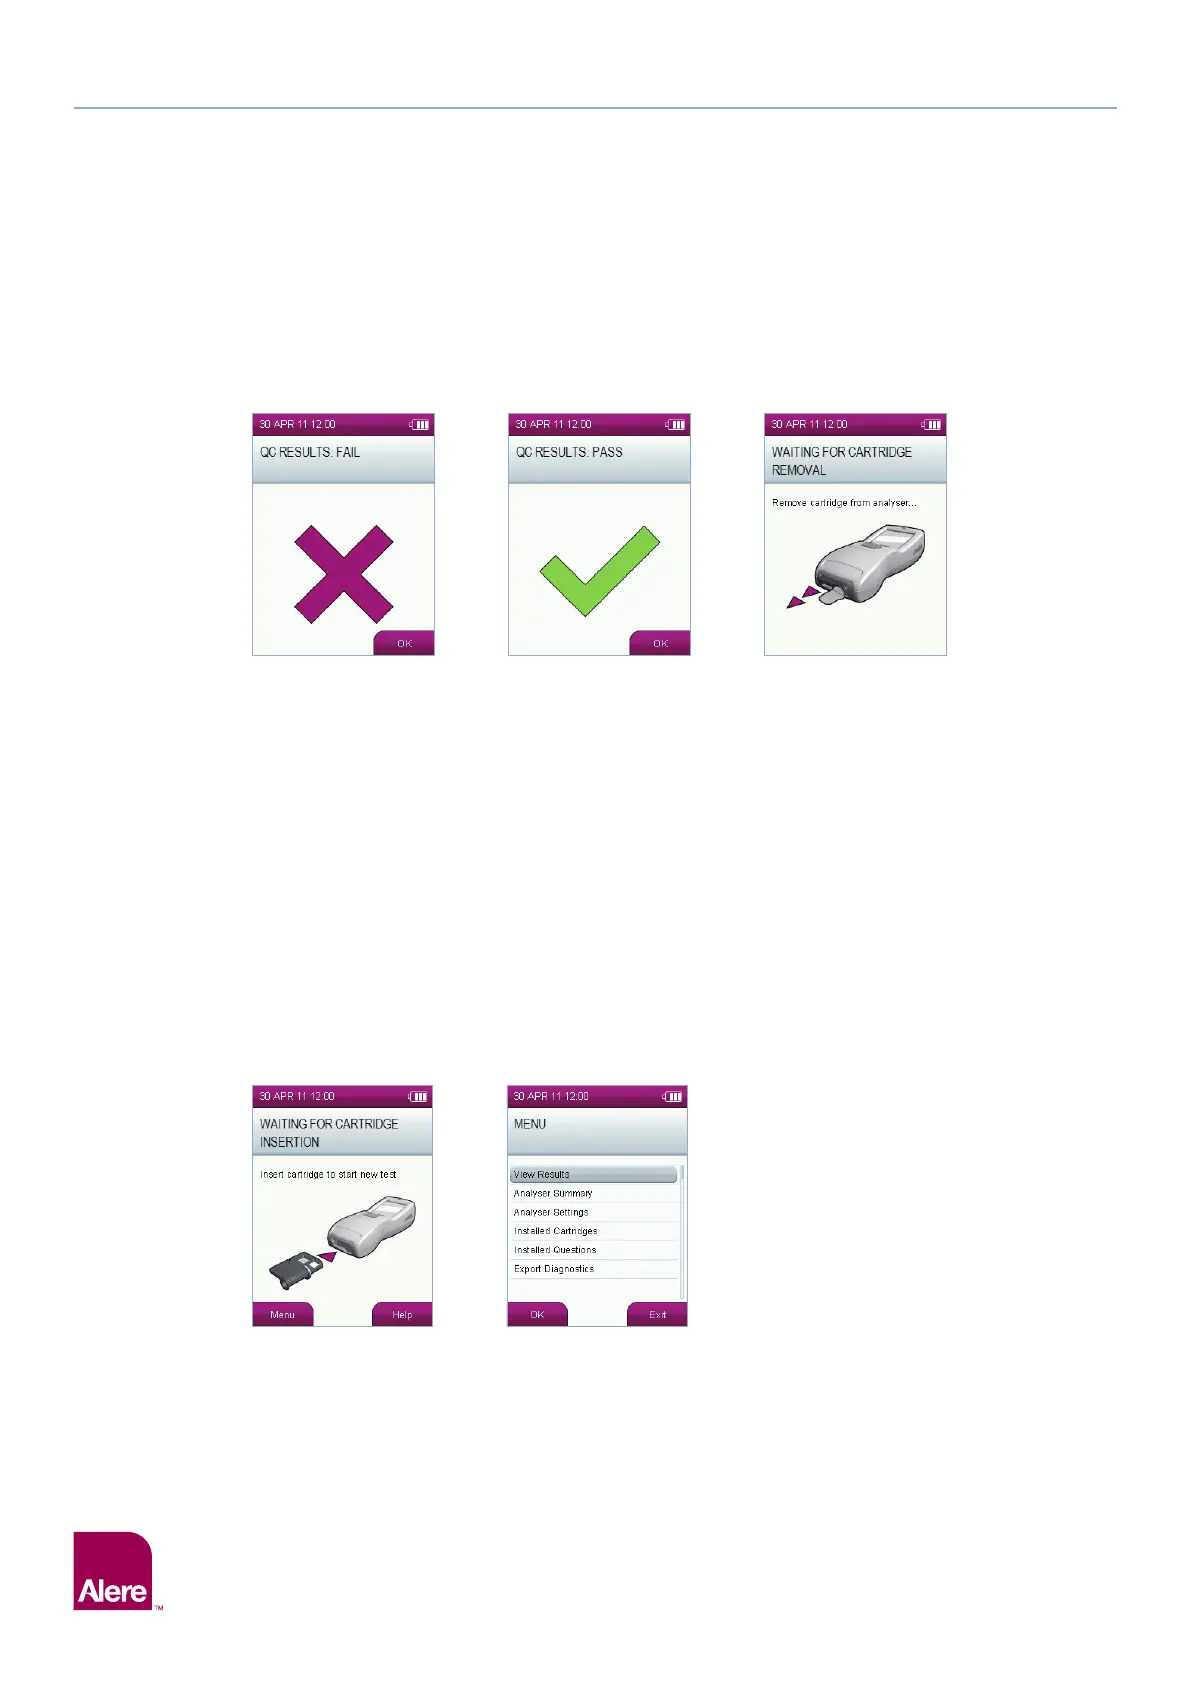
8 Main Menu
The Alere DDS2 Mobile Analyser main menu screen (shown on the right below) can be reached from the
default screen (shown on the left below) by pressing the left selection key.
From this screen you can access stored results, view the analyser summary and settings and check the Alere
DDS2 Test Cartridges that are installed on the analyser. See the following sections for more details.