Rockwell Automation Publication 193-UM014C-EN-P - August 2016 23
Configure the EtherNet/IP Communication Auxiliary Module Chapter 2
The New Entry window appears with the module’s media access control
address (MAC).
6. Type the IP address, host name, and a module description.
7. Click OK.
8. Cycle power to the module by removing and reapplying the DeviceNet
connector.
9. To permanently assign this configuration to the module: Select the
module in the Relation List panel and click Disable BOOTP/DHCP.
When module power is cycled, it uses the assigned configuration and
does not issue a DHCP request.
If you do not click Disable BOOTP/DHCP, on a power cycle, the
module clears the current IP configuration and again begins sending
DHCP requests.
Assign Network Parameters
Via a Web Browser & MAC
Scanner Software
If you do not have access to a DHCP software utility, you can assign network
parameters via a web browser (for example, Microsoft® Internet Explorer) and
Media Access Control (MAC) scanner software (for example, MAC Scanner
from Colasoft® - http://www.colasoft.com/)
. Follow these steps to configure
the module using this method.
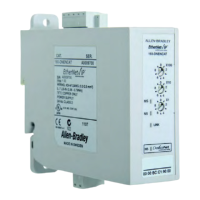
1. Locate and identify the MAC ID printed on the label of the EtherNet/
IP communication auxiliary module. This address has a format that is
similar to: 00-0b-db-14-55-35
2. Connect the EtherNet/IP communication auxiliary module to the same
wide area network (WAN) as your personal computer.
3. Initiate the MAC scanner software.
 Loading...