Dansensor® CheckMate 3 EN User Guide 47
P/N 300042-I
05/2019
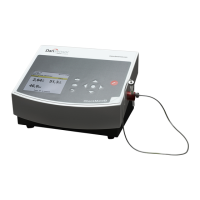
6. The appearing Calibration menu holds a list of the
various sensors in the device.
For each sensor there is a table showing the appropriate
calibration parameters.
To proceed with the calibration push the key.
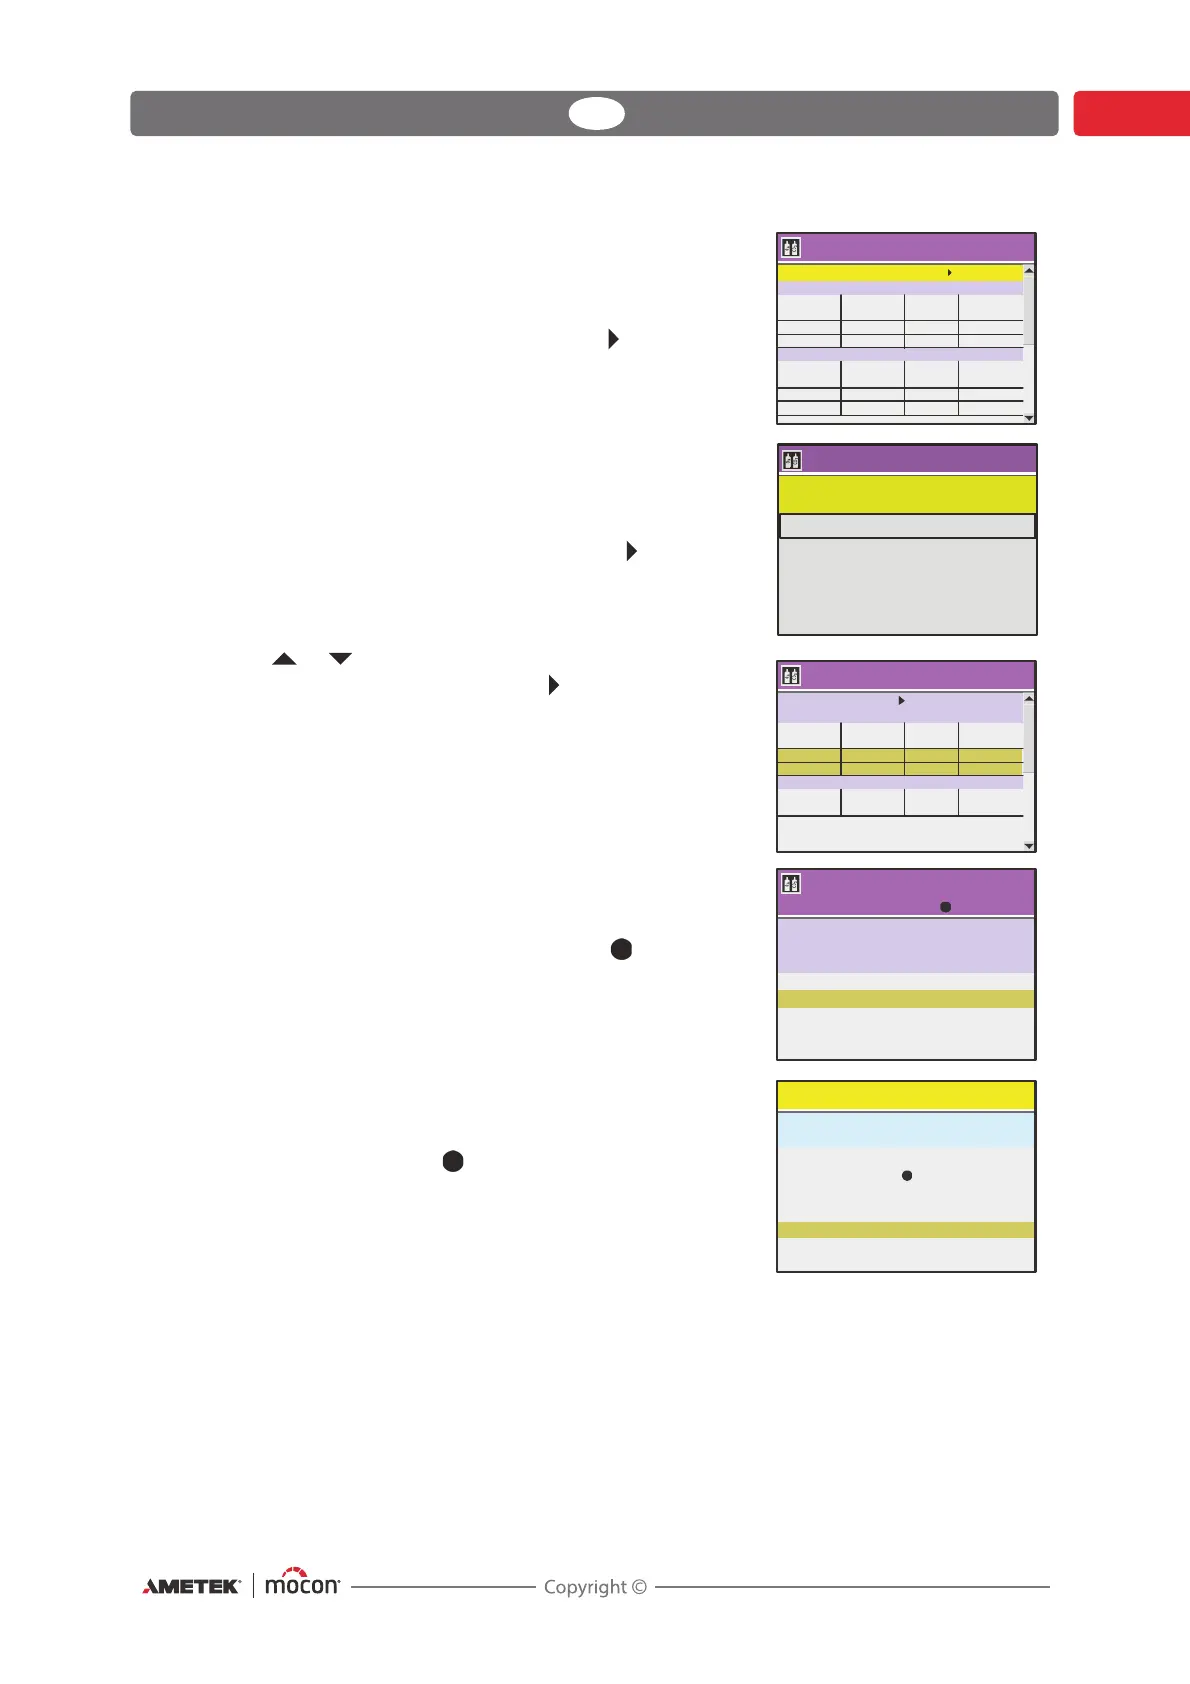
7. From this menu you can select between the following
items:
- Perform calibration
- Erase/enter calibration
Select Perform calibration, then push the key.
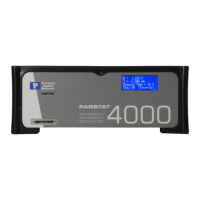
8. Use or key to select the calibration value fields for
the O
2
sensor (EC), then push the key.
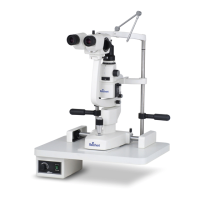
9. The pump starts and now make sure to expose the
needle to a 20,946% O
2
gas.
Let measurement run for approx. 5 min. then select the
20,9460 gas entry from the list and push key.
10. You will be asked to perform the calibration.
NOTE! Existing calibration value, if any, will be
overwritten.
Select "Ye s " then push key.
Calibration
O sensor (EC)
Response Pressure Calibration
0,0000 0,170 1032,0 05/08/06
20,9460 18,208 1031,9 05/08/06
CO Response Pressure Calibration
2
% mbar date
100,00 0,533 1034,0 05/08/06
60,00 0,463 1034,0 05/08/06
Erase / enter calibration
13:46
08/17/06
!!! WARNING !!!
Calibration requires use of certified gases
Wrong calibration will cause invalid measurements
Select sensor and press to begin calibration
O sensor (EC)
2
O
Response Pressure Calibration
2
% mV mbar date
0,0000 X,XXX XXXX,X XX XX XX //
, , , //20 9460 XX XXX XXXX X XX XX XX
CO sensor (100%)
2
CO Response Pressure Calibration
2
% mbar date
Calibrating
Select gas and press
13:46
08/17/06
XX,XXX
XX,XXX
XXX,X
%O
2
mV
mbar
0,0000
20,9460
Sensor:
EMF:
Pressure:
1:
2:
Warning
XX XXX,
XX XXX,
Measured value:
:
Calibration gas
Perform calibration?
Select and press
No
Yes
13:46
08/17/06