Dansensor® LeakPointer 3/3
+
EN User Guide 31
P/N 380064-F
06/2021
Determination of vacuum setting
The below procedure requires that the necessary height adjustment has been performed as
described in
"Height adjustment" on page 30 and that the package is positioned accordingly.
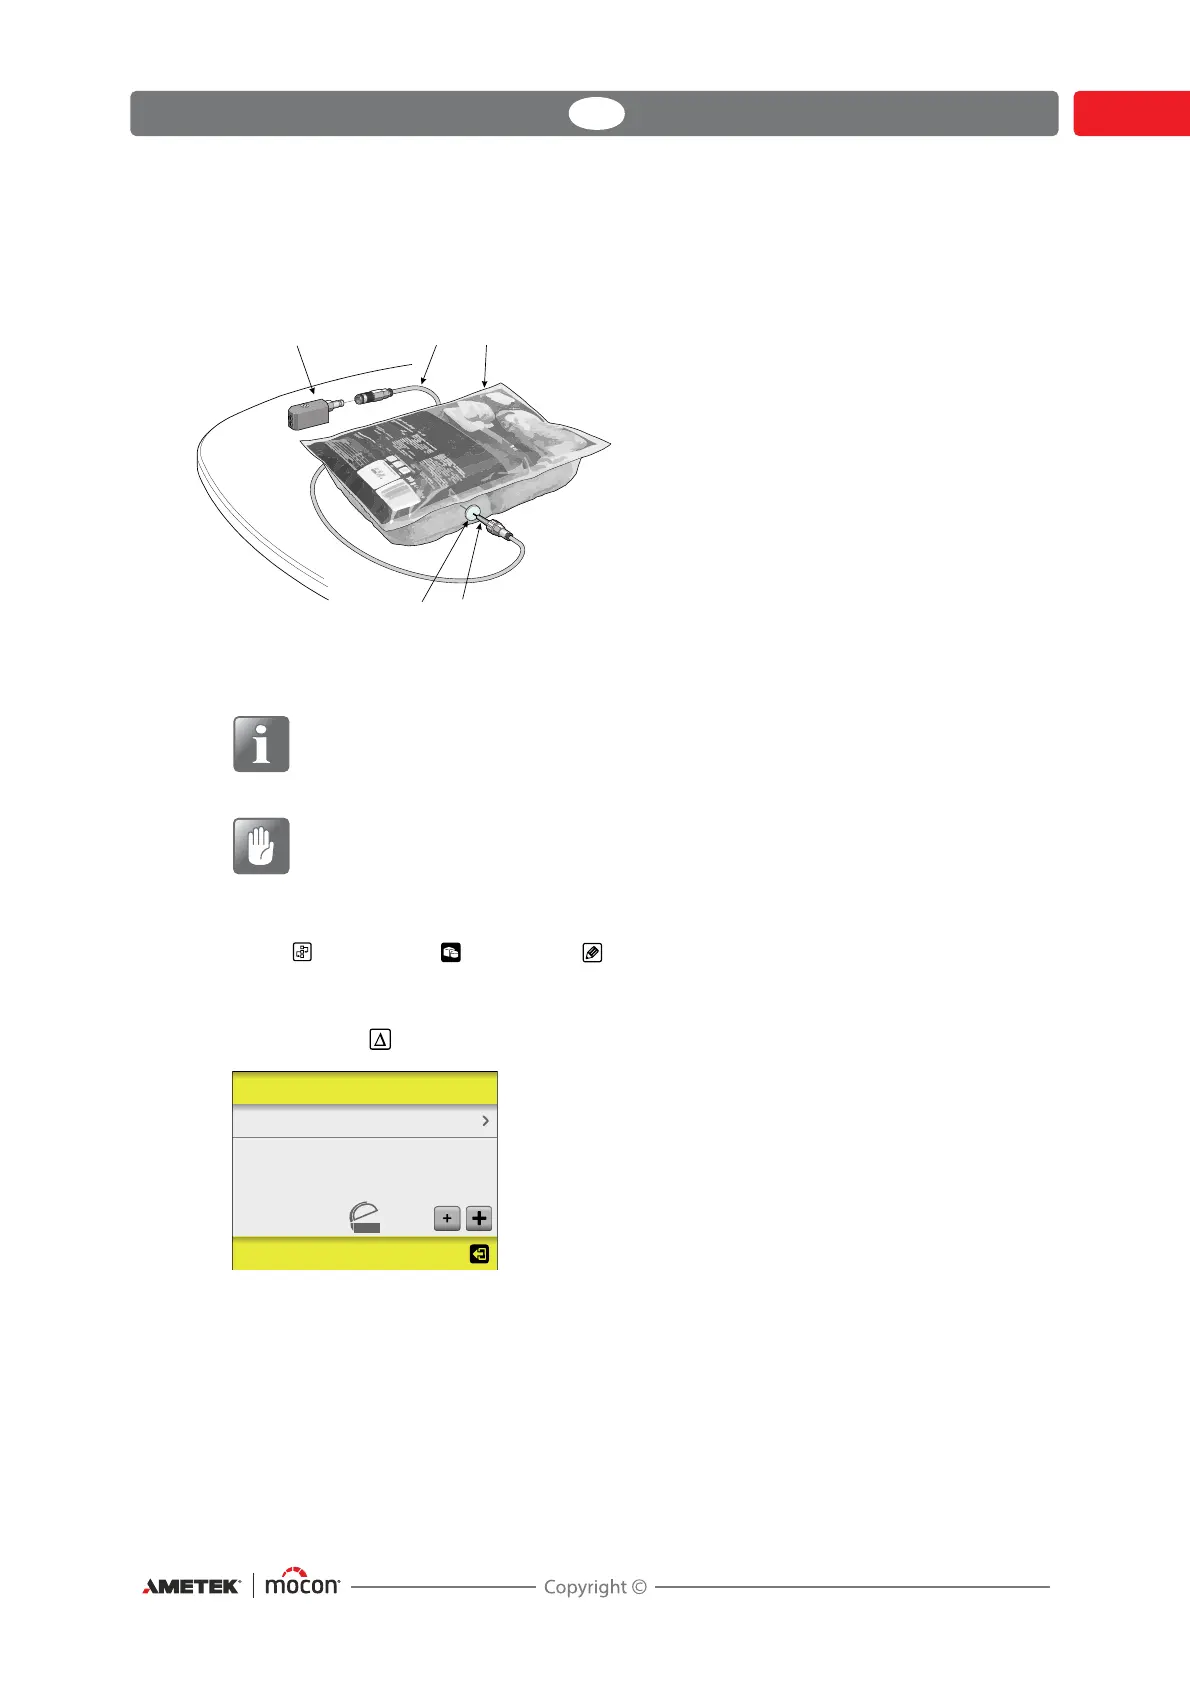
1. Connect the Delta P measuring hose to the quick connector in the chamber. Place a
septum
on the package and push the needle through it.
NOTE! Make sure that neither the needle nor the hose is hit by the PackFix and
the chamber when the chamber is closed. We recommend to place the needle
through the side of the package.
CAUTION! Make sure that the needle does not touch the product in the package,
as this could clog or soil the needle and/or hose. If this happens, the needle
and/or hose must be cleaned or replaced to avoid destroying sensors or other
items inside the device.
2. Select Workflow -> Products -> Edit and then select the product you have
created for the specific package type.
3. Set Mode to Single Package.
4. Tap the yellow icon to go to the Create Test Vacuum screen.
5. Set the Chamber vacuum (delta) to 100 mbar, then close the chamber to start the
measurement.
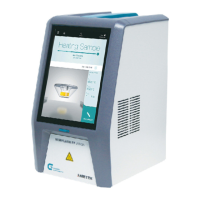
Create Test Vacuum
CO2
Chamber vacuum (delta)
Package pressure ( P)Δ
490 ppm
0 mbar
0 mbar
Chamber vacuum (delta)
100 mbar
11-02-2018
09:23