Installation and Setup
56
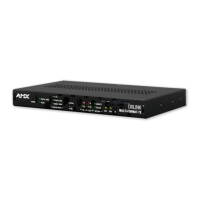
Instruction Manual – DXLink™ Twisted Pair Transmitters/Receiver
HDMI RX – Applying Power
Important: If desktop power is used to power the Receiver, only the provided desktop power supply
should be used and it must not be altered in any way. Remote power can only be provided via the
switcher, PDXL-2 (FG1090-170), or PS-POE-AT-TC (FG423-84).
Important: The “Important Power Considerations for Enova DGX Endpoint Systems” also apply to
the HDMI RX (see page 54).
To apply power to the HDMI RX:
1.
Plug the cord from the desktop power supply (provided) into the power jack on rear of the
HDMI RX (2.1 mm DC jack for 12 V local power).
2. Plug the desktop power supply into an AC external power source.
The Power LED on the front of the HDMI RX illuminates a constant green, which indicates a ready
state. Some of the additional LEDs will also turn a turn a constant green. For normal LED display,
see the table below.
Important: If any HDMI Receivers are being powered through an Enova DGX, we recommend
determining the power budget to maintain power redundancy for the system (see page 38).
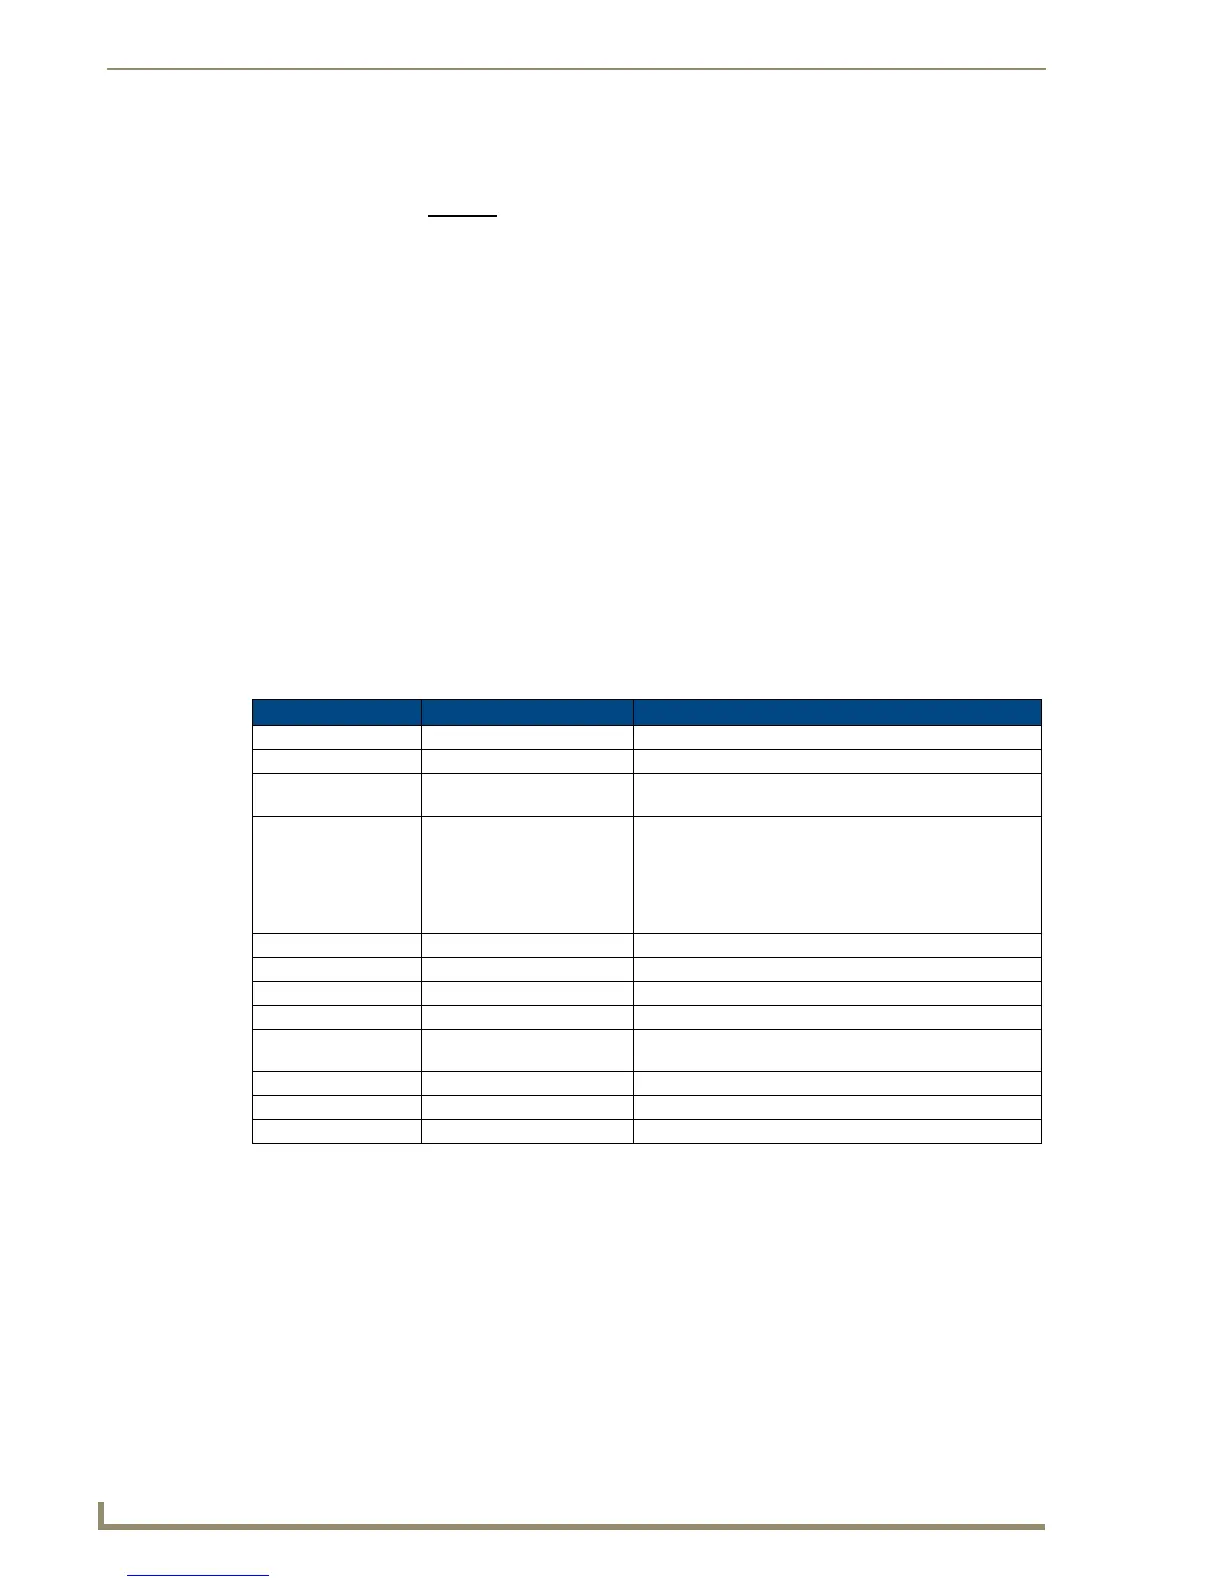
HDMI RX – Indicator LEDs
The LED indicators are listed in the table as they appear on the front of the RX from left to right.
* When the output cable is disconnected from the HDMI RX or if no EDID can be found on the destination device,
the last used Scaling Mode LED will be ON. In either case, the HDMI RX will continue to hold its output resolution
to the last known preferred resolution until a power cycle or reconnection of a sink with a valid EDID. On power
up without a valid EDID, the default preferred output resolution presented will be 1280x1024 @ 60 Hz until a
different EDID is detected.
Receiver – LED Troubleshooting
If the indicator LEDs for the modules do not respond with a normal display as stated in the table above:
Check all power connections.
Check the “Detailed NetLinx (Link/Act and Status) LED Behavior” section on page 61.
Try the suggestions in the “Troubleshooting” chapter (see page 101).
For information on restoring the module’s default settings on power up, see page 68.
HDMI RX LED
Normal Display Indicates
Power Green Power is applied to the Receiver
Video Green A video signal is present through the Receiver
Audio Green An embedded audio signal is present through the
Receiver
Scaling:
– Bypass
– Auto
– Manual
One LED is green
The other two are off
Receiver is in one of the three modes for scaling
• At initial power up, the Receiver defaults to the
Auto scaling option*
• Press the Scaling button to turn on the Bypass option
or the Manual option
IR TX Red IR TX active communication
IR RX Yellow IR RX active communication
Serial TX Red Serial TX active communication
Serial RX Yellow Serial RX active communication
NetLinx Link/Act Green Active LAN connection to an AMX Network
(Blinking = #3 Toggle OFF)
NetLinx Status Green LAN connection is active
CEC OFF CEC is not currently supported
USB Yellow USB connection is active