Appendix C – Virtual NetLinx Master
125
Instruction Manual – DXLink™ Twisted Pair Transmitters/Receiver
6. Click Select.
7. Click OK to save the changes and close the dialog box.
The Virtual Master displays in the NetLinx Studio’s OnLine Tree.
Important: When transferring files via a Virtual Master, a direct connection must be made between
the module and the PC via the module’s ICS LAN 10/100 port.
Preparing a DXLink Module to Work with a Virtual Master
Preparing the DXLink Transmitter or Receiver to work with a Virtual Master requires placing the unit in
Static IP Mode, assigning it a device ID, and setting the connection type to TCP.
Note: When using the instructions below, only one DXLink Module can be connected to the Virtual
Master at a time because the static IP address is the same for all modules.
To place a DXLink Module in Static IP Mode:
1.
Connect the DXLink Module via its ICS LAN 10/100 port to the PC acting as a Virtual Master.
2. Set the DIP Switch’s #1, #2, and #3 Toggles to ON.
3. Apply power to the DXLink Module.
4. Once the DXLink Module has booted up (the Power LED on the front of the module turns a
constant green, to indicates a ready state), press and hold the ID Pushbutton for at least 10 seconds.
5. The NetLinx LEDs toggle back and forth during this time and then blink faster in unison; release
when the faster blink starts.
When the Pushbutton is released, the DXLink Module toggles either from static to dynamic
(DHCP) IP addressing or vice versa and remains in that mode until the ID Pushbutton is used
to set it again.
The DXLink Module automatically reboots to complete the process.
To assign a device ID and set the connection type:
1.
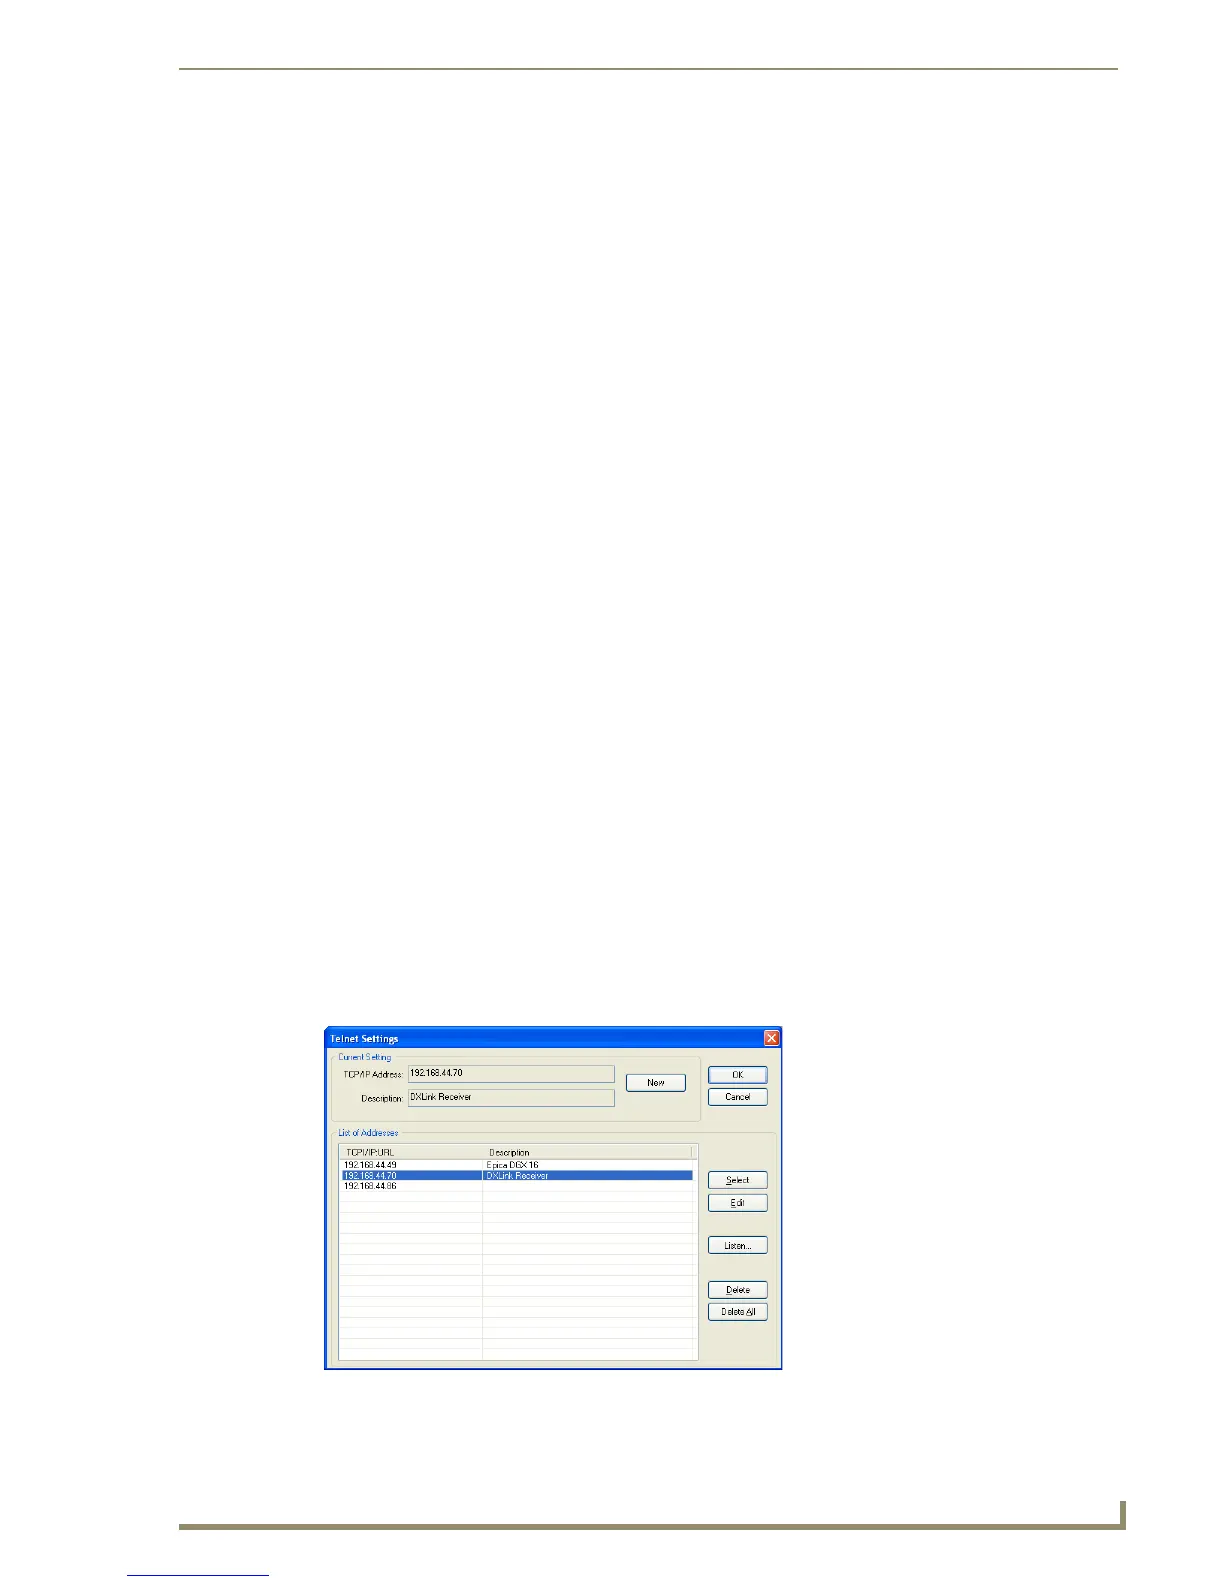
From the Tools menu in NetLinx Studio, select Telnet Session.
The Telnet Settings dialog box opens.