Chapter 5 — Assembly Replacement 5-4 Main PCB Assembly Replacement
MS272xC MM PN: 10580-00279 Rev. E 5-7
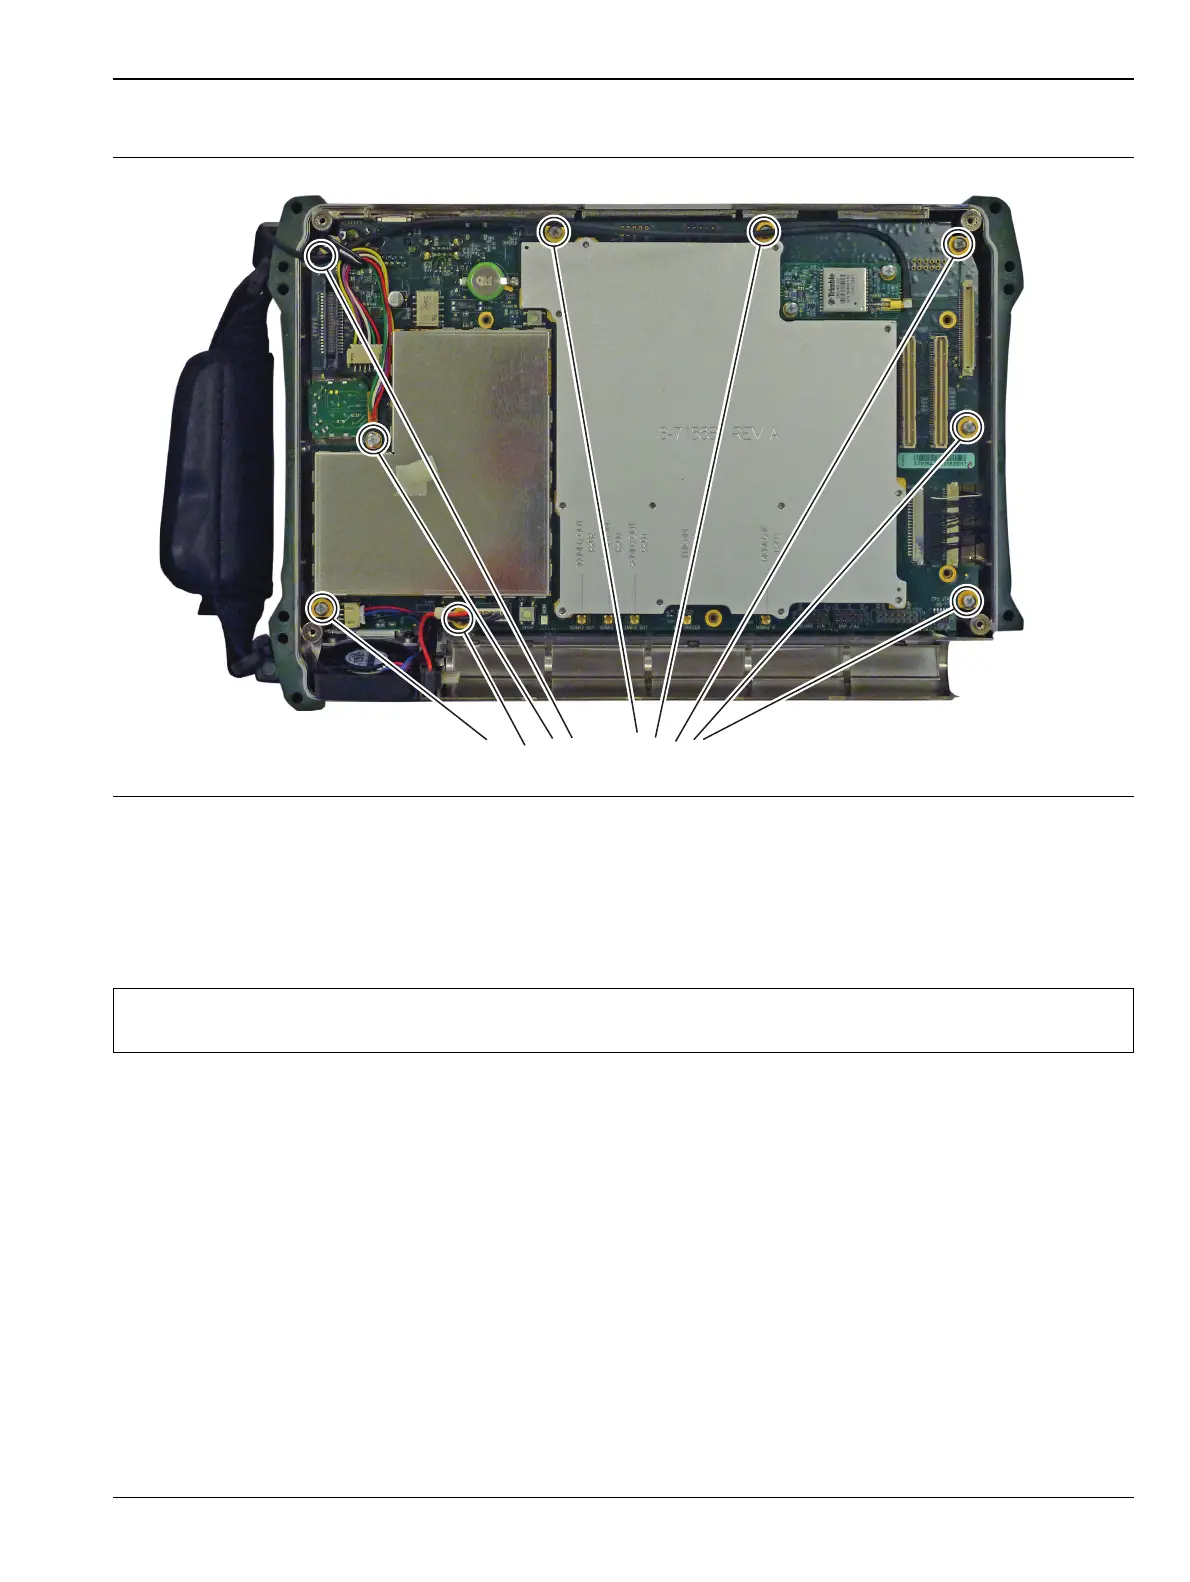
7. Remove the 9 screws retaining the Main PCB Assembly to the Spectrum Master case (Figure 5-7).
8. Pull the Main PCB assembly out of the Front Panel section.
9. Remove the LCD Assembly and attached to the replacement Main PCD Assembly and described
in“LCD Assembly Replacement ” on page 5-8
10. Replacement is the reverse of removal.
Figure 5-7. Remove the 9 Screws Retaining the Main PCB Assembly
Note
During reassembly confirm that the socket connector on the Main PCB aligns with the connector pin
on the Keypad PCB shown in Figure 5-11 on page 5-10.