SBC-GX1 Windows XP Embedded Quickstart Security and image duplication
4 Click on OK and wait for the system to reset, but don’t allow the system to reboot.
Instead, switch off the power as the SBC-GX1 begins to restart.
This CompactFlash is now the master copy and can be removed from the
SBC-GX1.
Make sure this master copy is not used to boot the system again.
Creating the clone CompactFlash card from the master
To copy the master CompactFlash onto another CompactFlash (the clone), follow these
steps:
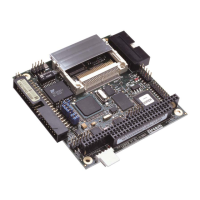
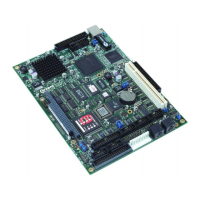
1 Power off the SBC-GX1 board.
2 Insert the master CompactFlash into the SBC-GX1.
3 Connect the floppy disk drive to the SBC-GX1 board using the floppy drive cable
and connect the floppy drive power connector to the power supply.
4 Insert the utility floppy disk provided with this Development Kit in the floppy drive.
5 Connect the Ethernet cable to the SBC-GX1 Ethernet connector.
6 Connect the hard disk drive to the SBC-GX1 board, using the hard disk and
power cables.
Use a FAT formatted hard disk with enough free space to hold the entire
master CompactFlash.
7 Start the SBC-GX1 and press Del in order to enter the BIOS settings.
8 Go to Basic CMOS Configuration and press Enter.
© 2004 Arcom Issue D 50
 Loading...