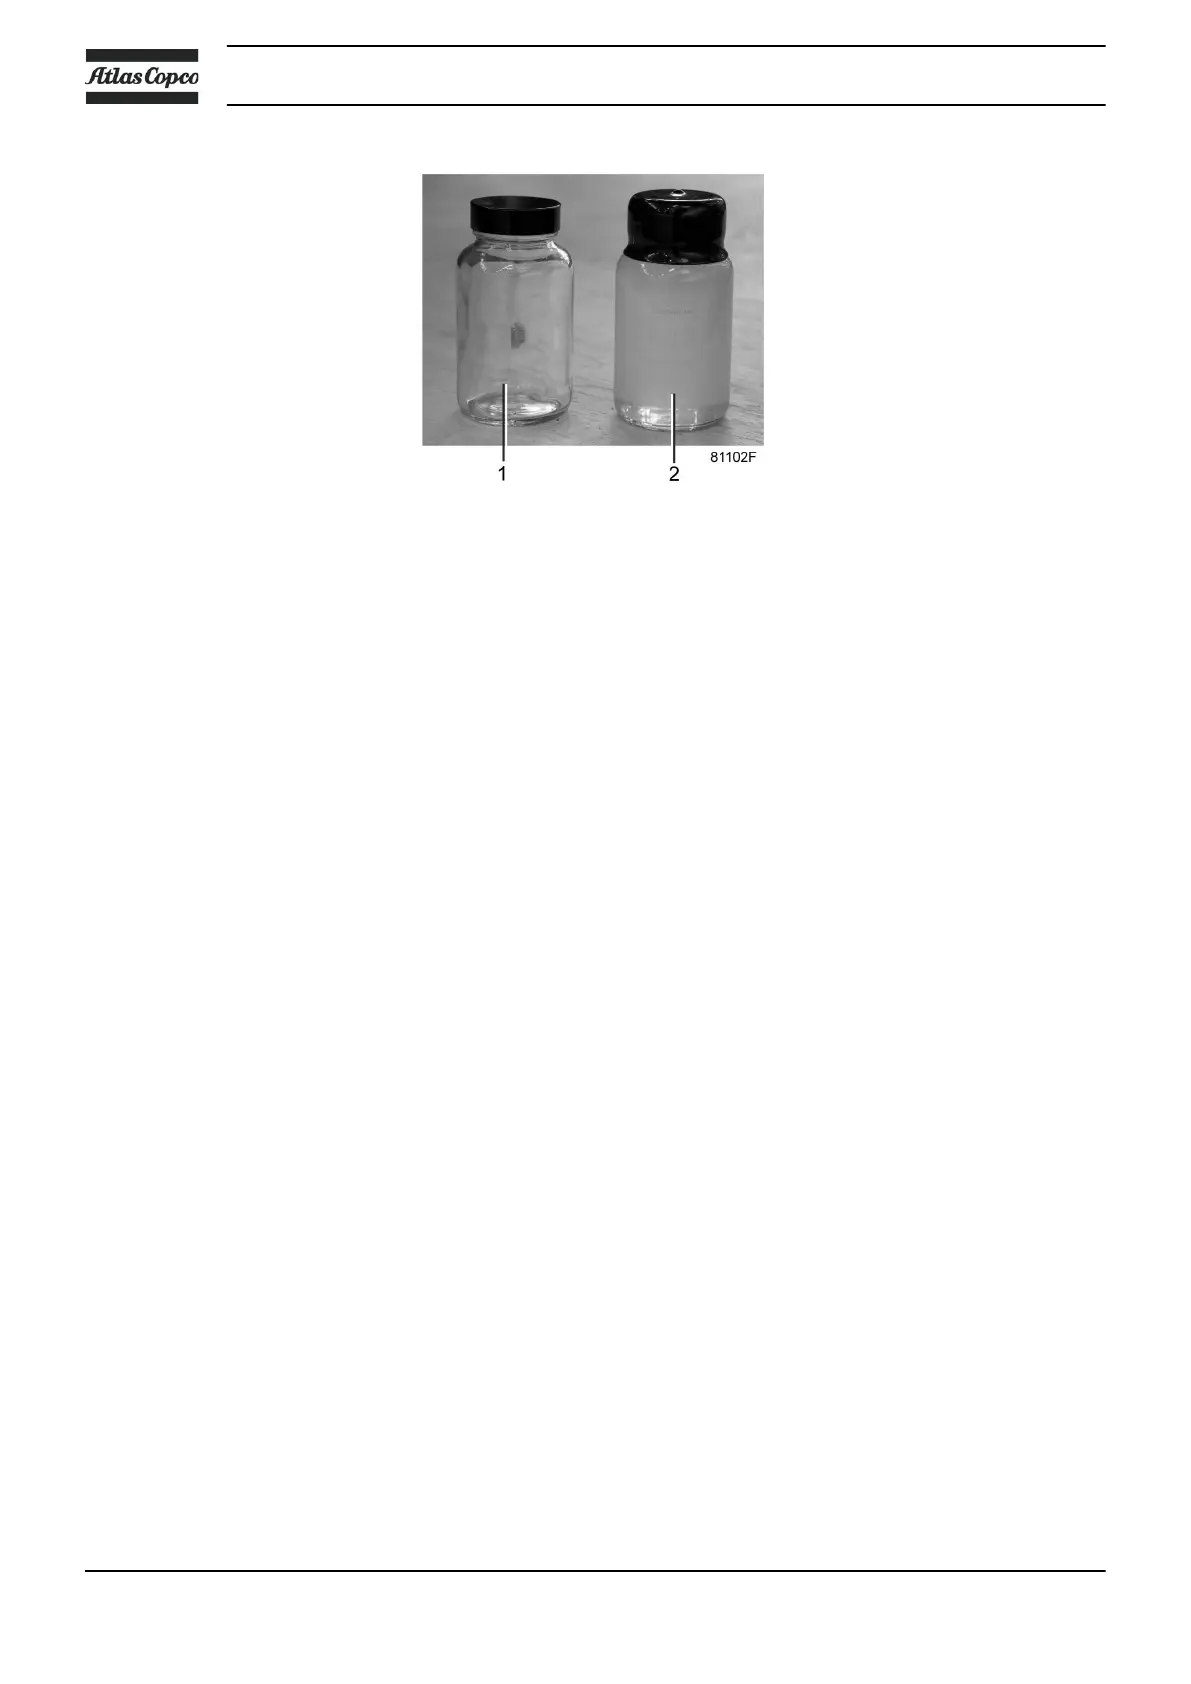
Test/sample bottle (1) and turbidity reference bottle (2)
Oleophilic filter
Initially, the oleophilic filter (3 - Condensate flow scheme) will float almost completely on the
condensate and only the bottom part will act as filtration medium. By sorbing more and more oil,
the filter will sink and new filter material will be exposed to the condensate. When the top of the
filter reaches the surface of the condensate in the first vessel, the filter is saturated and needs to
be replaced. This is automatically transmitted to the Elektronikon® regulator via the level sensor
(1 - View of OSCi inlet), but the customer can also check this visually through the sight-glass.
Filter replacement instructions
This instruction makes clear which steps have to be taken to do maintenance and to ensure
proper functioning after maintenance. These are the steps to be taken when servicing:
1. Stop the compressor and close the air outlet valve. Switch off the voltage.
2. Open/ remove the compressor side panel in front of the OSCi.
3. Position the drain tubes connected to the service drain valves (4 - Condensate flow scheme
and View of OSCi) over a recipient and open the drain valves. Wait until the drains are fully
discharged and dispose of the oil-containing water according to local regulations.
4. Unscrew the bolts that fix the OSCi to the compressor floor plate and detach the tubes and
wires from vessel 2. The OSCi can then be taken out of the compressor. The attached tubes
and electrical wires are long enough to slide out the OSCi without disconnecting them, but
this should be done carefully, paying attention not to obstruct the tubes and wires.
5. Unscrew the clamping rings, take off the covers and take out the 3 filter bags. The buckets
in which the new filters are supplied can be used to store the old filters.
6. Clean out the OSCi with water and tissue. Do not use any form of soap or detergents as
they could contain dispersants which deteriorate the ability to break oil-water emulsions.
7. Close the service drain valves.
8. Take the new filters from the service kit. Verify that the white filter for vessel 1 is of circular
shape. If it is elliptical due to transport, squeeze it into circular shape so that it can move
freely up and down in vessel 1. Insert the new filters in the vessels corresponding to their
label. Verify that the sensor arm (8-View of OSCi) is in the upward position and rests
on the edge of the filter bag in the first vessel.
9. Put covers 2 and 3 back on the vessels and tighten the clamping rings.
10. Reposition the OSCi inside the compressor and fix the OSCi to the floor plate with the bolts
(M 8). Be careful not to obstruct tubes and wires, and see to it that they can’t come into
Instruction book
102 2920 7109 51
 Loading...