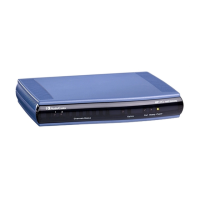
MediaPack
Analog Fast Track Guide 14 Document #: LTRT-59805
Rack Mount Safety Instructions (UL)
When installing the chassis in a rack, be sure to implement the following Safety
instructions recommended by Underwriters Laboratories:
• Elevated Operating Ambient - If installed in a closed or multi-unit rack assembly,
the operating ambient temperature of the rack environment may be greater than
room ambient. Therefore, consideration should be given to installing the equipment in
an environment compatible with the maximum ambient temperature (Tma) specified
by the manufacturer.
• Reduced Air Flow - Installation of the equipment in a rack should be such that the
amount of air flow required for safe operation on the equipment is not compromised.
• Mechanical Loading - Mounting of the equipment in the rack should be such that a
hazardous condition is not achieved due to uneven mechanical loading.
• Circuit Overloading - Consideration should be given to the connection of the
equipment to the supply circuit and the effect that overloading of the circuits might
have on overcurrent protection and supply wiring. Appropriate consideration of
equipment nameplate ratings should be used when addressing this concern.
• Reliable Earthing - Reliable earthing of rack-mounted equipment should be
maintained. Particular attention should be given to supply connections other than
direct connections to the branch circuit (e.g., use of power strips.)
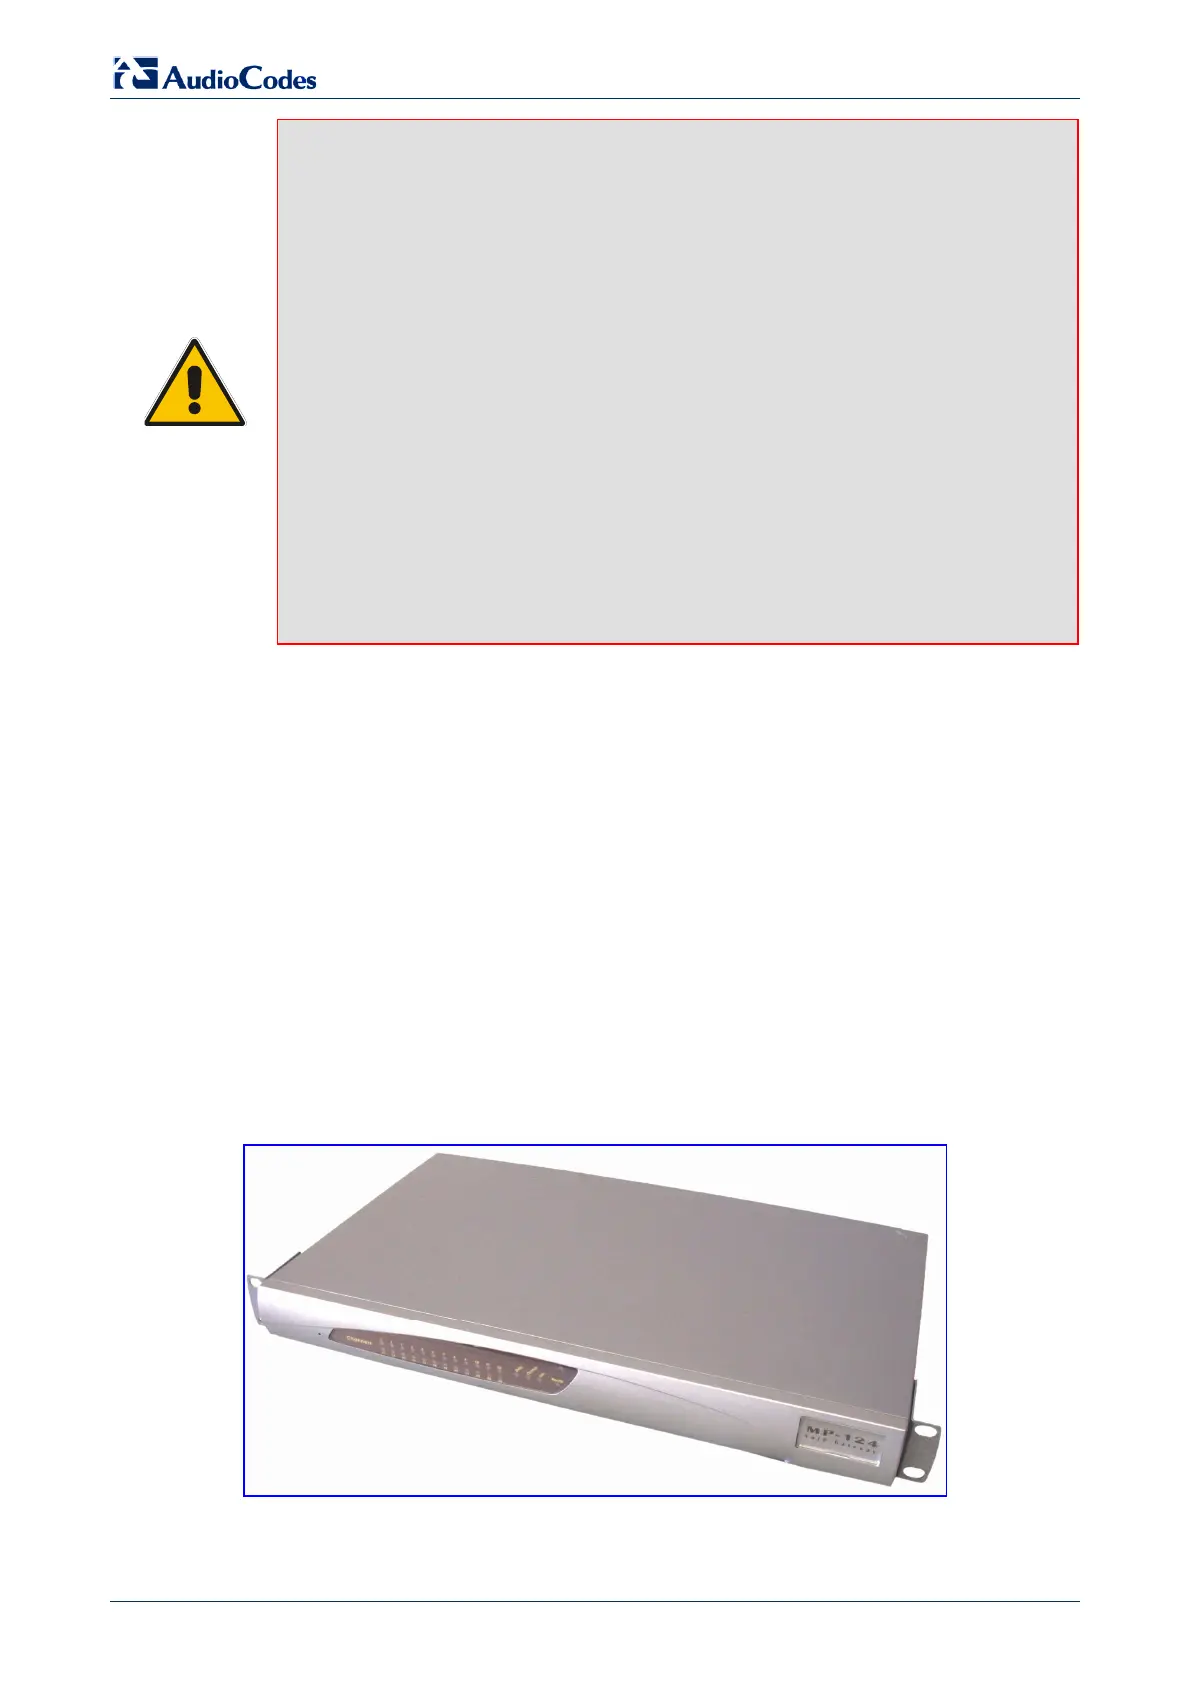
2.2.3.2 Installing the MP-124 in a 19-inch Rack
The MP-124 is installed into a standard 19-inch rack by the addition of two short (equal-length)
supplied brackets. The MP-124 with brackets for rack installation is shown in Figure 2-10.
¾ To install the MP-124 in a 19-inch rack, take these 7 steps:
1. Remove the two screws on one side of the device nearest the front panel.
2. Insert the peg on one of the brackets into the third air vent down on the column of air vents
nearest the front panel.
3. Swivel the bracket until the holes in the bracket line up with the two empty screw holes on
the device.
4. Use the screws (supplied) to attach the bracket to the side of the device.
5. Repeat steps 1 to 4 to attach the second bracket to the other side of the device.
6. Position the device in the rack and line up the bracket holes with the rack frame holes.
7. Use four standard rack screws (not supplied) to attach the device to the rack.
Figure 2-10: MP-124 with Brackets for Rack Installation
http://ArtTel.ru