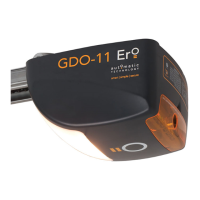
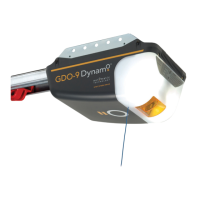
Owner Installation Instructions GDO-10V3L2 Toro
™
11
Fig 8.1
Fig 8.3
Fig 8.4
Fig 8.2
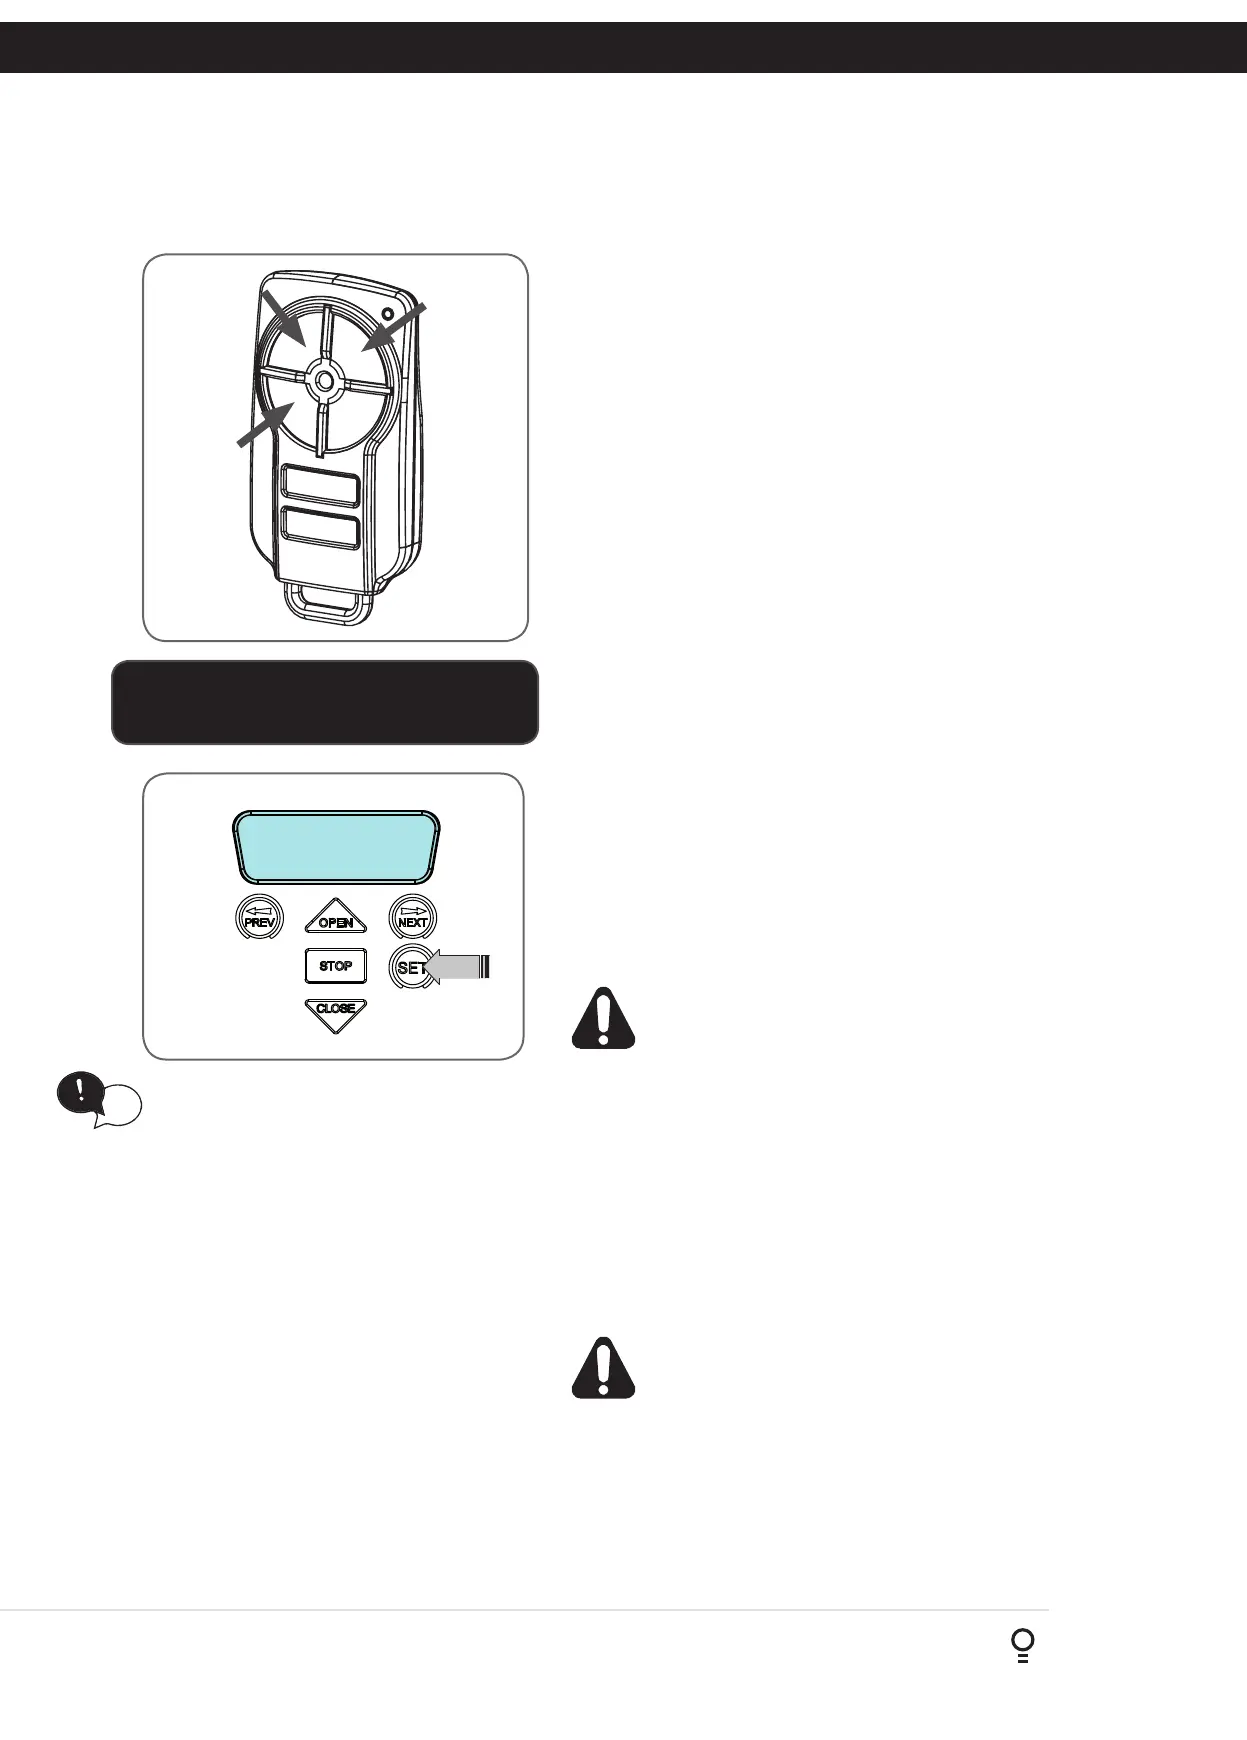
8. Setting Limits: Via Transmitter
Button 1
(Inch Open)
Button 4
(Inch Close)
Button 2
(Set)
MENU 1
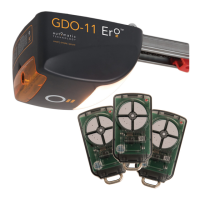
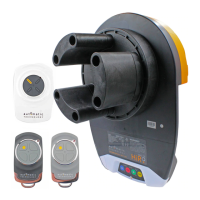
Code Transmitter
The GDO-10V3L2 Toro™ has the alternate ability to set travel
limits using a transmitter, allowing free movement around the
garage to better assess the desired limit positions. In order to use a
transmitter, it must first have at least one of its buttons coded to the
door controller. The function assigned to the transmitter’s buttons
is of no concern here as the buttons are temporally assigned to
OPEN, CLOSE and SET (Fig. 8.5).
8.2 Code A Transmitter For Limit Setting
Navigating to “code transmitter” menu
a. Press NEXT to navigate to Menu 1.
b. Press SET to enter the code set procedure (Fig. 8.6).
Storing Transmitter Code
a. Controller will prompt to press one of the transmitter’s Button.
b. Press the transmitter button you wish to use to operate the door
opener (e.g. button 1) .
c. Press the same transmitter button again as prompted by display.
d. Press the set button to store the transmitter.
Navigating To “Set Door Travel Menu”
a. Press PREV to navigate to Menu 10.
b. Press SET to display MENU 10.1.
c. Press SET two times to enter the limit setting procedure. The
close blue LED will start to flash.
8.3 Setting Limits Via Transmitter
a. Press and hold Button 4 on the transmitter to close the door
i. If the door opens, release Button 4 and press the stop button once
on the wall control unit to change the direction of the motor.
WARNING! In setting the close limit position, do not
force the door into the floor with excessive force, as
this can interfere with the ease of operation of the
manual release mechanism.
b. Then press and hold Button 4 on the transmitter to close the
door.
i. If the door is closed too far, press Button 1 to “inch” the door
towards open.
ii. When happy with the close limit position, press Button 2 to store
this in the memory. The open green LED will starts to flash.
c. Press Button 1 to open the door.
i. If the door is opened too far, press Button 4 to “inch” the door
towards close
WARNING: The door will automatically close and open
once next step is performed. Ensure that no persons
or objects are in the door’s path.
When happy with the open limit position, press Button 2 on the
transmitter to store into memory. The door will now automatically
close and open to calculate the safety obstruction settings. After this,
if Safety Beam is installed, then the opener can be operated with the
OPEN or CLOSE button on the wall control unit or from the transmitter.
Otherwise, the controller will be loaded with “Safety Close Mode”.
See Section 13.1 for further details.
Fig 8.5
Fig 8.6
IMPORTANT NOTE:
Only TrioCode
TM
128 Technology Transmitters
are compatible with this product.
HELPFUL TIP: To access the PREV, NEXT
and SET buttons, unscrew the screws at
the bottom of the logic console cover
and remove cover.
tip